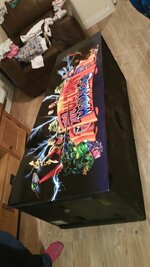
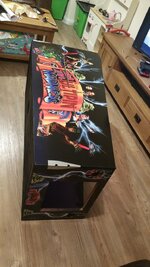
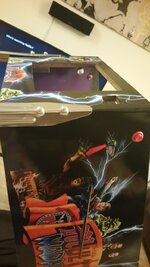
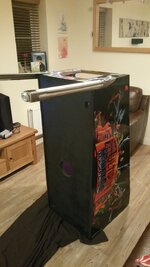
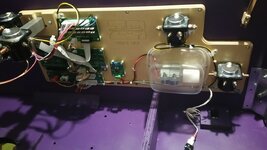
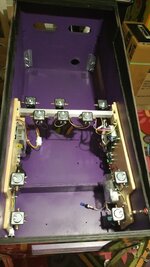
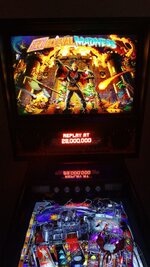
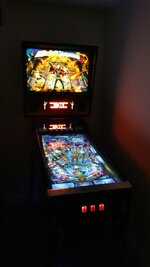
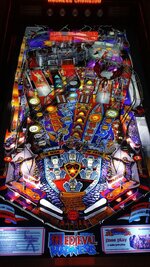
I've been asked by a few folks to put a thread together for a virtual pin build. So here you go 
Back Story
I built my first virtual pin back in 2013, I was struggling for space and also wanting to experience more pins than I could technically afford. I spent the first few months playing around with the visual pinball software and getting to grips with that and pinMAME. At first it does seem a little daunting but after a while it clicks and its not really that hard. What struck me and surprised me was the quality of the table recreations and that the games ran the original ROMs. I was hooked, and yeah its not a replacement for the real thing, but with full force feedback and nudge support it gets pretty close!
Regrettably I sold my virtual pin when I moved house 2 years ago, the biggest regret was having poured more hours than I care to mention into it, I knew I'd never be up for the challenge again. Or so I thought...
Current Build
Flash forward to the summer of 2016, having sold most of my pins to fund and give space to my games room conversion, I found myself hankering for a virtual pin again. Time is a great healer and I felt like it was time to give another one a go. Having built one before I was fully aware of the costs and parts required. I wanted to ensure that I out did my old one, which was going to be a pretty hard thing to beat.
The Cabinet
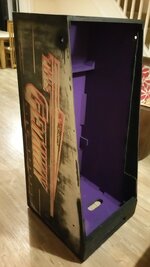
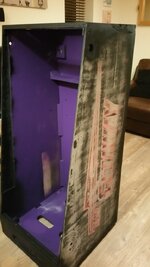
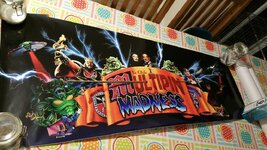
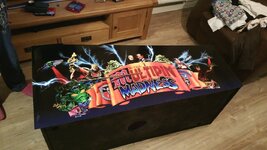
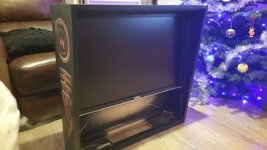
If you can, I would suggest starting with an original cabinet. This can save you a ton of cash and ensure all standard parts will fit when you come to start acquiring things. To start with I decided to go for a standard bodied cab like last time, I put some feelers out and soon enough an empty Getaway High Speed 2 cabinet came my way.
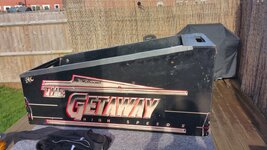
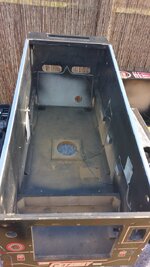
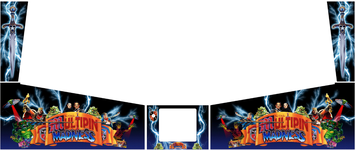
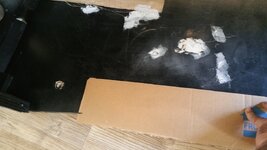
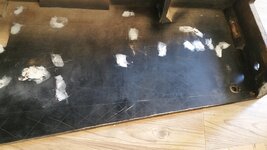
I gave the cab a good rub down and filled any holes and dings I found to ensure the smoothest finish for the new artwork.
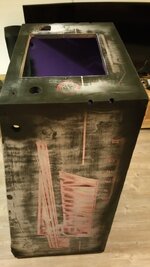
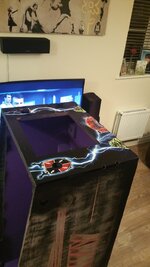
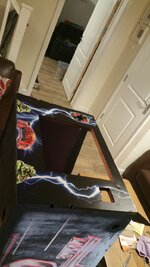
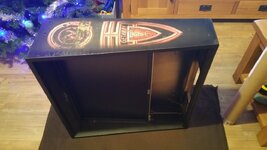
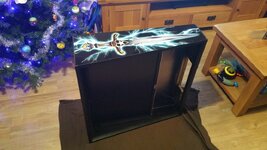
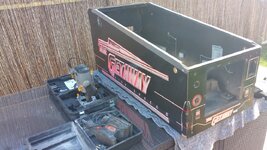
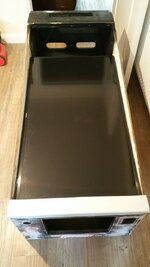
For a standard bodied cabinet the maximum TV you can fit for the play field is a 40". This will require some routing of the cabinet sides, I like to lay the screen so its angled away from you just like a real play field. I find butting the screen up to the edge of the lock-down bar gives the best effect. I sink the screen 3/4" down at the front to 4" down at the back of the cab.
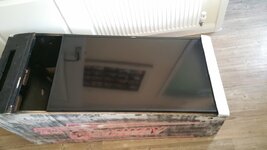
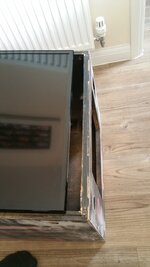
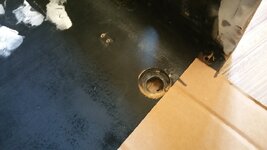
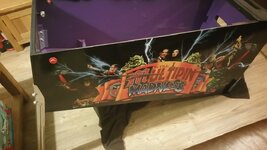
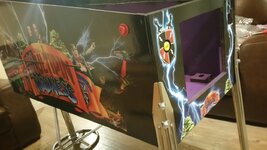
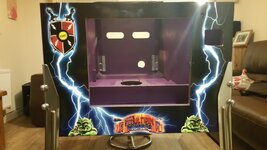
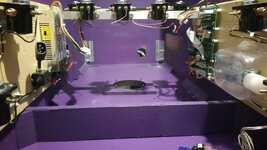
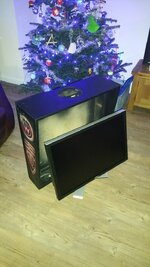
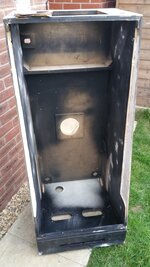
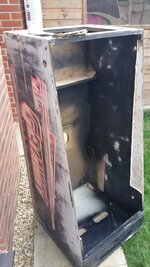
After a good messy routing you should end up with something like this:
Back Story
I built my first virtual pin back in 2013, I was struggling for space and also wanting to experience more pins than I could technically afford. I spent the first few months playing around with the visual pinball software and getting to grips with that and pinMAME. At first it does seem a little daunting but after a while it clicks and its not really that hard. What struck me and surprised me was the quality of the table recreations and that the games ran the original ROMs. I was hooked, and yeah its not a replacement for the real thing, but with full force feedback and nudge support it gets pretty close!
Regrettably I sold my virtual pin when I moved house 2 years ago, the biggest regret was having poured more hours than I care to mention into it, I knew I'd never be up for the challenge again. Or so I thought...
Current Build
Flash forward to the summer of 2016, having sold most of my pins to fund and give space to my games room conversion, I found myself hankering for a virtual pin again. Time is a great healer and I felt like it was time to give another one a go. Having built one before I was fully aware of the costs and parts required. I wanted to ensure that I out did my old one, which was going to be a pretty hard thing to beat.
The Cabinet
If you can, I would suggest starting with an original cabinet. This can save you a ton of cash and ensure all standard parts will fit when you come to start acquiring things. To start with I decided to go for a standard bodied cab like last time, I put some feelers out and soon enough an empty Getaway High Speed 2 cabinet came my way.


I gave the cab a good rub down and filled any holes and dings I found to ensure the smoothest finish for the new artwork.
For a standard bodied cabinet the maximum TV you can fit for the play field is a 40". This will require some routing of the cabinet sides, I like to lay the screen so its angled away from you just like a real play field. I find butting the screen up to the edge of the lock-down bar gives the best effect. I sink the screen 3/4" down at the front to 4" down at the back of the cab.


After a good messy routing you should end up with something like this:


Last edited:

