NEW RED Scheppach UMF1600 Pinball Playfield workbench & works as mitre saw stand | eBay
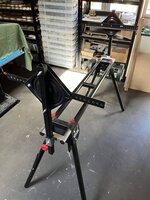
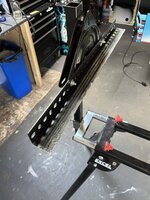
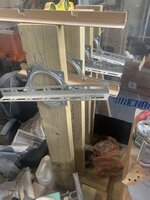
It's a stand for an electric cross-cut mitre saw. at £65 you can't beat this for a playfield workbench, the only difference is you have to manually lift and flip over the playfield. and it doubles up as a bench for a cross cut mitre saw.
www.ebay.co.uk
Has anyone used one of these or similar for a playfield swap? Are there any better options (other than getting someone else to do the swap!)?