What's new
Pinball info

Register a free account today to become a member! Once signed in, you'll be able to participate on this site by adding your own topics and posts, as well as connect with other members through your own private inbox!

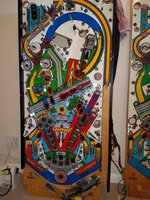
Complete Earthshaker project

Yeah that's pretty cool, they come out pretty easy with just a little screw driver :) its getting them back in on a populated pf which is the tricky part i found :D

Regards
Russell
 
£96
dropped off sat morning collected today! :)

On the hunt for local powder coater now :)

Regards
Russell
 
Last edited:
was adding the bumper metal rings and noticed iv put on one skirt wrong orientation so the holes dont line up DOOOOOOOH no easy way to remove now lamp socket stapled / soldered in. Might have to just cut it with snips then re solder :( real pain. These bumpers have got to be the worst part of this restore so far!!!

Regards
Russell
 
when the kids go away Russ comes out to play :D got quite a lot done this weekend :)

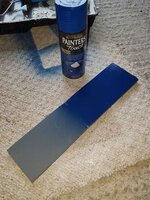
First sanded backbox down and circled all imperfections ready for wood filler. Managed to find an exact match earthshaker blue spray paint which is cool :) means i can spray rather then paint.

will finish that another day. Although that sanding took ages... not looking forward to the main cabinet :(

85943

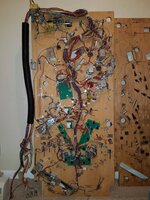
The pf back is almost done now, just needs the drop targets and flippers adding now which ill rebuild soon.
85944

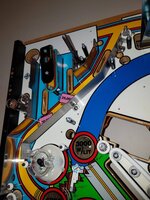
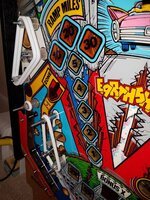
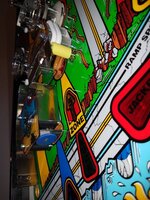
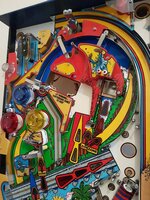
Moved onto the front and started installing the smaller ball guides which have all been polished. The larger ones are being polished by local plating company. Installed various posts and plastics stand offs. It is slowly coming back together :)

85945

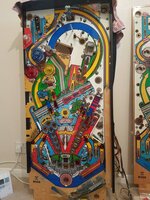
A few before and after shots from areas that are mostly finished
85946
85947

after
85948
85955

before
85951
after
85952

before85953

after
85954


few more photos
85957
85958


slowly getting there :) got a feeling will have a finished pf long before a finished cabinet to put it in :/ lol

Regards
Russell
 
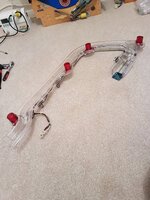
rebuilt right ramp :)
85971

will add the large plastic guides once sorted rivets :)

Regards
Russell
 
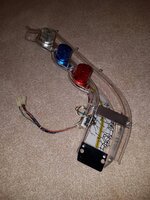
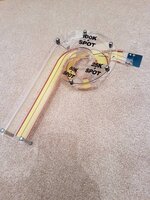
some more ramps. I still need to de solder the left ramp entry micro and put the wires through the hole in the ramp plastic.

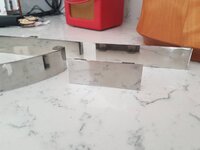
One issue with starship fantasy left ramp is the bottom ball exit metal bracket does not fit inside it only fits outside (but technically should be inside) should i try and modify it to fit inside? or is it fine outside with the rubber pad just stuck directly to the ramp?

85991
85992

Regards
Russell
 
Pops fixed and finished :)
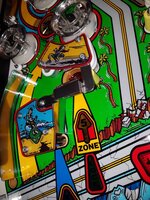
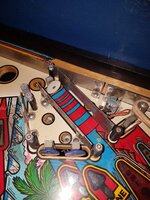
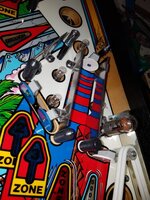
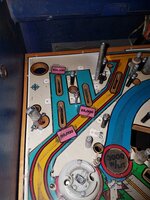
All plastic posts now in and I test fitted the plastics and they all fit fine. Just need the ball guides back from plater who is currently polishing them then i can complete the top. I Think I can have this done in a couple nights now :)

86505

Few notes: cpr pf holes are very accurate the top side where basically all perfec. Think I had to move maybe 2? And only resize a few holes. The dimples on the back where also 98% perfect and only a few needing moving.

The new cpr plastics are digitally printed (bit annoying as there site does say 9 colour silkscreen) and the colours are quite far out from the original plastics (ie far darker reds/yellows with grainy look) I wanted to mix and match my good original plastics with the cpr ones but does not look right :( so will most likley go all cpr but will be the look out for some silk screen ones (massive silkscreen fanboy!)

Nothing happening with cabinet sanding/filling :( Am little bit tempted to outsource this! (any one local to bristol available??)

Will be getting some parts back from local powder coater as well :) will post results once they turn up (head brackets, bolts, etc...)

Anyway hopefully soon will have a completed pf and can at least test it with board set on the floor :D

Regards
Russell
 
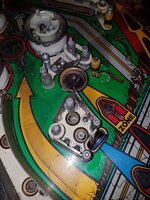
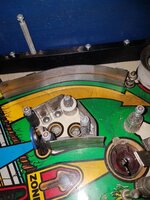
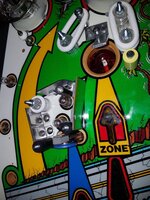
Oh and I snapped a bolt on the right hand side apron catch support (above ball trough mech) Any idea how to remove it?

Regards
Russell
 
Oh and I snapped a bolt on the right hand side apron catch support (above ball trough mech) Any idea how to remove it?

Regards
Russell
Dremel a slot into it and remove with a flat blades screwdriver

If that may cause playfield damage look up broken screw remover and see which of them is best
 
Ah ill give that a go :)

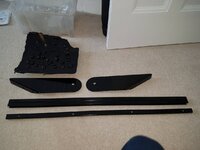
Parts back from powder coater, look brand new :) i think bolt heads were wet sprayed though but look very good. was £24 all in.
86840

Just waiting for ball guides now then i can get pf finished.

Still got the cabinet to go.... I have started filling imperfections with wood filler and sanding on the head. But progress is extreamly slow and I find the cabinet work very boring. Really need to out source this work i think. Will look for local wood repair workshop or somin. It's just wood filler and sanding pretty easy just very time consuming.

If there was reproduction cabinets in the UK id snap one up but can't find any system 11 style kits/cabs any where (just in states)
Regards
Russell
 
@russdx1 - I can attest to the quality of these - really well finished product by @PeteB - I had some in my Iron Maiden - not 100% sold on the design personally, but not sure what you'd want from Earthshaker.
 
I personally quite like the design ground+sky is what id of done if designing them :) might be winner! how are they attached? easy to remove?

Regards
Russell
 
Yes easy to attach, never removed but I imagine no - not so easy to remove.
 
they are pretty cheap, ill just get a set just to see what they look like temporary taped in or somin :)

once I have a cabinet again..... :(

Regards
Russell
 
Not at the moment, I'm just waiting for my ball guides which ill be collecting tomorrow which will allow me to finish playfield (wont take long) but once that is done ill just be waiting on me doing the cabinet. Iv started on the backbox and will post some photos soon :)

Regards
Russell
 
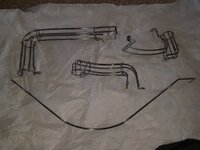
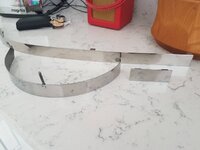
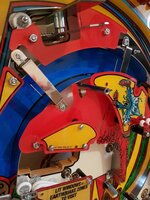
Collected the ball guides, i asked them to just shine them up but they have literally come back mirror finish its amazing! might have to remove all the smaller ones now so they match!

87935

87936

I can now pretty much finish off the playfield :)

And continue with the cabinet work :/ lol

Regards
Russell
 
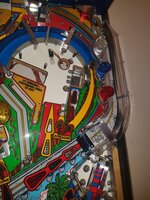
Starting to add the ball guides, seem to be missing a few of the screws that screw them down so will need to order some more (pinparts has them)

Decided to go with the original plastics as only a few tiny scrapes i can repair with some red paint. The CPR ones red is so far off its not even funny :(

87952

87953

Not far now for the playfield :)

Regards
Russell
 
Was looking at the mirror finished guides vs my cleaned ones and decided they must ALL be mirror finish as it looks so good. So iv removed them all and will get them mirror polished as well by plating company :)

I did add the right ramp though :) looks good but was a very tight squeeze and have to file down a plastic slightly just to get the bottom to fit.
88027

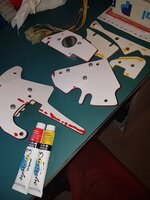
Also bought some yellow/red acrylic paint to touch up the scrapes on the original plastics i want to use. The match was almost perfect and its very hard to even see where the scratch is now.
88028

I guess now back to cabinet work :( Really don't enjoy this side of things.

Regards
Russell
 
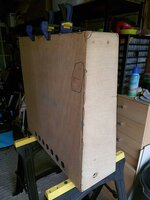
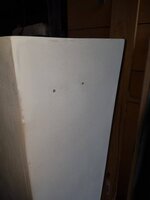
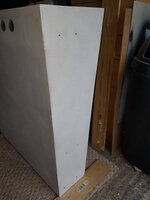
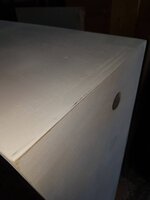
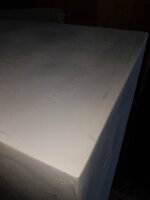
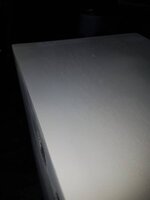
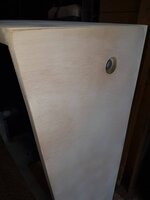
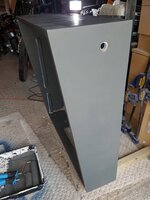
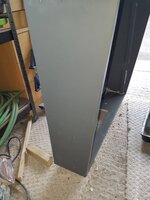
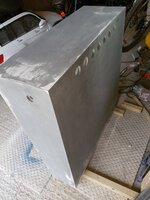
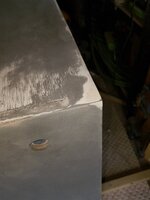
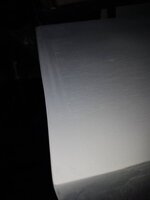
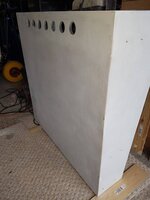
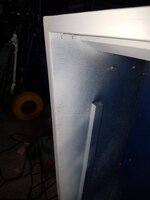
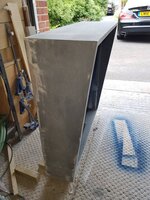
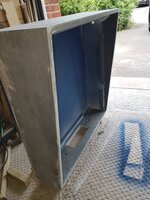
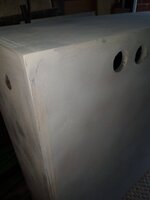
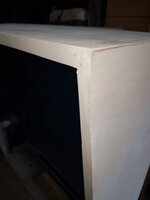
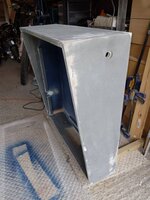
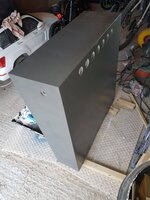
Some photos off the back box progress (over a few months now lol)

I will get this done by xmas!


So far I have
- bondo all dings and dents and re build corners / edges.
- sanded it all down
- more bondo
- sanded it all down
- tried spray primer but really did not get on with it.
- painted using grey wicks primer paint (like this)
- sanded, more bondo
- sanded it all down again
- another coat of grey primer

Hoping can get away with one more light sand down then one more coat of grey primer paint then be ready for final blue spray paint.

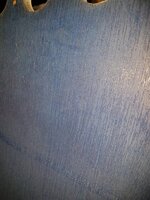
Also did a little test blue spray paint on top of primer and looks great, colour is spot on earthshaker :)

Photos in random order

20190623_182318.jpg
20190623_182322.jpg
20190623_182516.jpg
20190623_182516.jpg
20190623_182334.jpg
20190623_182342.jpg
20190623_182334.jpg
20190623_182507.jpg
20190623_182318.jpg20190623_182555.jpg20190623_182322.jpg20190623_182516.jpg20190706_180130.jpg20190706_180149.jpg20190706_173709.jpg20190706_173719.jpg20190706_180204.jpg20190623_182342.jpg20190706_180256.jpg20190623_182354.jpg20190623_182327.jpg20190623_182334.jpg20190623_182447.jpg20190706_173645.jpg20190623_182507.jpg20190706_173656.jpg20190623_182401.jpg20190623_182437.jpg20190706_173627.jpg
 
I have to say @russdx1 - this is how you do it...

I cannot think of another restore off the top of my head that I have followed on here at this level.

This is the standard.
 
Back
Top Bottom