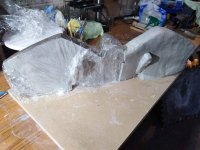
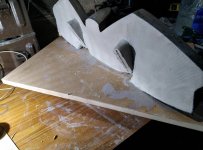
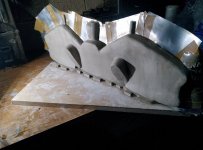
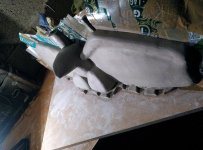
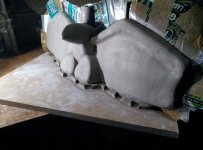
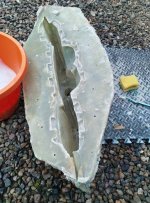
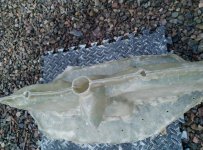
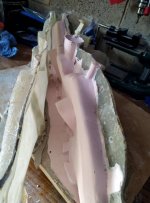
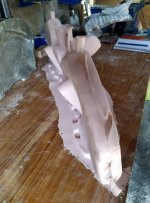
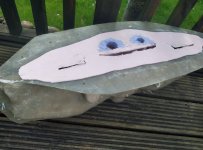
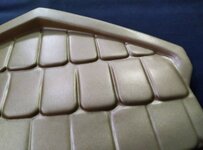
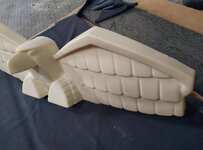
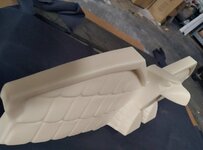
I'll use this post as a log for a new side project; I'll be taking a mould from an original Judge Dredd Topper for producing a copy in resin. This will be a more robust form, I can't believe how thin the original is I suspect most example out there are damaged to some degree.
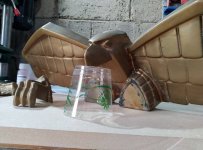
I'll be trying out different metal powders to produce finish that can be buffed up to a high polish as well as a rattle can metallic finish.
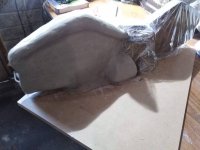
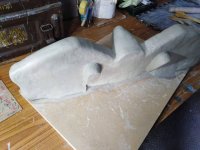
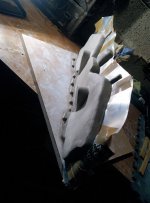
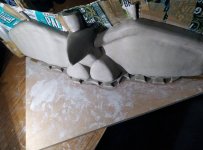
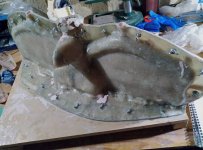
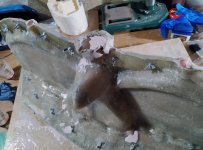
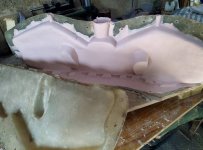
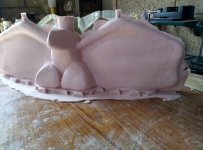
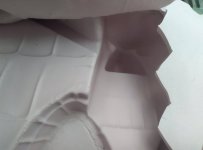
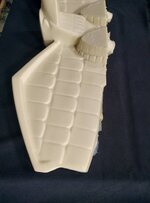
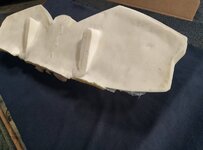
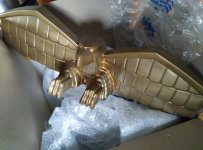
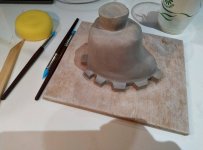
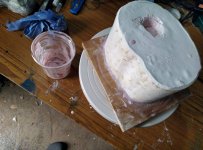
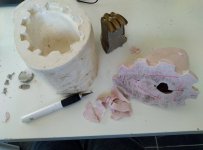
So far I've made a mould of one of the claws and produced a master copy, this will be prepared with registration keys for mating up with the main body and a new rubber skin made.
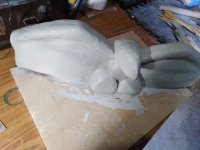
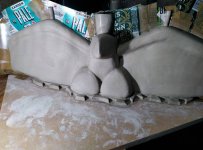
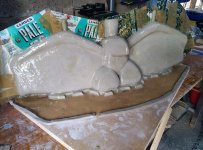
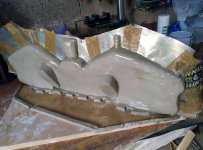
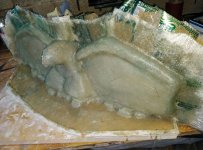
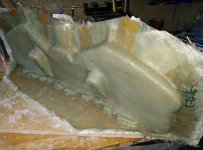
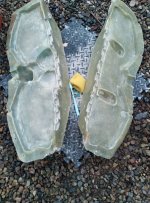
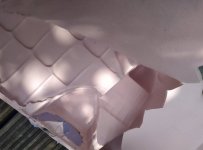
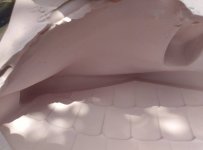
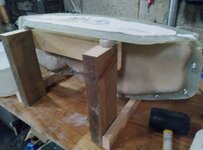
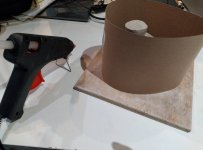
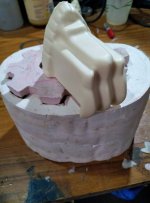
Next up I'll be making a fibreglass two piece case for the main body which will allow a thin rubber skin to be poured.
I'll be trying out different metal powders to produce finish that can be buffed up to a high polish as well as a rattle can metallic finish.
So far I've made a mould of one of the claws and produced a master copy, this will be prepared with registration keys for mating up with the main body and a new rubber skin made.
Next up I'll be making a fibreglass two piece case for the main body which will allow a thin rubber skin to be poured.
Attachments
-
 unbox.jpg149.9 KB · Views: 99
 -
 legs-off.jpg133.3 KB · Views: 92
 -
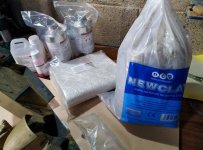 materials.jpg158.4 KB · Views: 87
 -
 clay-skin.jpg100.8 KB · Views: 76
 -
 prep-plaster.jpg94.8 KB · Views: 73
 -
 demould-clay.jpg75.9 KB · Views: 70
 -
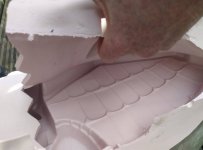
 pour-rubber.jpg144.8 KB · Views: 73
 -
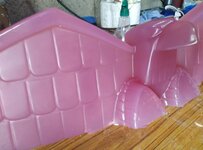
 rubber-skin.jpg87.4 KB · Views: 80
 -
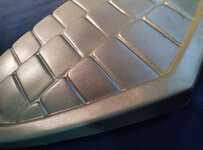
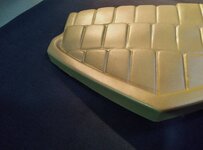
 master-copy.jpg65.2 KB · Views: 104