- Joined
- Sep 1, 2012
- Messages
- 45
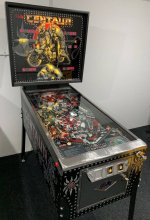
I bought a Centaur from the Heighwayman back around 2011. Initially only planned to remove the mylar and tidy it up so that it played nicely but got completely carried away and ended up gradually doing a full refurb.
I fitted a new playfield back in 2013 and took it to the Daventry show for a serious soak test which it generally passed with flying colours. If anyone remembers playing a Centaur with red LED displays, a very nice playfield and a shabby cabinet then this would be the one.
Many years of navel gazing followed until I finally gave myself a talking to and in 2019 completed the backbox re-stencil. Encouraged by the results and with a lockdown to assist, this years job was the main cab…
Inside of the cab wasn’t pretty. No structural water damage but plenty of rust to deal with.


The front and sides of the cab certainly had a few bruises.


After some sanding you can see the holes and circular imprints where a previous owner thought it a good idea to hammer in metal studs to “compliment” the artwork. Needless to say, these were removed not long after I got the machine. In my haste to remove them, I forgot to take a photo though so you’ll have to take my word for that they were truly awful!

The back had really been through the wars. Rusty gliders already binned.

After much filling and sanding and filling and sanding and filling and sanding etc. I finally got the cab ready to spray. Decided to stick with the satin black for the base coat as I’m not a fan of gloss base coats. First stencils applied…

For Centaur, you stencil the silver on the front first but the red on the sides. Went with a metallic silver and a gloss cherry red which I think looks rather good…

And then onto stage 2 – red on the front and silver on the sides.


Just the small matter of all those tired looking parts and wiring. I know it’s easier to send the metal parts off to be blasted and polished but having spent so long on the project, decided to do everything myself. There were a few moments where I questioned this decision, but the final results look good and nice to be able to say it was all my own work.
I installed a replacement speaker some time ago. It’s coaxial so far superior to the original and, rather handily, has identical fixing holes (albeit by good luck rather than clever planning on my part). Also replaced the horrible old line filter and varistor and used crimp terminals rather than solder for a much neater finish.

The coin door was a project in itself but again, the results make the hours of cleaning and re-assembly worth it. Particularly pleased with the replacement earth jumpers for the rusty and rather untidy looking Bally originals.

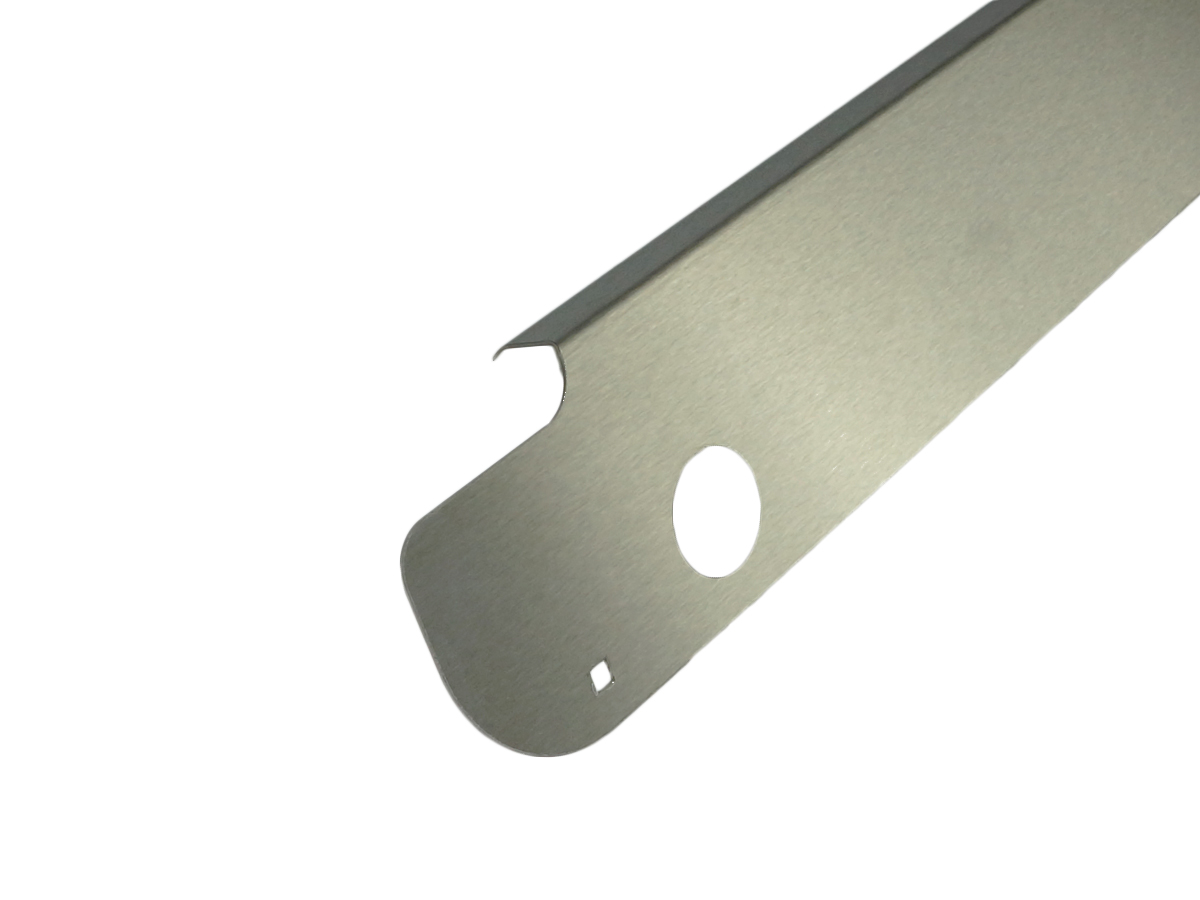
The side rails weren’t great but even if they had been, I’m not convinced I could have removed them without damaging them. I know some people on here have managed it though so kudos to them. The new side rails are stuck rather than nailed so although an expensive addition, they do look much neater.

For the back of the cab I decided to add some hardwood battens (in the same way they are on modern games) so that the gliders aren’t so close to the main body. Certainly an improvement on the original! You can also see the custom chrome vent I had made for the backbox. This hides the damaged original vent holes which so often get distorted on this era of games.

Although backbox related, I should give a shoutout to Jim @myPinballs who printed the replacement bulb shields. He even put up with me requesting custom sizes as the original shields are too small for the word “Warning”. If a job’s worth doing…

Bally sticker on the coin door is the final touch. For the purists out there, note the original factory door lock (also present on the backbox) and intact coin return flap.

Et voila. NB. There aren't actually any display digits out - this is just the camera picking up on the (relatively) slow refresh rate of these early solid state games.
Hopefully the next project won’t take quite so long!

I fitted a new playfield back in 2013 and took it to the Daventry show for a serious soak test which it generally passed with flying colours. If anyone remembers playing a Centaur with red LED displays, a very nice playfield and a shabby cabinet then this would be the one.
Many years of navel gazing followed until I finally gave myself a talking to and in 2019 completed the backbox re-stencil. Encouraged by the results and with a lockdown to assist, this years job was the main cab…
Inside of the cab wasn’t pretty. No structural water damage but plenty of rust to deal with.
The front and sides of the cab certainly had a few bruises.
After some sanding you can see the holes and circular imprints where a previous owner thought it a good idea to hammer in metal studs to “compliment” the artwork. Needless to say, these were removed not long after I got the machine. In my haste to remove them, I forgot to take a photo though so you’ll have to take my word for that they were truly awful!
The back had really been through the wars. Rusty gliders already binned.
After much filling and sanding and filling and sanding and filling and sanding etc. I finally got the cab ready to spray. Decided to stick with the satin black for the base coat as I’m not a fan of gloss base coats. First stencils applied…
For Centaur, you stencil the silver on the front first but the red on the sides. Went with a metallic silver and a gloss cherry red which I think looks rather good…
And then onto stage 2 – red on the front and silver on the sides.
Just the small matter of all those tired looking parts and wiring. I know it’s easier to send the metal parts off to be blasted and polished but having spent so long on the project, decided to do everything myself. There were a few moments where I questioned this decision, but the final results look good and nice to be able to say it was all my own work.
I installed a replacement speaker some time ago. It’s coaxial so far superior to the original and, rather handily, has identical fixing holes (albeit by good luck rather than clever planning on my part). Also replaced the horrible old line filter and varistor and used crimp terminals rather than solder for a much neater finish.
The coin door was a project in itself but again, the results make the hours of cleaning and re-assembly worth it. Particularly pleased with the replacement earth jumpers for the rusty and rather untidy looking Bally originals.
The side rails weren’t great but even if they had been, I’m not convinced I could have removed them without damaging them. I know some people on here have managed it though so kudos to them. The new side rails are stuck rather than nailed so although an expensive addition, they do look much neater.
For the back of the cab I decided to add some hardwood battens (in the same way they are on modern games) so that the gliders aren’t so close to the main body. Certainly an improvement on the original! You can also see the custom chrome vent I had made for the backbox. This hides the damaged original vent holes which so often get distorted on this era of games.
Although backbox related, I should give a shoutout to Jim @myPinballs who printed the replacement bulb shields. He even put up with me requesting custom sizes as the original shields are too small for the word “Warning”. If a job’s worth doing…
Bally sticker on the coin door is the final touch. For the purists out there, note the original factory door lock (also present on the backbox) and intact coin return flap.
Et voila. NB. There aren't actually any display digits out - this is just the camera picking up on the (relatively) slow refresh rate of these early solid state games.
Hopefully the next project won’t take quite so long!