What's new
Pinball info

Register a free account today to become a member! Once signed in, you'll be able to participate on this site by adding your own topics and posts, as well as connect with other members through your own private inbox!

In Progress Bally's Kings of Steel

neil1637

Site Supporter
5Years
Joined
Jul 16, 2018
Messages
186
Location
Cumbria, UK
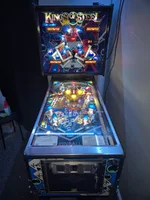
Greetings all,

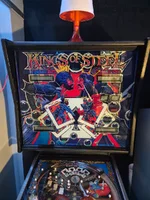
As the title suggests, we are going to be tackling Bally’s 1984 table, Kings of Steel. But first, a tiny foreword about me, if you will allow.

I’ve owned, played, restored and sold arcade machines for a fair few years now, and if anyone is interested, I documented a few of the more prominent restos on a blog which you can find here, Neil's Arcade Diary if you are really desperate for internet content…..

But in recent years, the appeal of owning original cabinets was waning and the lure of the shiny ball was growing ever stronger. I’ve also come to accept that I really enjoy fixing and restoring stuff, more than playing it, and sought a new challenge, a different medium, it seemed all roads led to only one destination….

So, in October 2024 (how time flies…), I picked up my first pinball table, on here, from @Pick Holder . From chatting through the condition, it seemed an ideal opportunity to dip my toe and get to grips with one of these beasts. [not to get sidetracked, but to put your minds at ease, of course I have since acquired more than just this one table..]

It wasn’t long before Martin had dropped it off and it was in the games room. It was sold as working, but in need of some love. It arrived in two parts with the head unit separate, which led to a few head scratches, fitting the connectors to their corresponding boards, but we got there.

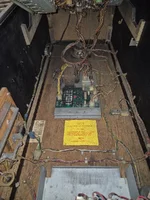
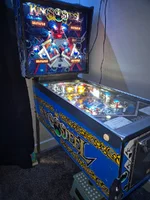
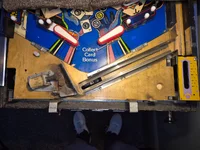
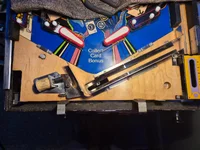
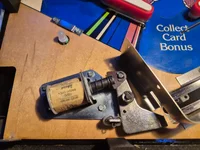
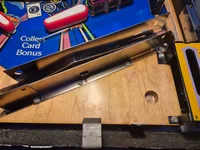
Here’s a few photos of it as it arrived, initial set up and switch on.
20241004_082732.webp20241006_201956.webp20241006_203425.webp20241006_203433.webp20241007_133954.webp20241007_134121.webp


Indeed, it did play. Indeed, it was dirty. It was time to make a list, break out some cleaning products and start to build my knowledge of how these beasts differ from arcade cabs.

One thing to note here, is that I was super excited to get to grips with this new project, no matter what the outcome. Another thing to point out is that I’m not here to make money out of anything I do. I genuinely just love making things look and work better than they did, so if I’m spending on parts that I will never recoup, so be it, leave me alone, I’m in my happy place. Also, I’ll probably make a few mistakes along the way, but that is how we learn, right….

So, here we go, if you want to stick around to see how I get along, then welcome aboard. A lot of the work is already done, with lots of before/after photos ready to post, so I’ll try and keep some regular updates flowing on the thread over the next couple of weeks.
 
UPDATE:

Whilst the table did indeed play, as promised, it was clearly evident that it had been sat idle for some time, and as inviting as it was to play with my new toy, banging that corroded ball around a filthy playfield was not going to help matters, so first job was to clean up the playfield and treat her to a new ball. It’s still a mystery to myself, how a sealed box, with the glass in situ, can get sooooo dirty inside, but yet, here we were. Admittedly the old crusty black rubbers were responsible for some of the detritus, but a lot of the dirt was simply that.

First up, saw the hoover with a brush attachment and a flash duster snake thing. That got rid of the dust bunnies and larger debris, leaving the more ingrained dirt to tackle.
For this I started to strip the upper parts from the playfield, letting me get a soapy magic sponge and a load of wipes, where they needed to get. Where the playfield parts were removed, they also got a good thorough clean.

I should say, that the majority of the playfield has a mylar protector over it, possibly factory fitted? Which has done it’s job well, and underneath the condition looks incredibly good, but there are a couple of points where it has just started to lift, that we might need to look at in more detail, later.

I cleaned the protector with Novus and used some Meguiars car wax (that I already had) to wax the parts of the playfield that were not covered, which mainly were areas underneath the plastics etc.

Then it was a case of putting it all back together. Here’s some before/after photos:

20241020_092317.webp
20241020_092635.webp
20241020_104557.webp20241020_110917.webp

And another example:
20241025_194324.webp
20241025_194903.webp
20241027_153724.webp

Now at this point, and knowing very little, I ordered a cheap replacement set of black rubbers from the Electronic Bay. I know, I know, and actually, now I do know better. Anyway they arrived, with a number missing, some the wrong size, etc, but they were £6 and made me seek out some better trusted UK sellers, of which I’m now in regular contact with. Lesson learned.

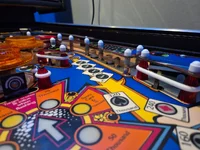
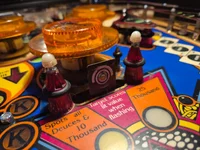
It also made me realise that something as simple as a rubber kit, can really change the look of the table. So, when I ordered the correct replacement set, I decided to go for white, with the flippers in red. I also fitted white acorn nuts to the tops of the plastics screws, to match the new appearance.

Also, a few of the star posts, appeared to be in the wrong place/wrong size and a couple were missing. So, I added these to the rubbers order and fitted them all back in the correct location.

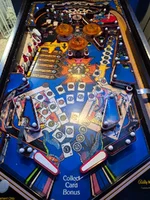
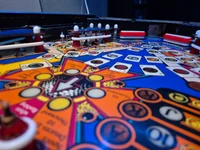
A couple of photos of the finished (for now) playfield, which neither do justice to the amount of filthy sponges, cloths, baby wipes and kitchen roll used, or just how good this looks in person, compared to how it was. Plus, with a new shiny ball, and a clean playfield, I can be sure that I’m not causing any more damage playing a few games, after I tweak the next part, etc.
20241226_141623.webp
20241226_120743.webp
20241226_120700.webp

And for now that is all.
Total cost for the parts in this post – pinball, posts, rubbers (2 sets!), acorn nuts - £29.

Next up, we’ll be looking at some broken parts and finding/making/fitting their replacements.
Hopefully someone can find some of this useful as we go along.
 
UPDATE:

Whilst removing and cleaning various sections of the playfield, getting hands on under the glass, inevitably meant I uncovered some further work that needed some attention. Nothing major, I’m still on baby steps here, but stuff that needed fixed/replaced all the same. We’ll take each one separately but, this update will focus on the centre target, an out lane switch and some simple bulbs.

First up, the centre target. On the table at the time, was a target that neither looked right, nor fit for purpose. Looking online and in the manual for the part number, showed that it should be a red rectangular target. No Ebay mistakes this time, and item ordered and quickly received. Old pathetic looking out, new, correct target soldered in. Much better.

20241020_140810.webp
20241226_153113.webp
20241226_153047.webp

And at the same time as ordering that, I placed an order for various bulbs that were out, and replaced them. Old out, new in, shiny light where once only darkness prevailed. No photos required.

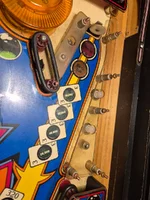
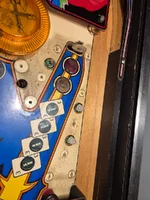
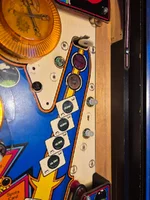
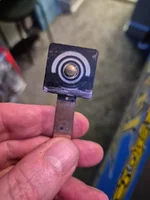
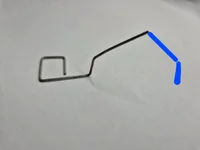
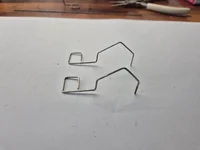
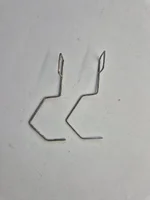
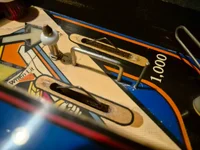
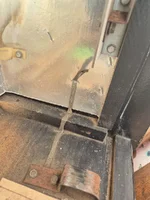
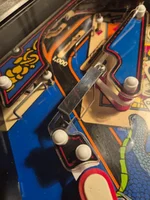
This brought us to the broken out lane switch. This is the switch on the far right out lane, which has a section broken off. It still works, but it’s not right, and therefore should be fixed. You can see the missing ‘leg’ on the photo below, and how it should look on the switch alongside.

20241116_183849.webp

With the switch out of the machine, I’ve used some state of the art CAD software to further illustrate the missing section….

20250216_163905.webp

Now, I tried to source a drop in replacement, both on the forum and round all the UK stockists, but alas, none was to be found. So we had to make one. For this I needed two things; firstly some piano wire (Ebay), secondly, a template (the unbroken switch next to it). Then it was simply a case of using two pairs of MrsM’s jewellery making pliers to bend and manipulate the piano wire into shape, fit it back into the switch assembly, and reattach to the lower playfield. Job done.

20250219_134033.webp
20250219_134203.webp
20250219_135310.webp

Total cost for the parts in this post – target, bulbs, piano wire - £13.
Next up, we’ll be looking at the bottom end of the playfield and the parts that live there.
 
UPDATE:

We focus our attention on the lower part part of the playfield/front of the cab for this update, so it will include the lockdown bar, apron, instruction cards, flippers, shooter and glass. Again, all these parts worked fine, but were very dirty/tired.

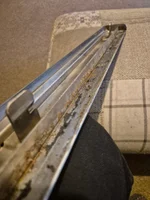
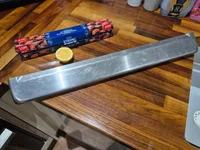
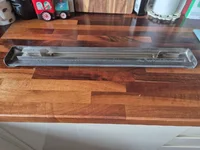
Starting with the lockdown bar, it has one deep scratch that we are not going to remove, no matter how much we try, so we can only do the best we can. I use my tried and trusted method of fresh lemon juice, tinfoil, and a lot of elbow grease.
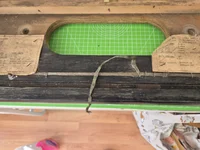
The top wasn’t too bad, but underneath was covered in gunk, badly corroded and the padded strip disintegrated. Gunk and corrosion removed and new padding added. I may revisit this at some point and try harder to remove the pitting that remains where the corrosion was.

20250219_155041.webp
20250219_190413.webp
20250222_100949.webp

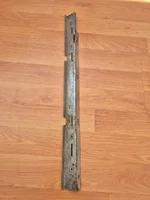
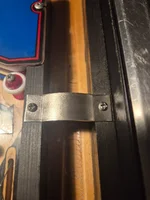
I also removed the locking plate (I’m making a lot of these terms up), the bit that the lock down bar, erm, well, locks in to. Again, very dirty, but cleaned up nicely, using some wire brush heads and polish.

20250405_161018.webp
20250405_161115.webp
20250406_190444.webp
20250406_190453.webp

The apron itself was in good condition, with just a few very small paint chips on the front edge that faces the playfield, which I touched up with a posca paint pen. I was really wary cleaning this part, as I’d watched several YT videos where the paint on these literally wipes off, especially on the shooter guide, so very gentle cleaning used, but it all came out really nicely. Unfortunately though, the instruction cards were very tired and dragged the appearance down, so I ordered some nice new ones and fitted those.

20250820_094323.webp

Whilst I had the actual apron off, it gave access to the shooter rod, which had a slight bend in it, which was quickly and easily straightened out in the vice and I ordered and fitted new springs, both the long one (who knew there were soooo many colours and strengths) and the short barrel one, along with a new white shooter rod tip. I also removed and polished the shooter rod plate that fits to the front of the cabinet.

20250820_094338.webp

I then stripped the ball guide parts and coil, etc, that sit under the apron and cleaned all of these and the playfield. These were really dirty, especially the coil part, so really satisfying to clean and put back together.

20250401_142034.webp
20250401_185818.webp
20250401_185825.webp
20250401_185832.webp
20250401_184139.webp

Next up were the flippers, the table has three, a repeat of the process for all of them, removing, cleaning, reassembling and refitting. Putting the new red rubbers on the flippers. I did look at kits to refurb the flippers, but with them cleaned up, and there was a lot of old build up removed, they play fine. They shoot strong, they hold when held, they return quickly when released, so I think they are good.

20241031_085512.webp
20241125_111509.webp
20241125_111513.webp
20241125_111641.webp

Finally, with all the work done so far, and the playfield looking so nice and clean, it made it really hard to ignore just how badly scratched the glass was. Luckily I live very close to a huge glass factory, where a good mate works, and I got a nice new sheet of toughened glass at cost. Now, it is 4mm, and there are numerous discussions and debates about the differences between 5mm and 4mm and how 4mm rattles etc, but I have no experience of this, and the glass I removed, (I have no clue if original or not) measured 4.3mm thick, so who knows. What I do know is that the shiny new glass makes a world of difference.

Impossible to take a photo to show this, so you will just have to believe me, for this one. The table was really starting to take shape, or at leat the playfield was, which is the part we spend most of our time looking at. And it was fully playable, safe in the knowledge, that I wasn’t going to be causing any more damage, as I chased those high scores.

Total cost for the parts in this post – cards, springs, foam tape, glass - £32.
Next up, time to tackle the backbox in it’s entirety. Full strip down and rebuild.
 
A good clean up for not a lot of money 👍

I'm sure they are okay, but I think that I would have been too scared to use a magic sponge on the playfield.
 
A good clean up for not a lot of money 👍

I'm sure they are okay, but I think that I would have been too scared to use a magic sponge on the playfield.

I use them with a defnite caution. Sure, if you press down and rub, they will take off far more than you wanted. But literally using them with only their own weight, taking loads of time over it, I've never had an issue.... (yet)
 
  • Like
Reactions: HHH
UPDATE:

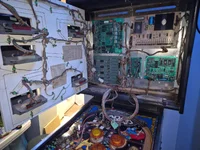
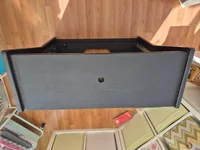
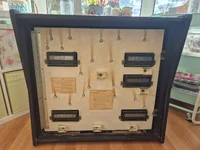
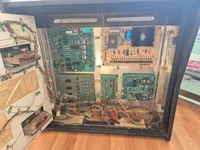
Next section to have a look at was the back box. If you remember, when the table arrived the back box was separate from the main cabinet. When I reunited the two sections, I understood why. As well as the two large bolts that go through the base of the back box into the main cabinet, there should be two hinges that allow the back to pivot onto the cabinet, whilst keeping it securely attached. Mine was missing one of these, but we’ll get to this shortly.

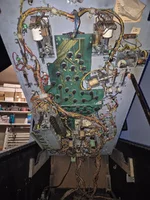
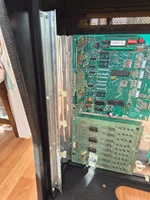
First up, was to once again separate the back box and see what we had. From the photos below, you can see that, once again, we have a fully working unit, that is simply showing it’s age.

20250315_134752.webp
20250315_134812.webp20250315_134834.webp
20250315_134912.webp
20250315_134839.webp
20250315_134854.webp

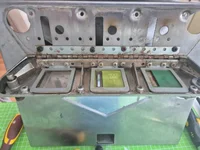
Looking in a bit more detail at specific areas, the metal work is very rusty in here, the grounding braid is in tatters, the instruction cards are filthy/torn, sections of vinyl are missing and the paint is wearing very thin.

20250315_140559.webp
20250315_140836.webp
20250316_093003.webp

Now, I could have taken this back to bare wood, filled, sanded and reapplied some new decals, but I chose not to. Mainly because, having just decorated one bedroom, I realise how poor the other bedrooms look, and fear the same would apply here. Plus, I’m not sure any replacement decals exist. No, the decision, as with the rest of the (very) sympathetic restoration is to work with what we have.

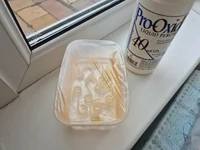
To that end, I stripped everything out, gave it a good clean and whilst doing this, I took advantage of the unusually bright sunshine that day, and turned the very yellowed plastic fastenings back to a closer shade of white.

20250316_114412.webp

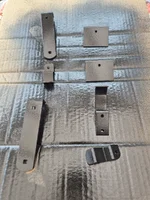
The metalwork pieces got sanded clean and a good few coats of Hammerite, to bring them back to life.

20250323_151306.webp

The artwork on the sides was carefully cleaned, again magic sponge and some very gentle detergent, to remove only the sticky residue, unwanted labels, etc. Then some touch up work where needed, again using Posca paint pens. The rest of the cabinet itself had a refresh with some blackboard paint.

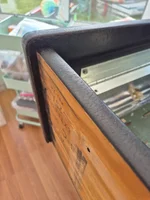
The t-molding was spruced up with some Autoglym bumper polish and the shiny silver backing given a really good clean, which was much easier with all the hardware fixings out of the way.

Where the vinyl was missing, I carefully applied a very thin filler layer to smooth the section then mixed some black paints to match the colour as best I could.

The instruction panels, unfortunately, using only a damp soft cloth, just fell to bits, when I tried to clean them, so I used the photos I had taken to reproduce some new ones.

Lastly was the long hinge to hold the front section in place, which had a good wire wool treatment to bring it up and I fixed in some nice shiny new ground braid as it once would’ve been.

20250324_133608.webp
20250324_133622.webp
20250324_133645.webp
20250324_133630.webp
20250324_133638.webp
20250324_133705.webp
20250324_133716.webp
20250324_133832.webp

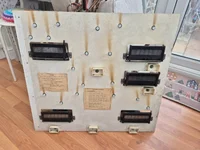
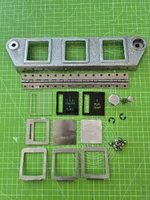
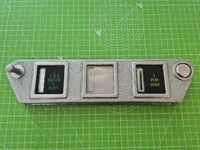
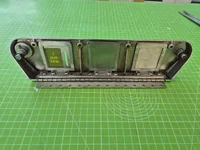
Next up was the front panel section, it broke down into components of; the panel itself, the score displays, the lamp surrounds, the instruction panels and the wiring loom.
NB: - full disclosure, I didn’t remove the illumination tracks from the rear of this panel, it just didn’t seem to merit the effort, for such little gain. They were just cleaned in situ.

20250324_095552.webp

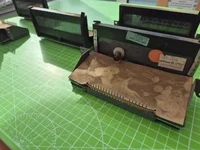
The displays were filthy, I mean filthy, but with little more than a dry anti-static brush, they cleaned up really well.

20250324_135125.webp
20250325_134253.webp

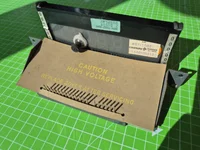
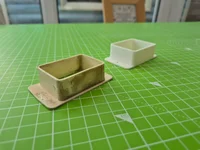
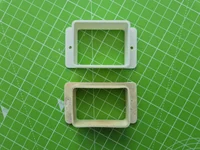
Next up were the six lamp surround/shield thingies, which I think are there to stop the bleed from certain lamps, focusing the light onto specific areas of artwork on the back glass. These are made from a type of plastic and stapled directly into the wooden panel. They too, were filthy. They were also incredibly brittle, and no matter how carefully I tried, two broke in the process and another simply disintegrated in my hand as I tried to clean it.

I tried to find replacements online, and whether it was my searching, or not knowing what to call these, I couldn’t find any. Time to break out the 3D printer. A fairly easy shape to replicate and before long I had some nice new ones.

20250326_154848.webp
20250326_154912.webp

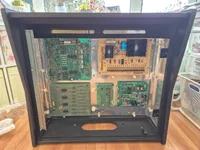
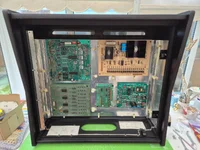
With all that done it was time to put everything back inside for those final money shots..

20250329_162546.webp
20250329_163520.webp

But of course, I still had to tackle that missing pivot hinge bracket, so that I could properly reattach this section, the way it was designed to be.
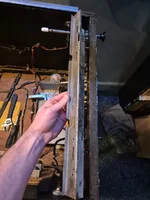
This is the piece I have, which fits to the main cabinet, as I am holding it. The other piece, is simply a mirror copy of this, and that is the missing piece.

20250323_165624.webp

I don’t have the tools to cut and weld this up, but luckily, I knew someone who did, who was happy (I think) to take it on. And before long I found myself in receipt of two new reproduction pieces, which, once painted, fitted perfectly onto the cabinet, and engaged with the newly painted brackets on the back box itself.

20250614_185326.webp
20250614_185333.webp

Almost done then, with just the back glass itself to refit. Nothing more than the gentlest of cleans needed. It is in fantastic condition, no flaking, no scratches, and the mirrored finish looks amazing.

20250820_165704.webp

Overall, this section came out really well.

Total cost for the parts in this post – braiding and fabricated brackets - £10 and a double Jack Daniels and coke.
Next up, time to tackle the coin door and mechanism. Full strip down and rebuild.
 
Last edited:
UPDATE:

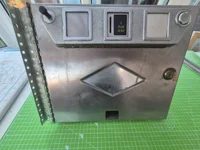
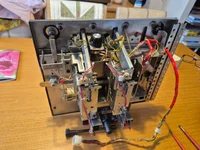
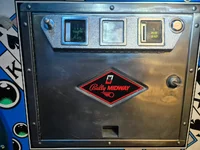
In this update, we’ll take a look at the coin door, including it’s fixings and all the gubbins and mechanisms that are attached to it.
With the door and frame removed from the cabinet, we could see what we were up against.

20250409_185742.webp
20250409_185836.webp
20250409_185946.webp
20250409_185941.webp
20250409_190017.webp

Some parts, the front face of the door, for example, are in decent condition, but others, on the back side (fnar), evidently not so, with some very gunked up and others very rusted.

20250417_124020.webp
20250411_110519.webp
20250417_134424.webp

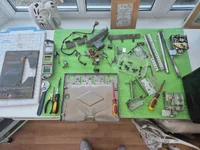
In principle, these doors and mechanisms are very similar across all the arcade and pinball cabinets, so I’m fairly familiar with them, and knew that the only way to properly tackle this is to strip it down to individual components. And for anyone that hasn’t, there’s a lot of components!!

Before I knew it, the table was full…

20250409_193722.webp

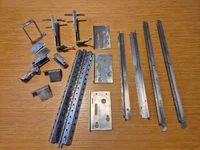
I started out with the coin slot section, but the same working practices were used across all the metal parts, namely a wire brush attachment in my drill, and some wire wool, to remove the rust and get back to bare metal. Then swapped out for a polishing head, with various grades of polish, then a final buffing wheel.

20250409_193247.webp

Before long I had a set of nicely cleaned up, rust free, polished parts to put back together.

20250413_165957.webp

This is obviously not going to magically make any dents or gouges disappear, but we are working with what we have and it still looks way better than it did.

20250413_172346.webp
20250413_172357.webp

Before long the pile of nice shiny things was starting to grow..

20250415_150821.webp

With some great before and after comparisons:

20250417_132723.webp
20250417_132438.webp

And by the end of the day, I had a lovely box of shiny bit to play with.

20250417_132301.webp

Turning to the wiring loom, it wasn’t the best, with some very tired tape around the wires, no longer being used, where the third coin mech is missing.

20250417_132952.webp
20250417_132959.webp

Plus, some of the soldered connections were literally coming away in my hands the more I handled it, so whilst it was out and accessible, I took the time to sort this as well.

All that was left then, was (to try and remember how) to put it all back together. It is at this time that you are glad you took as many photos as you did, whilst you were taking it apart. A new photo, for every piece removed.

20250419_160854.webp

That just leaves us to fit it back onto the cabinet and affix the missing sticker for the machine/period and we have another job ticked off the list.

20250807_101932.webp

Total cost for the parts in this post – repro sticker - £9.
Next up, time to tackle a few remaining jobs on the exterior of the cabinet.
 
Last edited:
UPDATE:

With a just a few jobs left on the exterior, let’s get those boxed off and put to bed.

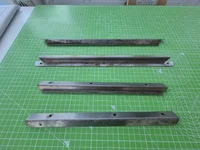
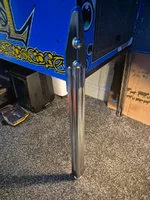
Legs, legs, legs.. When the table arrived the legs were in really poor rusted condition, not only that, they were clearly two different pairs, with two ribbed, and the other two flat.
I reached out and a friend kindly gifted me a set of legs from the correct era and another friend kindly collected these on my behalf at a meet I couldn’t get to and held onto them, until we next met up.
These weren’t perfect, but they were in much better condition, with just a mild smattering of rust to contend with. And they matched, all four!!

Same treatment used on these as per the coin door pieces in the update above, so I won’t go over that but show some before and after photos instead.

Before:
20250526_155112.webp
20250526_155124.webp
20250526_155130.webp
20250526_155116.webp

After:
20250526_155202.webp
20250526_155151.webp
20250526_155205.webp
20250526_155153.webp

Also needing the same treatment were the four leg levellers, which also came up really nicely.

20250607_195425.webp

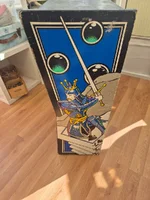
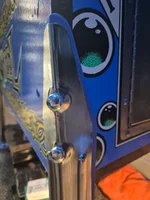
Before fixing them onto the cabinet, I ordered a set of plastic leg protectors, as the vinyl around where the original legs were attached, had become quite damaged and wrinkled with all those over jealous nudges. I opted for blue, for no other reason than black is a bit boring and it suited the main colour of the artwork.

20250614_191402.webp
20250614_191316.webp
20250614_191436.webp

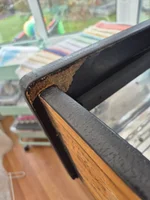
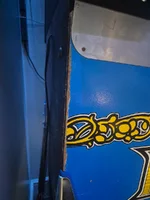
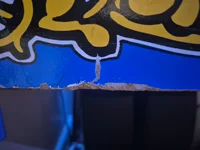
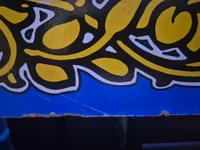
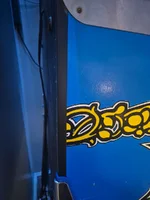
One final task to look at on the exterior were the bottom and back edges of the cabinet, where the vinyl artwork was fraying/coming away, and the wooden edges were fairly gnarled.

20250614_192536.webp
20250614_193450.webp
20250614_193457.webp

As with the back box, this was very much a work with what you have restore, with the simple aim of just getting things better than they were before, so this was never going to be sanded back, filled and new decals.
Instead I opted for a cheap and easily reversed option, and fitted some 10mm black PVC angle molding, attaching it with double sided liner tape and behind the leg protectors. A fairly simple solution that works really well.

20250614_194145.webp
20250614_194043.webp
20250614_194051.webp

Total cost for the parts in this post – PVC molding and leg protectors - £25.

Next up, time to tackle a few little jobs back on the playfield.
 
Last edited:
  • Like
Reactions: HHH
Hello,

I'm late looking in on this thread, but some flipper components may be advisable. Only the first one shown, main left, has the proper guide/rest stop, which the back end of the plunger slides through. The others have improvised replacements, which are allowing the plunger to go out of line, the third (upper left) being the more affected, to the extent that a compression spring is used on the plunger. But hey, if they're sufficient, what the hell.. Only one has the insulation intact on the flange that contacts the end-of-stroke switch, too.

The coin door usually has the coin entries installed with the metal plates, either blank or slotted, in front of the screened (or clear) plastic. As to only having two chutes installed, it may have always been like that, with the redundant wiring taped off. The u.k. fitment was, AIR, 50 pence on the centre chute (the large original 50p coin could have difficulty rejecting from either side), 10 pence on the right, with left hand chute not used. But credit to you for renewing the sticker. There was a 90's Bally offered for sale recently, with a 'diamond' sticker on it, which to me just looked daft. A Bally one, too, rather than Bally Midway. With that sticker and a motorcycle theme, I'd expect a Centaur, not a harley davidson.

Looking at the back box pictures, the serial number stamp, '1009', is on the right hand side rather than the left as with earlier Bally games.
 
Last edited:
Hey @Jay Walker .

Huge thanks for taking the time to reply.

Yes, the flippers work, but I'm keen to have them right/as they should be, all the same.

I'm out and about today and can't really work out what you mean, which is my noobness, not your description.

If I can't work it out when I get home and chance to look, expect a DM....

Thanks again for leaving a comment.
 
UPDATE:

With the Pinfest weekend, eluding me this year, I might as well get some more of these updates posted out.

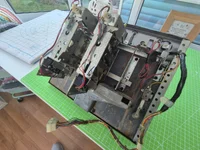
As well as some odd jobs on the playfield, we might a well gets our hands (very) dirty with the main PSU brick from inside the cabinet.
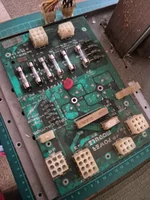
The PSU, along with the rest of the cabinet interior was fairly grubby, in fact, as I started to clean the cabinet, I stopped half way to take the photo below, just to show the difference…

20250420_103601.webp

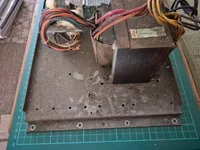
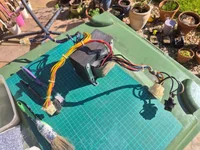
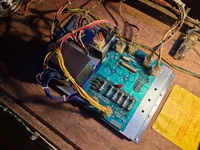
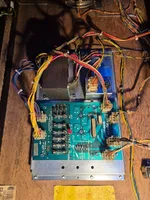
The PSU and transformer were of a similar standard..

20250420_101853.webp

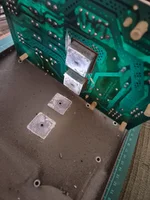
Getting it out into some better light, did not help it’s looks any and taking it apart revealed the original thermal paste to have long since dried up and left the building.
(PS: I did reapply some Thermalright compound paste but for some reason, never took a photo.)

20250420_105038.webp
20250420_104449.webp
20250420_105043.webp

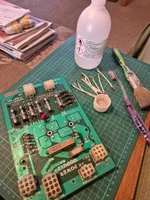
Nothing too taxing here though, usual expected accoutrements used to clean up the board, whilst the transformer got a good clean over in the sunshine to ensure it was all thoroughly dried out before going back inside. Again the wire loom did not escape, either, before it was all put back together and inside the cabinet.

20250420_111614.webp
20250420_163057.webp
20250423_170750.webp

A before and after comparison…

20250420_101831.webp
20250423_170825.webp

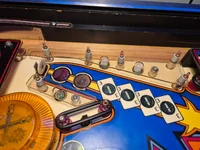
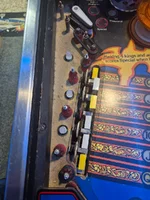
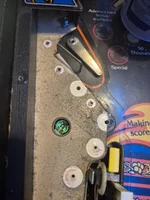
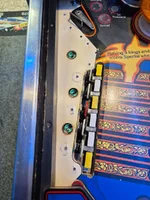
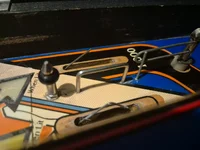
With that done, I spent a bit of time on the playfield, touching up the tiny areas of wear and repainted, where necessary, the wooden rails, taking off any metal work and polishing this up as I went.

20250820_201625.webp
20250820_201816.webp
20250820_201842.webp

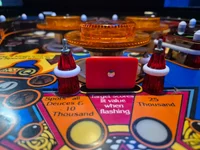
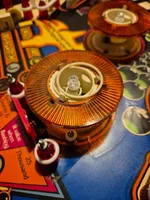
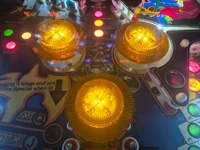
One other job on the to do list, which had annoyed me, since the very start, were that the pop bumpers did not match up. The collars were different, as were the caps, and one was missing the decal/logo. Clearly this was not going to pass muster, so some matching replacements were ordered.
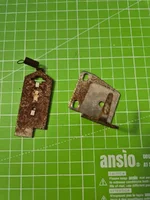
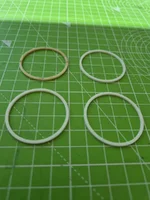
But as I was removing the old ones, I noticed that only one of the bumpers had the small internal white ring piece (“I say, Matron”), which clipped around the inside of the collar, in place. The others missing in action…

20250807_151444.webp

Back to the 3D printer and with some quick measurements taken, it was the simplest of prints to make up, and we had ourselves a set of new (clean) ones.

20250807_151541.webp

Which of course fitted exactly as expected and even though they will never be seen, I (and now you) know they are there, holding the collars in place.
New caps fitted and the whole trio look much better in their matching outfits.

20250822_204832.webp

Total cost for the parts in this post – pop bumper collars, caps and decals plus some thermal paste - £29
Full disclosure, on the previous update I forgot to include that I had bough new, longer, bolts for the legs, with the protectors now in place, to the cost of £10.

Next up, well, that is me pretty much now caught up, with where I actually am on this table.
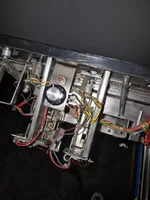
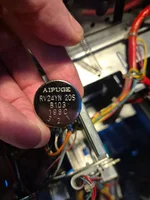
But I do still have some jobs to sort and then write up, which include – an issue with the volume pot; some more ground braiding in main cabinet to join up with the back box; plastics – some warped, some cracked, some scratched; some more work to do on the flippers, (thanks to David, @Jay Walker for helping me with this); and finally an issue on the front of the cabinet, where a hole had been covered over and needs addressed.

So, still a bit of a way to go, but I’m really enjoying playing this table for now, chasing new high scores. But it would be nice to get this finished, so in the words of Arnie, “I’ll be back”.
 
Back
Top Bottom