So here is my tale; The game I loved in the arcades was Addams Family, but when I started collecting and got an MM, that was the game I really fell in love with. The alleged remake in 2006 spurred me to sell mine in anticipation of a new shiny one that obviously didn't happen and then I went through a couple more MMs until a lovely one came up in early 2007, which I thought I'd keep forever but at the time I had limited space and so in order to try other games, it sadly had to go (to @bartron I think). More have come and gone since but space has always been the enemy, but, it is one of my favourite games so in order to make me keep one, I had the bright idea of building my own Medieval Madness, I'd done plenty of playfield swaps and restorations, so I figured it would be a challenge but not impossible.
Sometime in 2011, I bought an NBA Fastbreak and then in 2012 I took the plunge and went about buying some game specific MM parts (just a few it turned out as they were hard to source). I figured that I'd done a number of playfield swaps and every game has coils, switches and lamps in roughly the same place so how hard can it be right? In 2013 I bought some more MM parts but still a lot were hard to get and a lot were No Longer Available, I then had some habitrails made in America and Ed In Texas (who is part of the TPF team) was having some ball guides made and included me on the list - almost home I thought! It turns out dear reader I was wrong, very wrong.
Over the years, I bought more parts and some more parts were made by contacts of @andrew.m (this was in a time before remakes). I bought an MM to use as a template, then got bored of it taking up the space so it went, then in 2015 I bought a really poor MM for too much money, which I oddly held on to. In 2016, I bought a job lot of MM parts that had a lot of stuff in I was missing, still it didn't kickstart me in to action even though I promised it would. I considered selling the parts and the poor MM to get back space and cash but something kept nagging at me that I would eventually do it and then came lockdown, that's where the story gets underway.
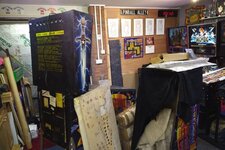
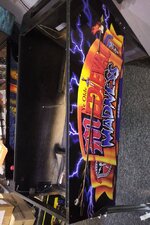
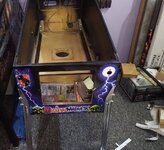
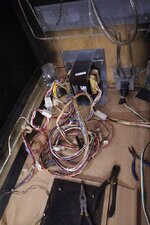
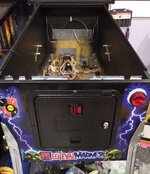
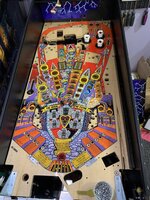
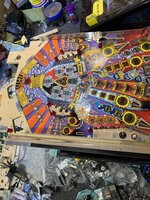
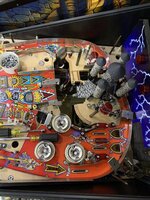
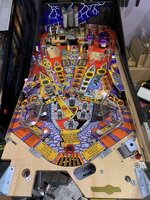
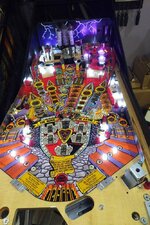
I decided it made sense to do the restore on the tatty MM whilst doing the build on the "new" MM here's what I started with, from a distance it looks ok
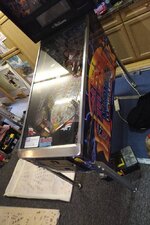
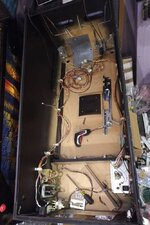
Underside looks OK
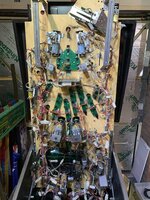
Top side not so good, parts were filthy, star posts shot and inserts not good, who cares though, we have new playfields
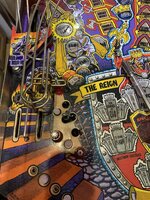
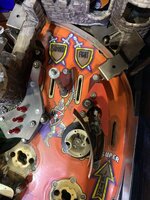
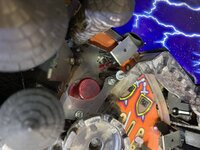
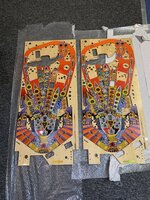
So, on with the show. It's been a long time since I did my last fully restoration (just checked and yikes it was an MB in 2012) First thing to do (the above stripped pics are probably a little out of sequence) was to get out the new playfields and check the parts
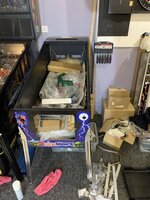
I had this cabinet decalled by @replicas some time in the distant past and it's been upended and filled with parts since, I fit the Stern leg protectors and cut the decals around them and then get it up on legs
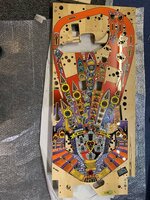
On with T-Nutting the playfields
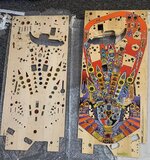
At some point after starting the T-nuts, I began to strip the old playfield, I did this on and off until just the wiring loom was left. The cabinet and internals weren't required straight away and I didn't fancy tackling the filth anyway. I find I spend a LOT of time cleaning when I do restorations/playfield swaps.
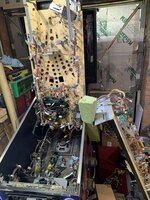
Lamp boards were one of the things that were hard to get hold of originally, I bought some unpopulated boards and did the soldering myself, although NBA does have a few lamp boards the same so I used those. For those who don't know, there is a handy website for checking common parts on games https://www.moll.no/pinball/parts/
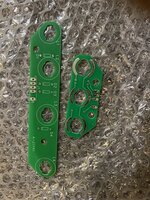
New boards have the black plastic surrounding the pins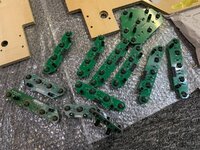
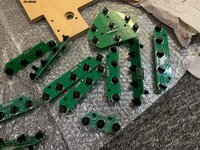
I decided to go with original GE lamps for the controlled lamps as I prefer the warmth, original boards installed on the first playfield
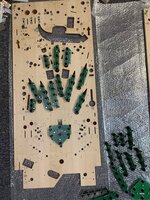
Parts were in some sort of order, but it was a little untidy at this point
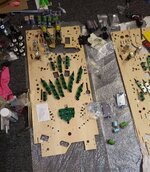
I'm pretty sure my next task was to make the flipper assemblies, here they are, nice and shiny
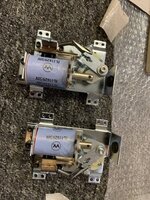
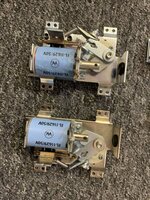
Fitted to playfield, along with pop bumper underside assemblies and a picture of the two built up collapsing castle assemblies
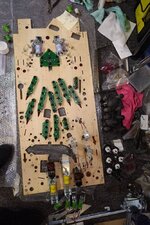
Before the troll assemblies can go in, mylar needs to be put down around the holes. I thought I was short of the mylar pieces, but going through the stock, I find I have 5 and I need 4 so on they go. I've put these on an MM in the past and I remember that they don't fit properly and need to be trimmed, both around the troll hole and next to each other. First up I trim the corners that would overlap in the middle (in the patron of the peasants insert) BEFORE laying them down. I also remember that a post goes through one of the pieces of mylar and if you mess up tightening that post, it turns the mylar and screws it up around the post - at which point it looks crap, this needs to be trimmed in situ - no pressure then!
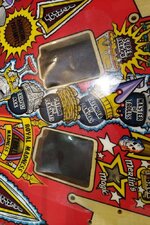
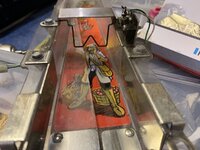
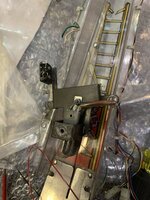
The best feature of MM is obviously the entire castle (split up into the collapsing castle and the drawbridge/gate assembly), next up was the build of the collapsing castle(s). I mentioned parts were hard to source, here's an ingenious operator repair for the plate that holds one of the turrets (the plates interlock and 2 are on springs so that 4 of the 5 can collapse and then reset)
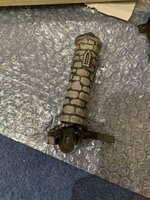
The part on the left is how it should look:
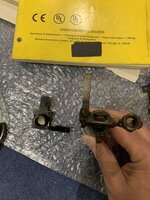
I'm sure I took a pic of the two castles side by side but sadly it's vanished (edit better picture 3 pics up), best I can do is below, note the difference in colours
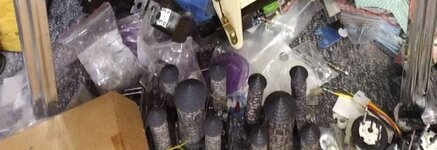
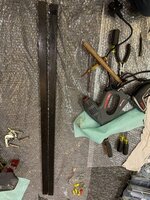
The other person mad enough to take this on is @andrew.m, he had some of the parts made, the metal hex posts the one wooden playfield rail and the backboard. Left is the new rail made of oak
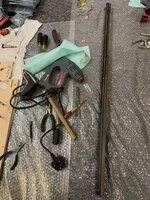
Drilled to match
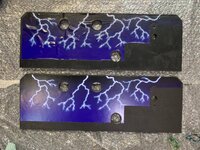
Backboard with new decal (new is the lower) note how the decal doesn't line up and it IS correct, it's why the factory ones crinkle up and bubble
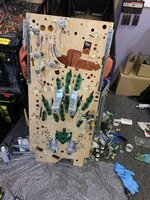
Once the underside is mainly done, I do the top side in the cabinet, once the wooden rails are on, I can get the hinge rails on the underside
It's at this point, I realise I'm a few parts short for MM number two, one of them is 1x mini coil assembly that does the two way gate (there was only one on NBA fastbreak). I call @CHRIS B PINBALLS as I sold him a mainly populated NBA playfield years ago, I know it's a long shot but luckily he has one and very kindly sends it out to me. I don't recall all the other parts required apart from 2 x large gears for the second drawbridge assembly, there were quite a few game specific parts I was short on (and numerous I had at least 3 of!) so off to pinball spare parts Australia to order them as it was the only place that had them all. Unfortunately that package has still yet to arrive even though it was despatched on the 12th April, so I made the decision to get the 1st MM completed
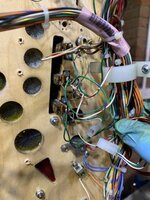
It seems I've either lost or not taken some of the pictures I thought I had, the playfield loom comes off the old playfield and gets washed, I'm not happy with it so it has a second going over, pic of part of the dirty loom
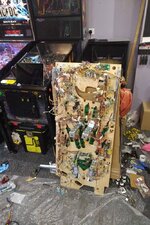
Followed by the glistening and mainly wired up loom, note the MS surface on the SoR, handy for watching those TV shows you've been meaning to watch whilst getting restorations done
It's taken a good while to get typed up to this point, so I'll continue this soon
Sometime in 2011, I bought an NBA Fastbreak and then in 2012 I took the plunge and went about buying some game specific MM parts (just a few it turned out as they were hard to source). I figured that I'd done a number of playfield swaps and every game has coils, switches and lamps in roughly the same place so how hard can it be right? In 2013 I bought some more MM parts but still a lot were hard to get and a lot were No Longer Available, I then had some habitrails made in America and Ed In Texas (who is part of the TPF team) was having some ball guides made and included me on the list - almost home I thought! It turns out dear reader I was wrong, very wrong.
Over the years, I bought more parts and some more parts were made by contacts of @andrew.m (this was in a time before remakes). I bought an MM to use as a template, then got bored of it taking up the space so it went, then in 2015 I bought a really poor MM for too much money, which I oddly held on to. In 2016, I bought a job lot of MM parts that had a lot of stuff in I was missing, still it didn't kickstart me in to action even though I promised it would. I considered selling the parts and the poor MM to get back space and cash but something kept nagging at me that I would eventually do it and then came lockdown, that's where the story gets underway.
I decided it made sense to do the restore on the tatty MM whilst doing the build on the "new" MM here's what I started with, from a distance it looks ok

Underside looks OK

Top side not so good, parts were filthy, star posts shot and inserts not good, who cares though, we have new playfields


So, on with the show. It's been a long time since I did my last fully restoration (just checked and yikes it was an MB in 2012) First thing to do (the above stripped pics are probably a little out of sequence) was to get out the new playfields and check the parts

I had this cabinet decalled by @replicas some time in the distant past and it's been upended and filled with parts since, I fit the Stern leg protectors and cut the decals around them and then get it up on legs

On with T-Nutting the playfields


At some point after starting the T-nuts, I began to strip the old playfield, I did this on and off until just the wiring loom was left. The cabinet and internals weren't required straight away and I didn't fancy tackling the filth anyway. I find I spend a LOT of time cleaning when I do restorations/playfield swaps.

Lamp boards were one of the things that were hard to get hold of originally, I bought some unpopulated boards and did the soldering myself, although NBA does have a few lamp boards the same so I used those. For those who don't know, there is a handy website for checking common parts on games https://www.moll.no/pinball/parts/

New boards have the black plastic surrounding the pins


I decided to go with original GE lamps for the controlled lamps as I prefer the warmth, original boards installed on the first playfield

Parts were in some sort of order, but it was a little untidy at this point

I'm pretty sure my next task was to make the flipper assemblies, here they are, nice and shiny


Fitted to playfield, along with pop bumper underside assemblies and a picture of the two built up collapsing castle assemblies

Before the troll assemblies can go in, mylar needs to be put down around the holes. I thought I was short of the mylar pieces, but going through the stock, I find I have 5 and I need 4 so on they go. I've put these on an MM in the past and I remember that they don't fit properly and need to be trimmed, both around the troll hole and next to each other. First up I trim the corners that would overlap in the middle (in the patron of the peasants insert) BEFORE laying them down. I also remember that a post goes through one of the pieces of mylar and if you mess up tightening that post, it turns the mylar and screws it up around the post - at which point it looks crap, this needs to be trimmed in situ - no pressure then!

The best feature of MM is obviously the entire castle (split up into the collapsing castle and the drawbridge/gate assembly), next up was the build of the collapsing castle(s). I mentioned parts were hard to source, here's an ingenious operator repair for the plate that holds one of the turrets (the plates interlock and 2 are on springs so that 4 of the 5 can collapse and then reset)

The part on the left is how it should look:

I'm sure I took a pic of the two castles side by side but sadly it's vanished (edit better picture 3 pics up), best I can do is below, note the difference in colours

The other person mad enough to take this on is @andrew.m, he had some of the parts made, the metal hex posts the one wooden playfield rail and the backboard. Left is the new rail made of oak

Drilled to match

Backboard with new decal (new is the lower) note how the decal doesn't line up and it IS correct, it's why the factory ones crinkle up and bubble

Once the underside is mainly done, I do the top side in the cabinet, once the wooden rails are on, I can get the hinge rails on the underside

It's at this point, I realise I'm a few parts short for MM number two, one of them is 1x mini coil assembly that does the two way gate (there was only one on NBA fastbreak). I call @CHRIS B PINBALLS as I sold him a mainly populated NBA playfield years ago, I know it's a long shot but luckily he has one and very kindly sends it out to me. I don't recall all the other parts required apart from 2 x large gears for the second drawbridge assembly, there were quite a few game specific parts I was short on (and numerous I had at least 3 of!) so off to pinball spare parts Australia to order them as it was the only place that had them all. Unfortunately that package has still yet to arrive even though it was despatched on the 12th April, so I made the decision to get the 1st MM completed
It seems I've either lost or not taken some of the pictures I thought I had, the playfield loom comes off the old playfield and gets washed, I'm not happy with it so it has a second going over, pic of part of the dirty loom

Followed by the glistening and mainly wired up loom, note the MS surface on the SoR, handy for watching those TV shows you've been meaning to watch whilst getting restorations done

It's taken a good while to get typed up to this point, so I'll continue this soon

