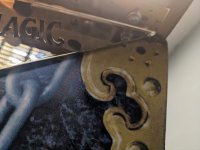
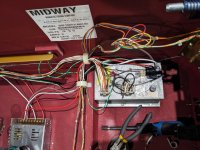
Initially got a few of Daveys Trunk fix boards to stop the ball getting trapped next to the trunk but unplugged it as the new Soren ROM claimed to fix this issue.
Then we installed the two posts, although they're mini posts with the fattest rubber so the same as yours really.
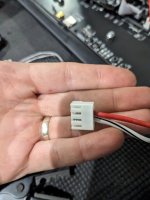
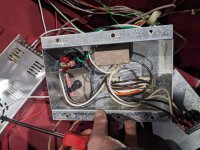
Claire's Theatre is with a friend right now and he kept reporting the ball getting stuck so I sent him two cables and told him to plug the trunk fix board in, no issue since.
Such a frustrating part of theatre of magic
Then we installed the two posts, although they're mini posts with the fattest rubber so the same as yours really.
Claire's Theatre is with a friend right now and he kept reporting the ball getting stuck so I sent him two cables and told him to plug the trunk fix board in, no issue since.
Such a frustrating part of theatre of magic


.jpg")


")