What's new
Pinball info

Register a free account today to become a member! Once signed in, you'll be able to participate on this site by adding your own topics and posts, as well as connect with other members through your own private inbox!

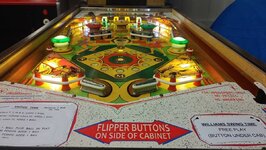
Complete Williams Swing Time 1963

kev a

Site Supporter
Joined
Jun 4, 2019
Messages
687
Location
Guernsey
Saw this listed in a local Facebook group a couple of weeks ago, along with another parts machine that was missing the head.
I'm not really into EMs at all, having never even played one before, but it was cheap, close by and with winter approaching I was looking for a project so decided to pick them up.
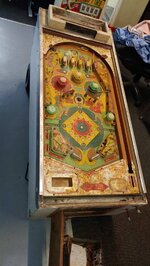
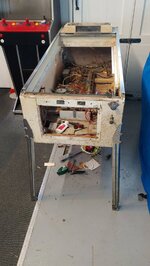
Unfortunately, they had been stored in a garage with a leaky door for the past 30+ years and Swing Time was missing the glass so most of the top side metal was rusted.

However, poking the phone into the head hole revealed internals that looked serviceable and complete, apart from a missing transformer, legs and lockdown bar

This is going to be much more of a budget shop job than my previous effort, I'm conscious how costs can add up, so trying to keep this one wallet friendly, so my aim is to get it up and running in passable condition rather than A1.

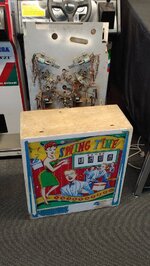
Pick up time.....
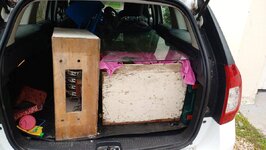
20221025_162918.jpg

Getting it home....

20221025_164549.jpg

Got it up on some old system 11 legs and attached the head.....
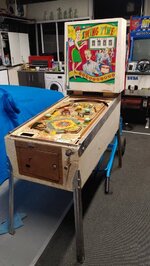
20221025_191043.jpg

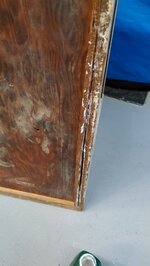
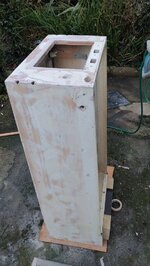
At some point the cab has been painted in what I assume is normal while emulsion, started chipping away and underneath the original artwork is still present, a few hours with a scraper revealed most of it, probably still requires a repaint, but at least I now have art to make stencils from....
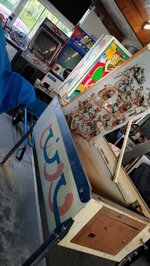
20221026_144813_HDR.jpg

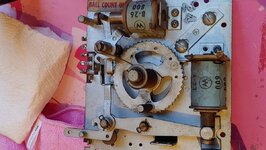
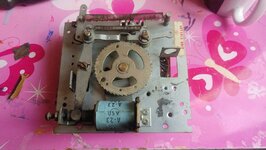
After some advice from a helpful peeps on the forum, managed to get the transformer wired in and got some initial signs of life, Flippers, bumpers etc working, following more helpful suggestions, cleaning up the ball count stepper units and score reels had the game starting and ending correctly.
20221029_174932.jpg

20221030_131543.jpg

Most of the game events are now working although I still need to investigate the T I M E relay that lights the add a ball scoop.

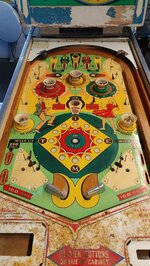
Swapped over the very rusted top metal arches from the parts machine, they are Gottlieb but apart from the gate being in a slightly different place seemed to fit just fine.
20221029_161331.jpg

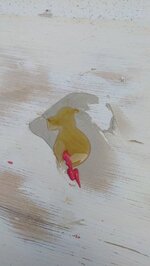
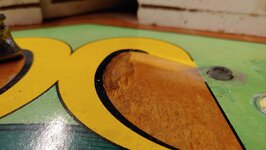
Working on the PF, a couple of major things needed attention, firstly a misaligned flipper had caused a big gouge across the flippers sweep, after some advice went with filling the scrape with some clear 2-part epoxy. It's not perfect but no longer effects the ball travel.
20221104_202403.jpg

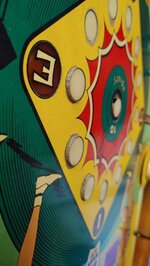
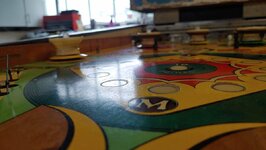
Next major PF item that needed addressing was the small round inserts in the centre, strangely all the others seem ok, but the small ones had sunk for some reason, tapped them out applied some wood glue and tapped them back in again.
20221105_114424.jpg

20221105_123556.jpg

Thats where I'm at now, need to start repopulating the PF with the posts and polished plastics :D
 
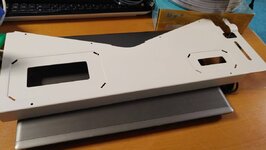
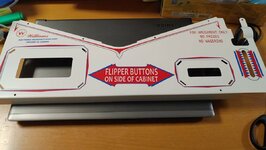
Small update today, decided to tackle the rusty apron. Initially tried cleaning but it still looked ropey, far too much pitting to touch up.
Went with sanding the whole thing back and spraying and in an effort to keep things cheap made up my own decals with printable vinyl using an old laser printer we are chucking away that still had some toner left.

20221114_135543.jpg

20221114_160426.jpg
 
Put the apron in the game but just plain white it looked a bit too new and bright, so added stippling, not 100% happy with it, applying after the decals made it much trickier.

Also finished cleaning the plastics and hardware, added new rubbers and (don't shoot me) warm white LEDs for the GI and inserts.
20221119_204919.jpg

20221119_205123.jpg
 
Moving onto the cab this week, started by stripping out all the parts.

20221126_121943.jpg

20221126_121948.jpg

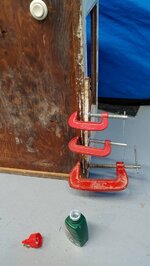
Repaired a little bit of the base at the front where the wood had come away with wood glue and some clamps.

20221126_154346.jpg

20221126_154818.jpg

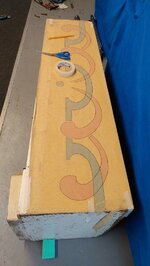
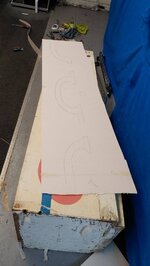
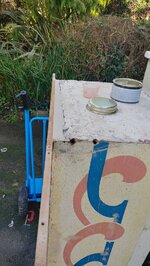
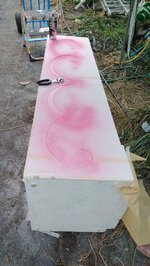
Luckily the art is good enough to try and make some stencils from, traced it out onto baking paper and then flipped it over and printed it onto thick 1mm card by going over the pencil marks on the reverse side.

20221127_121352.jpg

20221127_125914.jpg

Going to cut them out then start work sanding and filling the cab.
 
Bit more progress over the weekend....

I tried sanding back the original door coin door and painted it, honestly it looked terrible.

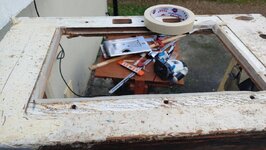
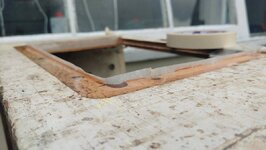
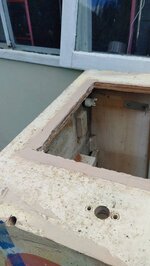
This might be a bit controversial, but as the door from the Gottlieb cleaned up ok, decided to use that one instead, this required enlarging the opening slightly and filling the recess, While I don't like making modifications to a game, the original was beyond salvageable and I really want to use as many bits as possible from the parts machine, plus they were stored side by side for 30+ years so while it's not 'correct' it's of part of this games history.

Figured with knocks from the door it was worth making this area as strong as possible so made up a dam with tape and used fibreglass resin, poured until it was nearly flush with the surface.

20221129_114837.jpg

20221129_115444.jpg

Then a very thin skim of body filler to fill any imperfections.


20221129_124953.jpg

Filled the missing section of wood on the back of the cab using the same method.

20221129_135352_HDR.jpg

After sanding back all the sides there were still a few imperfections.

Stole this method from Arcade Jason on YT, it's made from body filler, fibreglass resin and hardener, mixed together to a runny consistency, then spread with a card over the whole surface, it seeps into the wood fibres and fills any dips in the grain.

20221129_130615.jpg

Sanded back again to a smooth finish.

20221129_155209.jpg

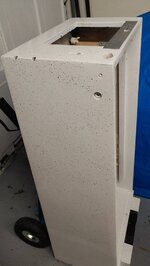
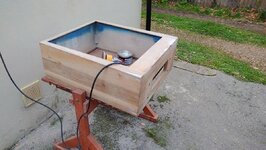
Painted it up first with primer, then white gloss, used a silver spray can for the stipple effect with the nozzle held at an angle.

20221201_194615.jpg

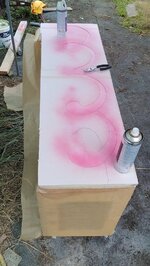
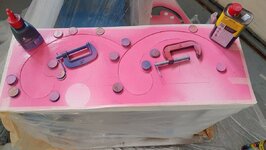
After the base had dried overnight went ahead with the stencils, pink first then blue on top, with card stencils it's very hard to get just the right amount of under spray to replicate the factory look, the spray seems to lift the edges of the card slightly, so I had to go over it afterwards to clean up some of the edges with a cotton bud and white spirit.

20221202_104851.jpg
20221202_105126.jpg
20221203_121553.jpg

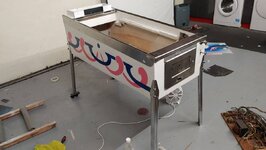
Once the painting was done started on putting back all the metal hardware then the internals and PF

20221203_165316.jpg

20221204_124536.jpg

Next job is to repeat the same sanding, painting and stencilling on the head.
 
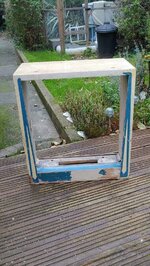
Started work on the head, over the last couple of days

20221204_132340.jpg


Filled the loose and dinged areas at the bottom and sanded.

20221204_143532.jpg

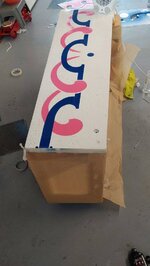
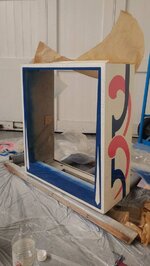
Painted in the base coat then started the stencilling.

Weighed the edges of the template a bit more this time to minimise under spray.

20221208_121819.jpg

20221208_203727.jpg

Just got the other side to do then I can start reassembly.
 
Looking ace!!! Nice work!
Thanks dude!

Been a bit of a learning curve, trying to keep the costs down on this one so there's a few bits that aren't 100% perfect.
Still got a couple of bits to order but looking like it should come in sub £400, including buying the game, so pretty happy overall with how it's turning out.
 
What a stunning job so far, looked ready for the tip to me but you’re doing a great job on it 👍👍
 
Thanks dude!

Been a bit of a learning curve, trying to keep the costs down on this one so there's a few bits that aren't 100% perfect.
Still got a couple of bits to order but looking like it should come in sub £400, including buying the game, so pretty happy overall with how it's turning out.
Well that's even more impressive. It's going to turn out really really nice. Watching with interest ☺️
 
Time for reassembly....

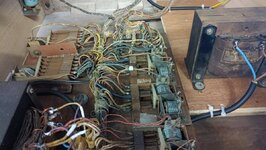
Moving onto the electrical side, when I got the game whoever removed the transformer had labelled up the wires attaching to it, I tested continuity to the relevant fuses with a multi meter to confirm these were correct before soldering them on, but was left with some rather strange behaviour.

Firstly the knock off switch seemed to act in reverse, i.e enabled the game would not function, but breaking the circuit the game would work, with power to the coils etc.
Secondly the power seems to be always on, for example all the relays are active even in the game over state.

I have made some discoveries recently, there's a broken switch on both the tilt and game relays, poking around I can't find any lose wires that should attach to them.
I think in the past something has happened and the part of the circuit that enables 25v power when a game is started and disables it again when a game is finished has been bypassed and removed, with circuitry that should have been enabled via a switch getting wired to constant power.

This gave me a decision to make, go over the whole thing trying to work out what changes were made and remake that part of the circuit, or work around the changes, the main problem being the ball gets released from the trough even after playing the last ball.

In the end decided it would be best to just attach the switch that activates the ball release coil to a source of 25v power that cuts off when the game ends, flippers and PF coils are still active in game over but without a ball in play there's nothing to activate them, so from a functional perspective the game plays just fine, I will document the changes made here for future reference, its possible a future owner may want to revisit this and please bare in mind I'm an EM noob, this is the easiest way I could see to get the game working, but for the more experienced peeps, if I have done anything daft please don't be afraid to point it out, I'm always happy to learn from others......

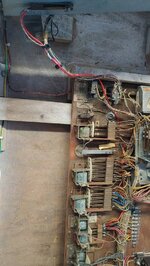
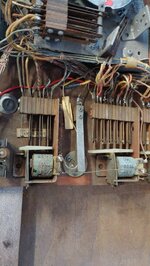
The original ball release wire has been zip tied in place with heat shrink over the end and a new wire run to a switch on the game over relay that closes and provides 25v when the game is in play.

20221211_115722.jpg

Also there's a couple of ways to earn an extra ball, the centre rollover on the first ball, lighting all four TIME rollovers which pulses the ball count relay, both worked correctly.

But also via the scoop, this was lighting when the advance light reached a lit TIME light on the PF, however with a ball in the saucer the eject got stuck and repeated over and over, looking at the schematic this should stop when the end of stroke switch on the ball count unit is activated, but nothing was activating this coil, I'm assuming this coil is pulsed from a switch on the score motor, but even connecting to these switches one by one, I couldn't find any that activated the coil at the right time to stop the routine.

The blue wire in the pic above is a jumper I added to provide 25v to the ball increase coil in the ball count unit, which is the only way I could get the ball unit to activate and stop the endless ejects.

its enabled for about half a second or so rather than being pulsed, I tested by activating the scoop in quick succession and the coil didn't get hot or anything, so I can't see any real problem with this.

Have also disconnected the kick off switch and shrink wrapped the connection.

20221211_115751.jpg

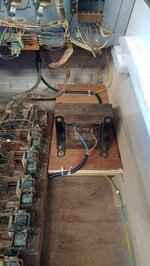
Wiring for the 230v to 110v transformer, I tried to route these high voltage cables as far away from everything else as possible,

20221211_115742.jpg

20221211_115758.jpg

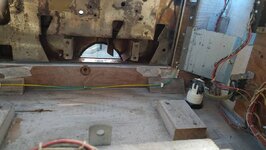
I also wanted to ground the main metal parts a player would touch, so have drilled a couple of holes through the side rails and attached some M4 bolts and nuts to ground, and also run a ground wire to the coin door and relocated the coin switch to the underside of the cab using a plastic button.

20221211_115734.jpg

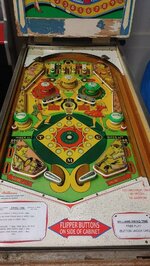
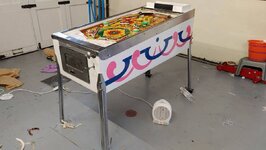
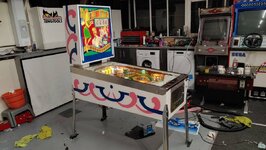
Enough waffle, here's a couple of finished pics (ignore the mess, I'm not a tidy worker :D)

20221210_185652_HDR.jpg

20221211_142527_HDR.jpg
 
Last edited:
Back
Top Bottom