What's new
Pinball info

Register a free account today to become a member! Once signed in, you'll be able to participate on this site by adding your own topics and posts, as well as connect with other members through your own private inbox!

Complete Whirlwhind - Re Decal

kev a

Site Supporter
Joined
Jun 4, 2019
Messages
693
Location
Guernsey
Was planning on leaving this till summer when the weathers a bit warmer, but seeing as we now have more time at home, thought it would be a good time to get stuck in.

Little bit daunting as this is my first attempt at any sort of major work on a pin, so be gentle but I have done a couple of arcade projects in the past, so hopefully some of those skills will transfer across.

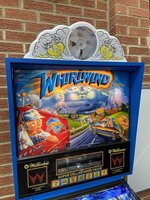
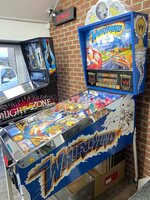
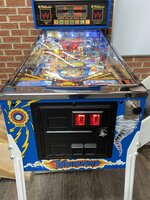
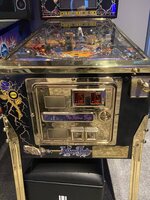
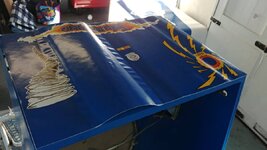
Here's how it started, it plays great but is looking tired. I'm normally one to try and keep things OG but seeing as it already has a repo translate, and topper, its never going to be an original machine, so my main aim is to get it looking nice and presentable
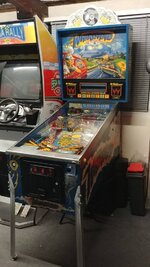
20200118_191909.jpg

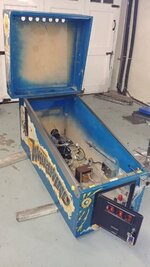
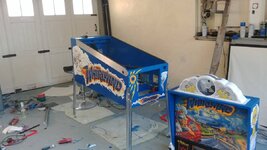
Got the legs off to make Playfield removal a bit easier
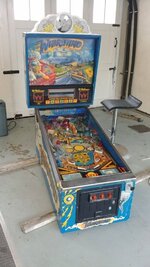
20200322_160932.jpg

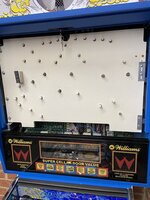
Corners of the head that will need to be filled and sanded
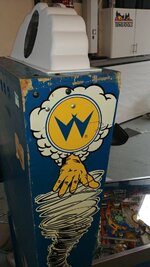
20200322_160956.jpg

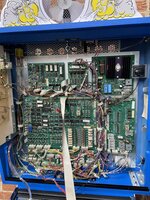
Marking up all the connectors and taking loads of photos, so hopefully when It all goes back together it makes some sort of sense
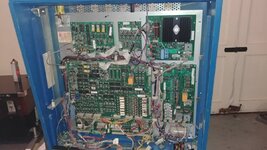
20200322_191112.jpg


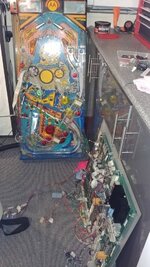
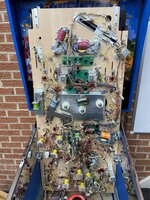
After a bit of a struggle the Playfield came out, and nothing seems to have fallen off :)
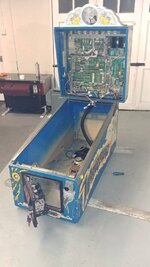
20200322_190938.jpg
 
Last edited:
Great stuff, will be watching with interest. These come up sweet when a bit of love is given to them.
 
Great stuff, will be watching with interest. These come up sweet when a bit of love is given to them.

Cheers dude, fingers crossed it turns out ok, enjoying the process so far, although I may not say that after sanding, sanding and more sanding
 
Wishing you well with it. A few whirlwind owners on here if you need a hand.
 
Cheers guy, yeah might be asking a few questions when it comes time to put it all back together :)
 
Cool, would be interested in seeing those dude, One question I did have, when putting the rails back on with the adhesive strip, does that get applied to the decal, or is it better to trim the decal maybe an inch below the top so the strip can stick directly to the cab?
 
whoa, that looks stunning, if mine turns out half as nice as that I will be happy.

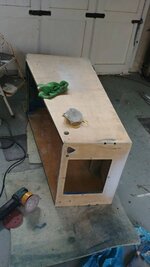
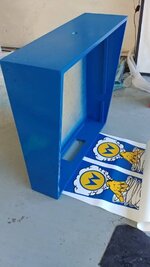
Sanded and started painting the head just a dust coat so far, trying to get everything super smooth, looks 100% then apply some paint and suddenly all these imperfections show up :)

20200323_155036.jpg

20200324_113158_HDR.jpg
 
@CHRIS B PINBALLS great to see some close ups of the whirly. Stunning stuff, gives us all something to aim for! How the heck did you get the bottom of the playfield that clean?!

Sorry for the hijack @kev a - backbox coming along nicely. No matter how much you think you need to sand, double it!
 
He sure has some skill, :thumbs: your right about the sanding, just put the wet coat on and there's definitely a couple of areas that could have done with more sanding, looked and felt smooth too, gonna wait for the paint to harden, sand back and fill, they are under the decal, but I really don't want any imperfections to show through
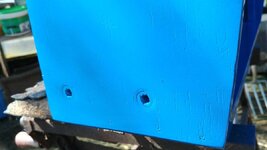
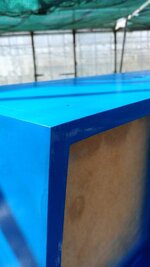
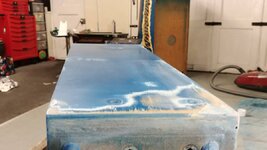
20200324_122826.jpg

But fairly happy with the front, was a nightmare to get this bit smooth...

20200324_122852.jpg
 
That’s a new playfield

That would account for it then! :rolleyes:

He sure has some skill, :thumbs: your right about the sanding, just put the wet coat on and there's definitely a couple of areas that could have done with more sanding, looked and felt smooth too, gonna wait for the paint to harden, sand back and fill, they are under the decal, but I really don't want any imperfections to show through
And they definitely will. There are certainly areas on my cab I thought were okay but show through once the decals were applied.
 
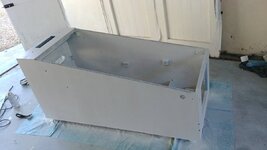
bit more progress today, sanded back the imperfections re primed and painted

20200324_195153.jpg


20200325_162748.jpg
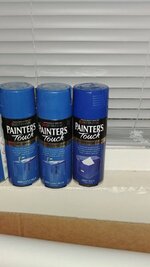
hasn't turned out too bad in the end, I don't think, the colour match is pretty close to the new decals, I had seen a couple of people using Rust oleum deep blue gloss, but having tried it im of the opinion brilliant blue is closer, not sure if its a UK/US varience in the colour or something.

20200325_163201.jpg
 
Have spend the last few days mainy doing one thing, sanding, sanding and more sanding, but getting closer to the fun part :)

20200329_124208.jpg


One question I have for those more experienced in these things. Is there a recommended way to do the sides? just paint the edges and corners and apply the decal to bare wood, or is it better to paint the entire thing? I'm thinking applying direct to the wood provides a better bond, but painting first will give a solid backing colour, and possibly smoother finish, not sure what to go with.
 
Thanks fella, think I may have seen that video before, but watched again as its a good refresher, that's one of the things I noticed in the video, that the side areas that are covered in vinyl are left bare, I had planned to paint the entire sides with primer and top coat originally.
 
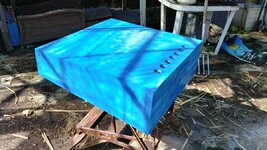
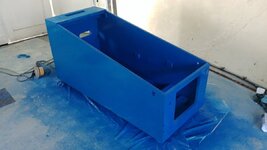
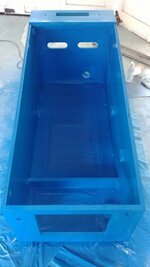
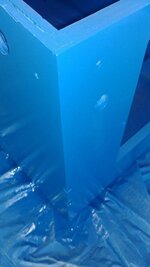
Getting closer now, got it all primed up, and managed to find time to get the top coat done today.
I struggled a bit with the Rust oleum spray cans, possibly bad technique on my part but the white primer doesn't have great coverage, and even shaking like mad and pre warming the cans the spray pattern starts off ok, but once half empty really struggles to atomise the paint properly, I resorted to abandoning the cans before they were empty but considering they were quite expensive I was a bit disappointed.

Having said that the finish seems to be fine and I'm really happy with the colour match. Going to leave for a good couple of days to fully dry before a fine sand before applying the decals.

20200330_174233.jpg20200331_160544.jpg20200331_160636.jpg20200331_160600.jpg
 
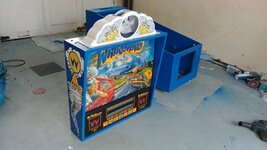
Little bit more progress, got the head decals on yesterday, had a little trouble with the first one, and got a couple of air bubbles :mad: made a couple of pin holes and luckily after a couple of hours the seemed to disappear, by the second one, sort of got into the swing of it and it went on ok. still scared about the sides of the main cab, think im going to get a helper for that one. trimmed back about 1mm away from the edge.

One thing I hadn't accounted for when shopping for paint, I had matched the decals with the white backing in place, once they are removed and applied over the blue paint they do darken a shade, still don't think I could have found a much better off the shelf paint match, but that is something to bear in mind.

Was planning on getting some nice screws to attach the topper, but well, that isn't happening any time soon, so had to resort to wood screws, will replace them with something nicer when the shops re open.

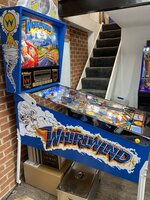
All in all, think its turning out ok for a first attempt.

20200402_155511.jpg

20200402_155743.jpg
 
Thats good to know, researching online there did seem to be quite a difference between one pin and another. The flier shows a blue that was a fair bit darker than mine was too, even in unfaded areas. This is actually the second set of decals I brought too. The first set were a much lighter blue.
 
Last edited:
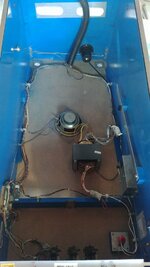
Started putting the earthing brade and wiring back into the cab, have been cleaning things up a bit as I reinstall them, luckily I took quite a few pics before removal, which helped no end when putting stuff back together, also gave the transformer a little coat of satin black, and also cleaned up the lockdown receiver, had planned to clean off any corrosion and give it a coat of protective lacquer, but I seem to have run out, so its got a coat of satin silver instead.

Nothing to crazy but much cleaner
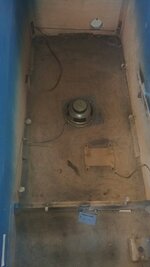
Before....

20200326_154143.jpg

After.....

20200409_112931.jpg

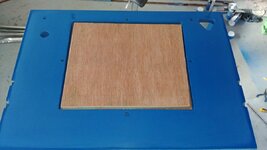
Then moved on to the scariest part, made a plywood square to cover the coin door cut out, not sure where but have seen it suggested somewhere, and it really did make things easier, takes a few extra mins to make but would really recommend this to any other newbies, also sanded back the paint again just to even out any bumps or dust that may have stuck to the paint while it was drying.

20200408_130329.jpg

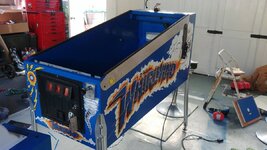
Applying the front decal, there really isn't any overlap with these decals, literally a mill or 2 to spare, spent ages making sure the start button was central, and started applying that side first.

20200408_130829.jpg

Front decal went on ok, got another couple of air bubbles although after making a hole with the hobby knife the air seems to have worked its way out, I didnt try pushing the air out this time, only made the hole and left it to disappear on its own.

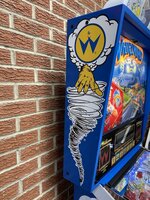
Didn't manage to get any pics of the side decals going on, but had a helper for this one, using the normal methoed of taping it in place and then removing half of the backing and working along side to side with a squeegee.

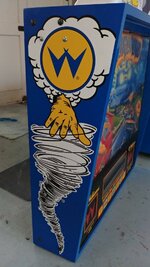
One thing I noticed is the large cloud image on the rear right hand side seems about an inch higher than the left hand side, there wasn't much I could do about this as there isn't much extra decal to play with, and even if I did lower the decal the very bottom of the W would be cut off the bottom, I notice the one Chris B did is the same, so I think this is just the way these decals are made.

20200408_184147.jpg


20200409_112224_HDR.jpg

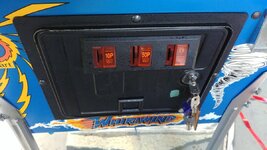
Also cleaned up the coin entry part of the coin door, painting it matt black and then splattering it with gloss paint to match the rest.

20200409_112336.jpg


So that's where im at right now, hoping to have time to start putting the playfield back in this afternoon.
 
Nice job👍
Get some of those metal cabinet protectors that screw on behind where the leg/leg bolts go on, will stop the horrible decal wrinkle from the leg squashing.
 
ah yeah I got some of those, forgot to take photos of them, they seem to work really well, the legs are a good couple of mill from the cab now
 
Thought it looked like there was a small gap, nothing worse than doing all that work then something happens to spoil it.
Good paint job from those cans too.
 
Back
Top Bottom