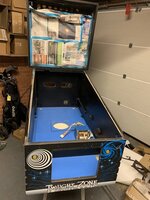
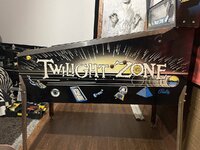
Here goes another project. I was warned it needed a lot of work but compared to the DESW I took on back on 2019 this is going to be a lot more pleasurable.
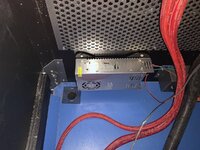
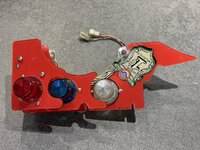
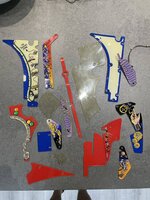
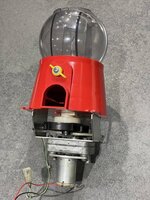
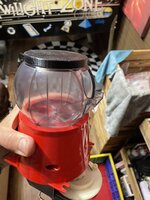
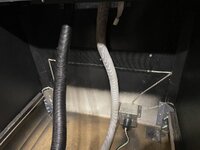
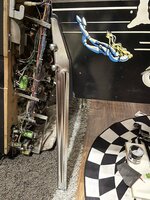
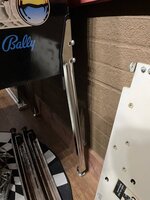
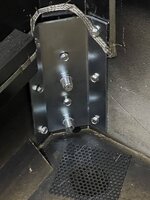
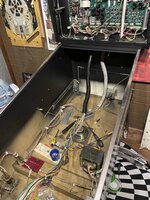
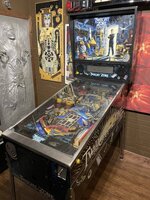
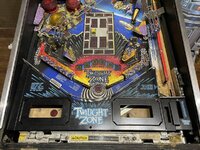
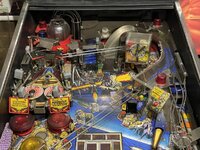
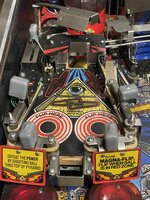
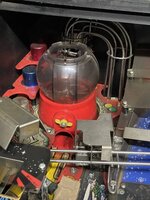
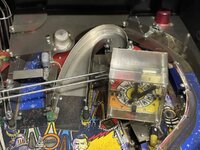
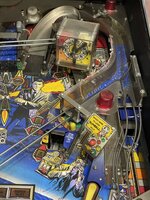
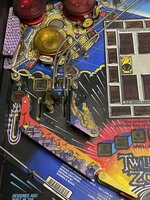
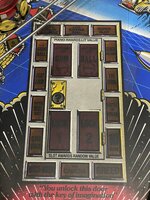
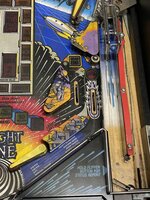
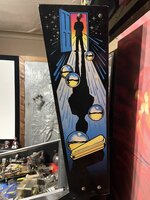
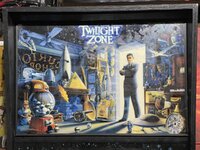
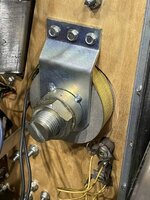
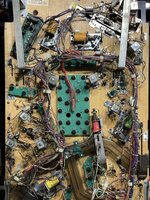
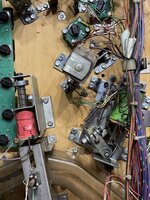
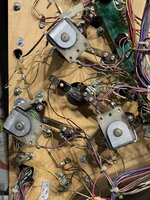
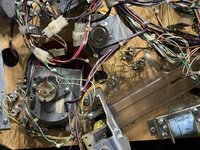
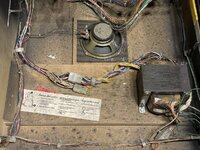
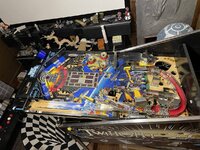
First set of photos is of how it arrived.
First set of photos is of how it arrived.
Attachments
-
 F7FF1B48-C06C-4B1B-B984-CF7DF728AEBF.jpeg159.1 KB · Views: 74
 -
 3CEE9A3B-E7A4-4762-81F8-F6A1E3C4EDD1.jpeg257.3 KB · Views: 66
 -
 9FF2D459-4A6D-476C-9684-92C5FF233898.jpeg221.7 KB · Views: 61
 -
 593A0821-2E17-4D60-8361-BCEB24EF4957.jpeg151.6 KB · Views: 58
 -
 8314A001-3D4C-4632-B5BA-2E2D4561C30E.jpeg109.8 KB · Views: 58
 -
 CBC2ACD5-B616-423C-B11F-EABF5C1598A6.jpeg162.6 KB · Views: 58
 -
 F7EE7F0D-7AB1-4B8C-B0FB-53A1CE67A929.jpeg172.5 KB · Views: 61
 -
 3A0D9411-6D79-4BCD-BF2C-100D82767C84.jpeg182.2 KB · Views: 67
 -
 A1BA8EB5-727B-4800-8C86-D76259246125.jpeg157.8 KB · Views: 68
 -
 5E778196-92D0-4EC9-A734-9700175E950D.jpeg179.2 KB · Views: 34
 -
 37D99D20-02D9-4882-9E53-819F90C5DBFE.jpeg114.2 KB · Views: 32
 -
 0647CEBE-AFC0-49B9-9D45-7EE9C101F240.jpeg171.7 KB · Views: 31
 -
 DFC088D0-45CD-4427-9063-5ACCBF37EAEB.jpeg195.4 KB · Views: 47
Last edited:
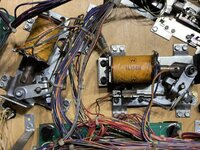
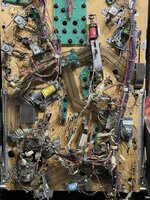
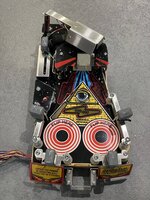
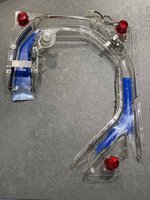
") . I am also taking a slightly different approach of putting sections of the playfield parts as I remove them into sealable bags as I go (I obtained a load of them during a work tidy up)
. I am also taking a slightly different approach of putting sections of the playfield parts as I remove them into sealable bags as I go (I obtained a load of them during a work tidy up)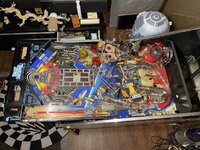

 Have fun shopping this one Andrew…… Cheers Keef….