What's new
Pinball info

Register a free account today to become a member! Once signed in, you'll be able to participate on this site by adding your own topics and posts, as well as connect with other members through your own private inbox!

Complete Terminator 3: Rise of The Dirt - Mini Shop & Tune Up

PeteB

Registered
Joined
Jun 28, 2014
Messages
1,455
Location
Global
Alias
Random Username
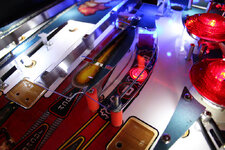
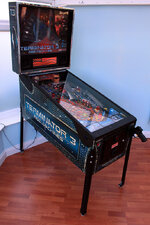
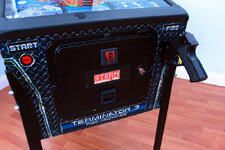
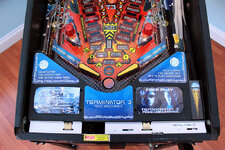
In possession of a very nice T3 but the playfield is filthy, and needs some improved lighting (via LED's of course). It's got a couple of features and switches not working 100% so a good tune up is also in order.

This is gonna be a quick one, or a "lite" shop out. ;)

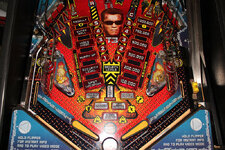
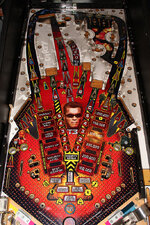
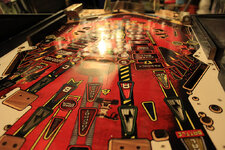
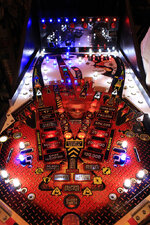
Looking at this, I know what you're thinking. You're thinking "wow that looks pretty nice already" but don't worry it won't be long before we uncover the dirt:
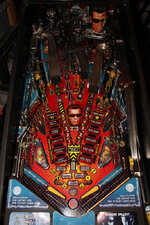
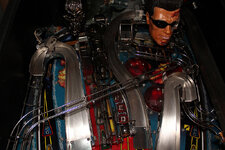
farm9.staticflickr.com_8733_17089313387_e1a4f3e17a_c.jpg

farm9.staticflickr.com_8709_17270798186_2f4ac1c104_c.jpg

farm8.staticflickr.com_7675_16674271574_9fe40fcd76_c.jpg

For some reason this playfield is pretty complicated to strip. Who on earth built this thing? Hours have passed and I've only got a few plastics off:
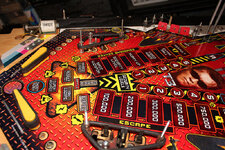
farm8.staticflickr.com_7698_17109144860_7f8c50a30a_c.jpg

Ahhhhh dirt, there you are. Knew I'd find you:
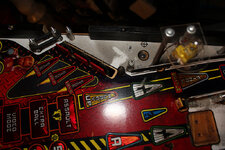
farm8.staticflickr.com_7720_17110506689_925e5bac8d_c.jpg

Yep, it's dirty enough to write things:
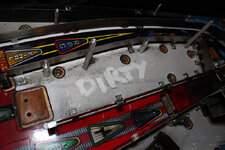
farm8.staticflickr.com_7692_16676466543_418c611fe0_c.jpg

Why so many posts? And I just noticed that RED target is supposed to be red, not black. Oh yeah, it's more dirt!
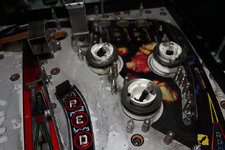
farm9.staticflickr.com_8807_16674198534_6b1874e2db_c.jpg

Everything is a PITA to remove on this game, but we're 90% there:
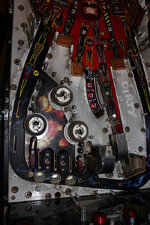
farm8.staticflickr.com_7672_17089228947_4567eb547a_c.jpg

Well, Gary Stern has killed me for tonight with his awkward playfield assemblies, so I'm retiring. More to come tomorrow.
 
Why are the bulbs all wonky in the pop bumpers? Is that because you've started to disassemble them or are they just like that on these Sterns?
 
Why are the bulbs all wonky in the pop bumpers? Is that because you've started to disassemble them or are they just like that on these Sterns?

I've no idea. I'm pretty certain this game has never been shopped in it's life and the pop bumper bulb sockets have definitely never been removed so it must have came like that from the factory.
 
@PeteB this machine is queue jumping he should be behind AFM and Hook. I'm waiting for your lead on how to dismantle the Hook playfield :cool:
 
@PeteB this machine is queue jumping he should be behind AFM and Hook. I'm waiting for your lead on how to dismantle the Hook playfield :cool:

Bahaha queue jumping!! I'm actually multi-tasking.

Technically, I have a Johnny Mnemonic for a customer which is before both of these but due to Martin causing delays, that has to wait.

As for Hook, I'm still trying to fix electronics before making it all beautiful. The display was failing/outgassed and on the day it arrived, within half an hour, the power supply blew up. Couldn't fix it due to being overly hacked up, so I'm waiting for an XPin to arrive. Once I get that in I can see what's going on with the display and then (hopefully) start tearing it down.
 
Boom! Strippage done:

farm8.staticflickr.com_7781_17108599617_0aa0cef34b_c.jpg

After cleaning, it becomes apparent this playfield really has no shine left at all. I'm gonna fix that:

farm8.staticflickr.com_7682_17108595807_38d1a5fbe1_c.jpg

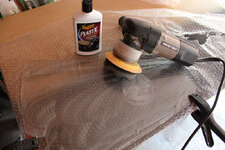
My trademark shine in progress:

farm9.staticflickr.com_8763_17128484720_9bd64339c1_c.jpg

Much better:

farm8.staticflickr.com_7749_17108585177_6051e3c5cb_c.jpg

Thumbs up for shine:

farm8.staticflickr.com_7663_17128474280_c8df13a2af_c.jpg

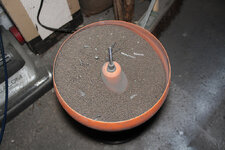
All metal and hardware has been thrown in the tumbler:

farm8.staticflickr.com_7762_16693579124_9e768d50e9_c.jpg

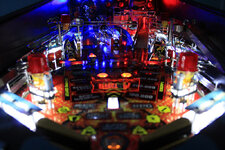
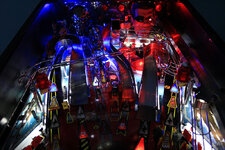
LED's are in:

farm8.staticflickr.com_7711_16695767593_6582b46ede_c.jpg

iwanticewater.files.wordpress.com_2014_01_bruce_almighty_b_e_a_utiful.gif

Rebuild starts tomorrow...
 
Last edited:
Is that shine the result of your patented polishing method?

I've pledged my R&B up now it's stripped down but it's still not shiny enough for my liking. Mind you, a nice clearcoat would sort that out.
 
Which LED's Pete?? Those Sling/drain leds look promising with regards to light dispersal....
 
I'll never fit anything else than Comet Pinball Opmax lamps for playfield GI now, nothing else comes close for light dispersion. Recently fitted them to a Black Rose which is a pretty dark machine, you can play it in the dark with the lights off now which is great. :)
 
Is that shine the result of your patented polishing method?

I've pledged my R&B up now it's stripped down but it's still not shiny enough for my liking. Mind you, a nice clearcoat would sort that out.

Sure is. But yeah no amount of waxing or pledging can put a high shine on a worn/dulled playfield.

Which LED's Pete?? Those Sling/drain leds look promising with regards to light dispersal....

GI always has to be round frosted in my opinion, and I prefer cold white because they're a little brighter and just look sharp. Don't bother with the flat top frosted's, they're not bright enough. Go for round frosted.

I get my frosted's from pinball-led.co.uk, unless it's a controlled lamp which might suffer flickering & ghosting. In that case I buy NoFlix Plus from Pinball Center.

Also great tip I discovered recently for inserts - I'm no longer bothering with yellow and orange LED's, again because they aren't bright enough. Instead I use warm white. Match colours for the rest.
 
@aaronhicksuk have you a link to the ones you use? There's sooo many different types on there... Cheers
I use the Opmax lamps for playfield GI - http://www.cometpinball.com/category-s/1836.htm

You can't get them anywhere else but Comet Pinball as they spent a lot of money and months developing them, I believe Martin Ayub helped out with this. They're covered by 2 patents. I've tried out sunlight white, natural white (more clinical white) and red variants and all are very impressive. Sunlights look best in most games, nautrals in games with cold playfields (lots of grey/blue etc) such as T2. I've used the red's on the dual illumination on Black Rose and the colour has a really intense hue, really impressive stuff. If you want to make your classic WMS pinball light up like a modern Stern look no further!

I'll see if I can post some photos, the trouble is everytime I've tried to take a pic it never does them justice. It looks as if theres hot spots around the lights but when viewed by eye the light is very even, no spots under plastics and really spread out bright light without glaring.

The Opmax is only good for playfield GI though. For back box illumination I use their frosted 2 LED Comfort LEDs http://www.cometpinball.com/product-p/25-pack-2smd-ct-ft.htm
I highly recommend you try these out too. For all those who believe that putting LEDs means an awful looking spotty mess than think again. The dispersion is spot on even on light translites like WH20. They may be a little bright for some tastes though in which case I recommend another similar lamp from their selection such as the 6mm Retro.

(BTW I have absolutely no connection with Comet Pinball whatsoever, just a very very happy customer!)

EDIT - Forgot to mention that the best thing I can recommend is buying a few of each of the different types of white lamps to see which ones you prefer. The natural whites are a really nice clinical white without the blue tint that most other LEDs seem to suffer from. Sunlight whites are the best compromise IMO for most tables as they aren't quite so hard but nothing like as orange as incandescents. I've never tried warm whites as I'm not a fan of the "orange incadescent glow" but would imagine they'd be perfect for those who like it.
 
Last edited:
@PeteB

May I ask what media you use in your tumbler. And do you put some brasso or autosol in there too pls ?

Thanks
 
Good question @DRD.

I'm just gearing up to start tumbling so would be handy to know. I've got 5 big boxes of assorted bagged up bits now so the next job is to sort them out so that all the cabinet parts are in one box, top of playfield in another, under playfield in another and then another couple for the PCB's. Whilst i'm doing that i'll have a 'for polishing' box which will end up being everything that is to be tumbled. Larger stuff like the various mechanisms from under the playfield will be done with a dremel most likely.
 
@PeteB

May I ask what media you use in your tumbler. And do you put some brasso or autosol in there too pls ?

Thanks

I use Ground Walnut. Wasn't impressed with the Corn Cobb that came with the tubler and I wasn't prepared to pay silly prices for the official branded stuff, so I looked on Amazon. Sure enough, it's a pet product. I bought a 5 litre bag of it and it's lasting longer than expected. [EDIT - DON'T GET THE 'SAND' VERSION. STRUGGLING TO FIND THE 'GRIT' ONE NOW]

I put a couple of squirts of Autosol in too. Bought these 3x tubes off Amazon http://goo.gl/3IET1f but I think I really need a bigger supply. It's amazing stuff.

Usually leave the tumbler running for at least 24 hours, and sometimes up to 3 days depending on how bad the parts are.
 
Last edited:
No doubt this question is in another thread, but the tumbler - best one and best price please? I will have a load of questions when I get my first thanks to @cooldan breaking my cherry so to speak[emoji30]
 
That's the one! Best tool I've ever bought.
 
I am new it tumbling and also have the lyman pro 1200. It came with media, but this wasn't very good. @ronsplooter suggested I use crushed walnut, and i find this much better.
 
Haha! Everyone's waiting for Hook. Well the XPin power supply arrived today so I'm gonna get started.
 
Slow but steady progress on this due to waiting for new parts, and having to dismantle and clean many small fiddly parts:

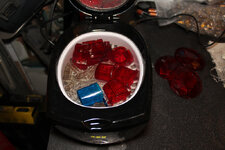
Decided to bring out the Ultrasonic Cleaner because I'm tired of cleaning parts by hand recently:

c1.staticflickr.com_9_8700_17345062238_91803a29fc_c.jpg

New rubber installed, all screws and posts finished tumbling so the rebuild has officially started, although only the foundations are in at the moment. Got all the switches cleaned and adjusted too:

c4.staticflickr.com_8_7759_17532688611_c2327c8f49_c.jpg

Out goes the old black T-Molding and in comes the Chrome. I think this suits the game much better anyway:

c1.staticflickr.com_9_8832_16912496153_a47c0cb9b9_c.jpg
 
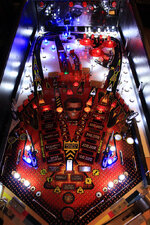
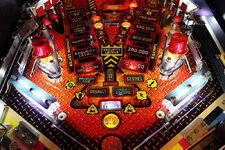
My apologies, I completely forgot to keep this shop log updated. The restoration was finished and the game is long gone but I have the some of the photos of the game being finished.

Rebuilding continues:
farm9.staticflickr.com_8884_17948640375_294b1ebde4_c.jpg

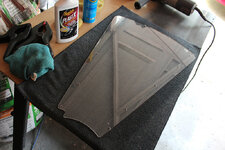
Polished plastics looking nice and clear now:
farm6.staticflickr.com_5349_17922200506_1f912931df_c.jpg

What a ballache this turned out to be - getting all the right sized posts in to hold up the rails and ramps just right, but got there in the end:
farm9.staticflickr.com_8805_17326004104_621a6dc16d_c.jpg

The RPG screen required some polishing:
farm8.staticflickr.com_7741_18060285090_17d4d544a1_c.jpg

Now, that's better:
farm9.staticflickr.com_8893_17625385514_6ea4cc99bf_c.jpg
 
Back
Top Bottom