What's new
Pinball info

Register a free account today to become a member! Once signed in, you'll be able to participate on this site by adding your own topics and posts, as well as connect with other members through your own private inbox!

Complete Stern Lightning refurb

AlanJ

Site Supporter
Joined
Dec 27, 2017
Messages
7,725
Location
Leeds, West Yorkshire
Alias
Alan
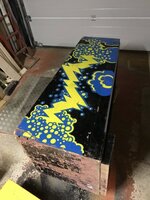
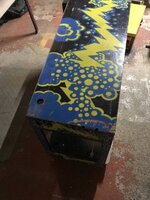
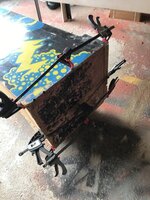
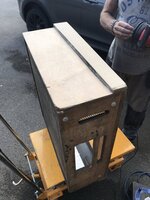
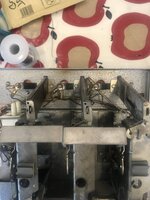
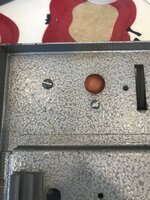
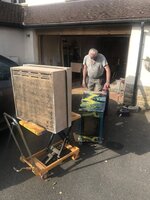
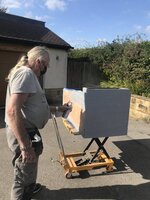
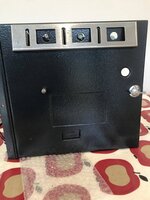
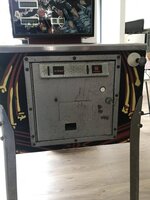
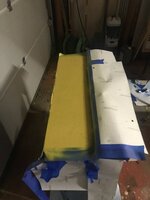
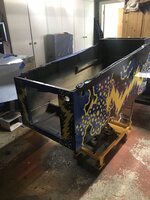
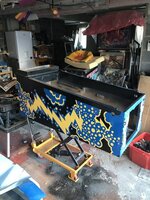
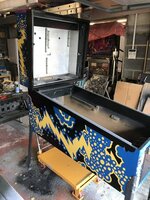
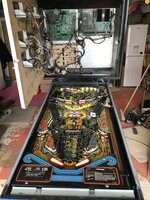
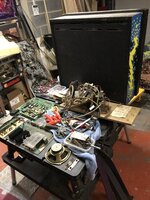
I bought this earlier in the year as an almost working game, i got it going but it really needs a refurb, so spent yesterday evening and this morning stripping it down.

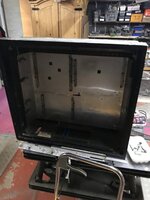
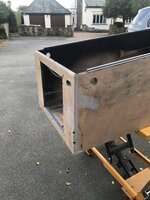
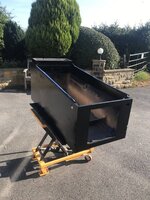
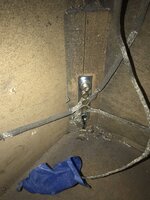
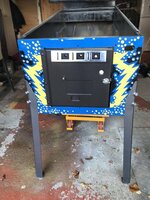
A number of the leg bolt plates have stripped threads, so the legs were wobbly. new ones ordered. The cab has various bits of plywood missing and lots of dinks and dints. It will be stripped back, repaired and re-stencilled. The playfield isn’t too bad, and no replacements available, so will be cleaned, rerubbered and new plastics as a few broken.
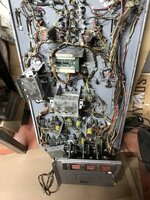
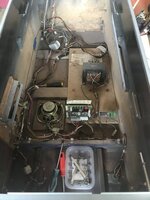
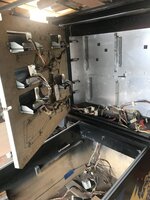
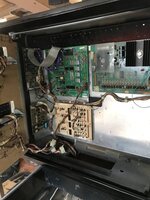
The electronics are a bit hot and miss, so will attempt to make it more reliable, either repair or replace boards.
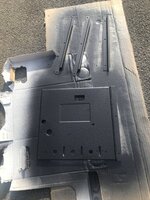
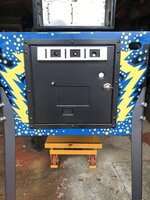
Coin door needs a strip and repaint.32AF3404-3304-4221-960E-5A26FEAA7F77.jpegFBC3E53D-7162-452D-BD17-582467532EAC.jpegBC45CED3-B241-4EA7-84F4-9B9E20633DC3.jpeg2AFDA713-41BA-4318-A221-79627A01A3B7.jpegD15D595E-E72D-435A-AAA2-CAD4D5727546.jpeg
It’s a great game so plan to keep this one.
 
Who needs sleep when there are pinballs to repair!!

You're a machine Alan. Keep up the good work. 🤜🤛
 
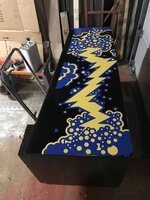
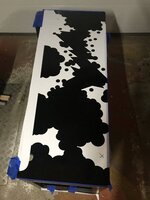
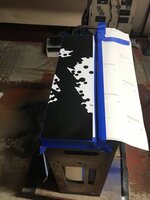
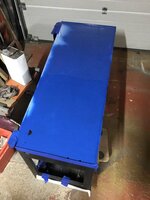
more sanding, filling, sanding, filling, priming, painting.
We have switched from wood filler to car body filler. it seems to adhere better, and is stronger on rebuild cabinet corners.
37A33FEE-12AC-4481-B01E-50639BA67D06.jpeg5803790D-3DFA-4D6E-B287-4D9E979D0F81.jpeg4C4A3F62-1D33-45C3-8330-DD0C0B34BB34.jpeg288DFFCC-0B4F-43F2-9EFB-34275DA78057.jpeg
 
  • Like
Reactions: Jib
Here’s the std colour stern coin door, on my meteor. i really don’t like the grey against the mainly black cabinet, this one will also be black when i get around to refurbing it
26DD1165-3163-4AEA-BF19-0EFE85D9EA7F.jpeg
 
Like so much Stern hardware, the door was inherited from Chicago Coin, or in turn from CDI. Mechanical shooting games, etc, can be seen fitted with it in old movies and telly shows. And this forum.
 
Last edited:
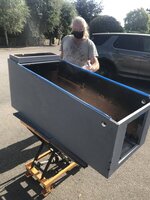
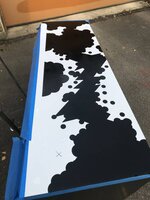
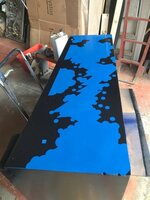
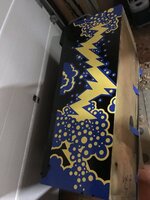
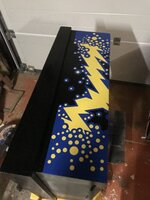
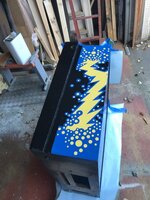
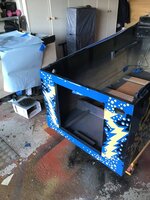
Like groundhog day. i like to keep the stencilling horizontal, so it takes 2 days per side, ie main cab is 6 days in total as has 3 sides requiring stencilling. the backbox takes 4 days. Then allow another few days for clear coat top layer.
39BD59D4-7229-4AC3-AEE6-D0309C57564C.jpeg0BD40D4E-6F53-4939-93D1-383A477D878D.jpeg5992965C-A138-4212-A8A4-6B9B7C408FA0.jpeg
 
Managed (just about) to complete the second side of the cab and the first side of the backbox.

It really too cold to spray paint. and i’ve got a few duff patches. i’ll have to hand sort them once the paints are fully dry and cured.

In cold weather the paint seems to flake up in places.

I am going to have to move the next cab repaint into the main house to help get a better paint finish (or wait until next summer!!)


B45248D8-E980-4E96-96EE-EBDFFDE3625A.jpegC682C142-CC14-47C9-999A-20159A73B2B0.jpeg
 
  • Like
Reactions: Arv
Hi Alan, @AlanJ
Word to the wise........
“Flaking up” normally occurs in lower temperatures due to the primer/undercoat not being cured. From experience, in cooler weather conditions
Wait 10-14days for primer to cure first before applying any top coat. (Problem is 2 weeks later it’s even colder , then you cannot apply the top coat anyways!.......🤓)
Nice to see some stern classic ss machines getting the love and respect they deserve. Keep it up Alan, enjoying this thread, shop logs are a refreshing change from the Pinflation handbag yeilders.😉
K.
 
84A1CA96-E061-4FCA-8BA4-AB64E069CBD2.jpeg
B61EEC71-62CF-4096-BC36-38897FE01D92.jpeg
728DE5DF-4798-4157-930C-9FDCB83E384D.jpeg

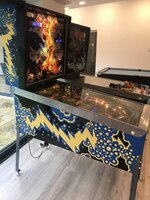
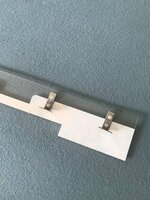
some better pics. all the stencilling is done. I’ve also replaced the broken leg bolt plates, so no more wobbly legs!
 
Busy day today

first replace the broken leg bolt receiver brackets and get its legs on
461EB770-B2F6-47FD-B1AB-49345A3A9BB1.jpeg

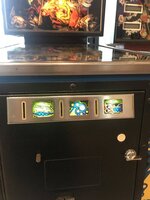
then start to reassemble. coin door first
91D50671-9D26-4CD7-80A2-DCBA2E8613FB.jpeg
then all the cabinet stuff, power, knocker, flipper switches, mains filter and on off switch. speaker and vol control, tilt board, etc etc
5C8310BA-7A41-4051-A428-FDE34AB8C78B.jpeg

head on
FD6F5159-4290-49F8-85A8-1D42A40B35D8.jpeg

coin door surround and lock down receiver
BCCF9672-3641-4D02-9B6C-BC1BB2A7DF32.jpeg

score display insert
74D25AAB-55B8-4D45-A671-43349DABA66D.jpeg

boards
52FA18CC-EF75-43FA-B8E4-961BE11FBBC4.jpeg

playfield
138C0D84-F3C4-4AC8-8D2B-62DA871EFADC.jpeg

need to check all wiring, the try powering up. externally still need to put on the side rails.
 
Got it all back together, but the blooming thing wont boot properly. I've spent hours today, even tried a brand new MPU board, which boots but then hangs up. Anyhow, back to basics. tested all voltages from rectifier board and then from SDB board - all good.

Stripped out the sound and voice cards and also disconnected scorbit.

Success I get the new and then the old MPU to boot and play a game, no sound. Tried plugging in scorbit - no boot, or inconsistent. Think the old headers / plugs need replacing and whilst they work with the old MPU board, the dont appear to connect to the slightly different scorbit pins. Anyhow, removed scorbit. All good again.

Wired in the sound cards - it booted and ran for a while then hung up, then wont boot. Suspect sound card is the issue. the main chip MC68A40P can cause MPU to halt or not boot if faulty, so I removed that and it booted ok - of course no sounds, but I did get voice from the voice card!

Cleaned up the sound chip and cleaned its sockets, re-inserted and it now boots and the full sounds are restored. Might need a new chip if it causes problems again.

Im going to leave scorbit out of the equation for the time being.

Next job - the playfield new plastics.........
 
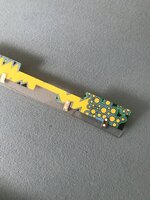
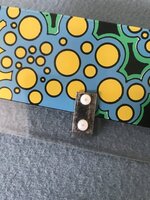
The plastics replacement on this are not as straightforward as most pins. there is a couple of vertical pieces that have riveted metal mounting brackets. I don’t have a rivet machine, but i managed to find some very small nylon bolts and nuts.
1BBB0A22-BBC2-4CC3-9AA2-9015A0AAEECD.jpeg
9FD13BC7-1D19-4533-8CC1-FC83EC367163.jpeg
B02A4E7E-F41A-49A7-8E2F-A3C3F6E56A37.jpeg
I could paint the heads with chrome paint, but once i fitted it, they’re not very noticeable.

Finished the coin door
A9CDEC48-61C5-4C50-83CE-8F51CBBEA222.jpeg

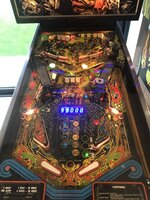
Machine is all back together, now time to play it!!!
F7368371-7D6D-4EE2-8C76-63D597057CB7.jpeg
D50D469B-F7B7-460D-B6AE-47584DE6C571.jpeg
 
This is one of the machines I vaguely remember from my yout - before I even had the slightest interest in pins. Not quite as memorable as Centaur but I do remember it.
 
Back
Top Bottom