What's new
Pinball info

Register a free account today to become a member! Once signed in, you'll be able to participate on this site by adding your own topics and posts, as well as connect with other members through your own private inbox!

Complete Star Wars (Sonic)

ronsplooter

Site Supporter
Joined
Jul 21, 2011
Messages
6,475
Location
Nottingham
Alias
Chris
The Fish Tales is still in progress but I'm going to get Star Wars done at the same time as it's a lot simpler game so hopefully shouldn't take too long to shop out :D

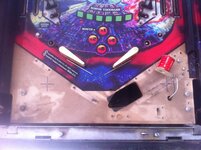
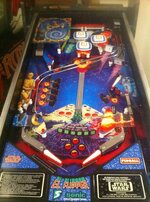
Top side of the playfield is already stripped down and parts are in the tumbler. Here's the playfield post tear down with the dirt still intact...not too bad and because it's a plastic playfield there's no damage to the art :thumbs:
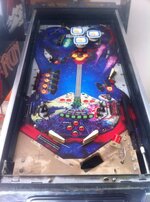
IMG_8861.jpg

IMG_8862.jpg

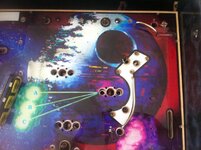
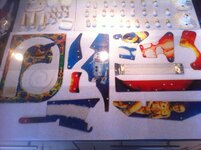
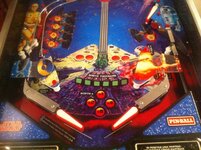
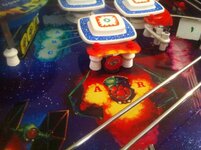
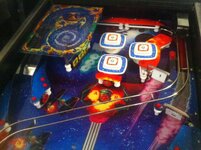
I hit it with a quick blast of foam cleaner to get the major crap off so that I don't get dirty hands taking it out of the game. There's some pretty cool art on the game.....
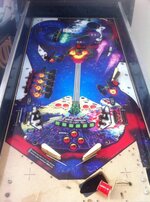
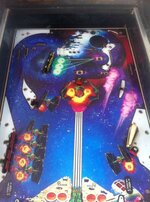
IMG_8893.jpg

IMG_8894.jpg

IMG_8891.jpg

Nothing particularly unusual in stripping the top side down although the pop bumpers were a bit weird. There's wiring in there for lamps but it looks like it's never been used and there are no sockets :hmm: When the game is back together I'll test for power and see if I can get something in there that works.
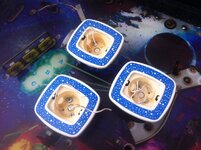
IMG_8864.jpg
 
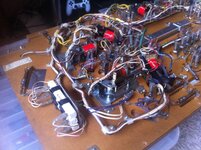
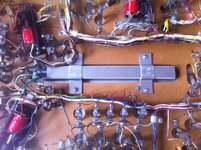
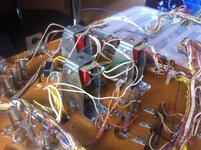
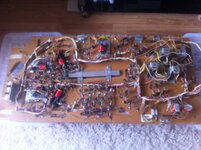
The playfield is out and ready for me to start stripping down the underside. For such an old game the bottom of the playfield looks in really good shape. You can see the metal trough that's under the laser beams and the pop bumper brackets are a design I've not seen before.

IMG_8917.jpg

IMG_8918.jpg

IMG_8919.jpg

IMG_8920.jpg
 
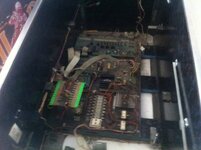
As seems to be common with a lot of Spanish games, there's nothing in the backbox other than the displays and a fluorescent tube to light the glass. All of the boards live in the bottom of the cabinet a bit like an EM :)

IMG_8921.jpg

First up is the transformer.....

IMG_8922.jpg

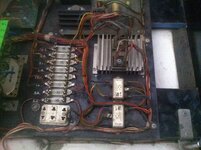
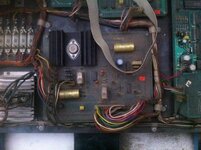
Next to that is a bank of fuses, couple of line filters and the bridge rectifiers set in a beefy heatsink.....

IMG_8923.jpg

Behind that is the power board.....

IMG_8924.jpg

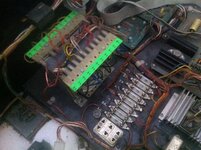
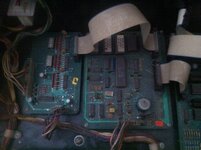
Next to the power board are a couple of pcb's that I'm guessing making up the CPU board. The bigger one has the processor and ROMs on it and the smaller one has the dip switches used for changing the settings....

IMG_8925.jpg

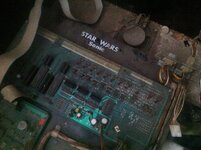
Finally at the back of the cab is the driver board.....

IMG_8927.jpg

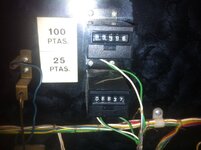
Another interesting thing in the cabinet are the coin meters. They're in Peseta's.....

IMG_8928.jpg

The current settings give 1 credit for 25 Pesetas and 5 credits for 100 Pesetas so if we assume the game has always been set like that it gives the total number of plays as 25,817 :D

In monetary terms that's 560,525 Pesetas which is roughly 3350 Euros (based on the last conversion rate I can find) so assuming a 50/50 split between the operator and location the game made the op 1675 Euros :) God knows how much this game cost NIB back in 1987 but I suspect it wasn't a great money maker :tut:
 
Not been much progress in the last couple of weeks as work has been crazy busy so pinball had to take a bit of a back seat :( The bottom of the playfield has been stripped of all major mechs and the cleaning/tumbling is ongoing. There were a couple of interesting things when removing stuff from the underside.

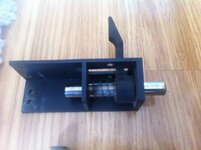
The first is that the slingshot brackets are plastic rather than metal which, seeing as all the other major mech brackets are metal seemed a bit odd. The pop bumper rings are also a mixture of metal rods with plastic rings which I don't remember seeing before.

IMG_9007.jpg

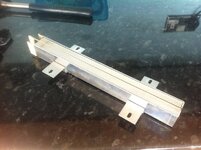
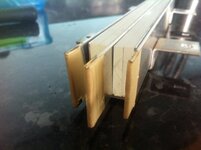
The second is I can now see how the laser beams work :) What I thought looked like metal strips from the topside are actually pieces of clear plastic held in the metal trough. There are 4 lamps at one end that light up when you activate the lasers and make the plastic light up kind of like how fibre optics work :cool: Never seen anything like this on a pinball machine before :thumbs:

IMG_8991.jpg

IMG_8993.jpg

I've cleaned all of the plastics and there's nothing damaged so they should polish up really nicely.

IMG_9055.jpg

The biggest issue thats come to light whilst cleaning stuff is to do with the white plastic posts and flipper bats. They are all badly stained and I've already tried numerous cleaning attempts plus soaking in bleach for a few days and nothing will shift it. I'm hoping I can get the flipper bats looking better with Novus 3 and a lot of elbow grease but that's not feasible for the posts.

I was initially thinking about trying peroxide cream in a similar manner to how retrobrite works but I suspect that won't get them looking that good as I think there's a fair amount of nicotine staining as well as UV/bromine staining and the peroxide won't do anything about the nicotine. My current plan is to get some white car primer from Halfords and give them all a light dusting of that followed by a dusting of clearcoat....we shall see if that works but tbh anything will look better than currently :D

IMG_9052.jpg

IMG_9048.jpg
 
Last edited:
Chris have you ever tried scraping plastic with a scalpel ? You can only really do flat surfaces (like those flipper bats).
It takes a bit of practice to make sure you get it even but it can give good results. I did the drop targets on my Vector that had yellowed quite badly.
 
Chris have you ever tried scraping plastic with a scalpel ? You can only really do flat surfaces (like those flipper bats).
It takes a bit of practice to make sure you get it even but it can give good results. I did the drop targets on my Vector that had yellowed quite badly.

Nice one mate, I'll give that a go if the Novus 3 fails :thumbs: For the posts I've bought some of the white plastic paint from B&Q, the kind of stuff you can repaint garden furniture with so hopefully that'll sort them out :)
 
Chris
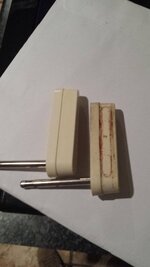
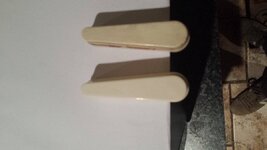
Just did this with a pair of flipper's which came of my medusa
Using t- cut and auto Glyn
20160416_212614.jpg 20160416_212637.jpg
No why as bad as yours but there is an improvement.
Ps I only did the one flipper bat,
Hope this helps, if not ...spray the f uckers :D
 
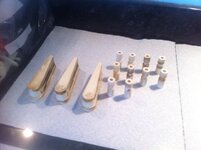
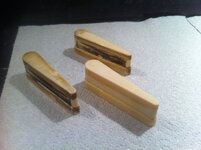
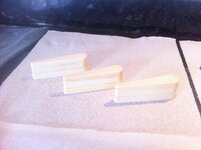
Flipper bats and posts are now looking a bit better. The first pic shows the first pass over one of the flipper bats and the other two as they were for comparison. The second pic is all 3 flipper bats done :thumbs: They are by no means perfect but I think I'm going to leave them like this rather than spray paint them. The spray looks ok on posts but on something bigger like the flippers I think I'd prefer to keep them unpainted.

IMG_9060.jpg

IMG_9062.jpg

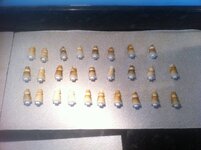
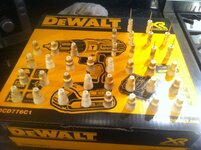
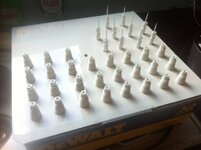
The posts are a massive improvement :D It took a few coats of the white plastic paint to get them looking decent and then I've given them a final shot of clear. First pic is what I started with and second shows how they look now....just need to wait for them to dry properly.

IMG_9057.jpg

IMG_9064.jpg

I've also spent some time today polishing up the playfield with my new drill....the box came in very handy as can be seen above :D
 
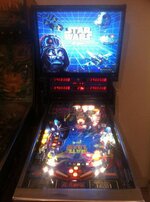
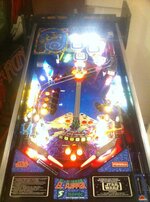
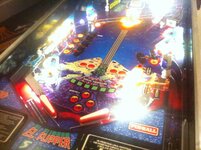
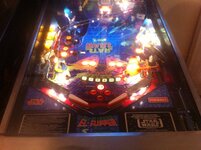
The game is pretty much finished :D Everything is back together and it's just a case of working through the minor snags and adjustments. I also need to lower the playfield angle a bit as the shiny plastic playfield makes having the game steep just mental to play :eek:

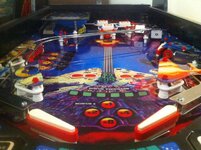
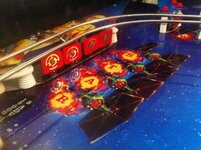
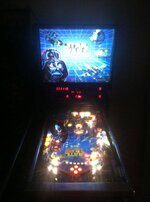
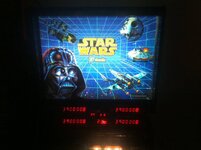
As per usual, the crappy camera on my iphone doesn't play well with the LEDs so they look crazy bright in the pics :cool: In the flesh they look really good and suit the space theme nicely. Once I've got everything adjusted right I'll be shooting a video as there's very little in terms of pics or vids of this game on the net :thumbs:

IMG_9097.jpg

IMG_9100.jpg

IMG_9102.jpg

IMG_9105.jpg

IMG_9106.jpg

IMG_9101.jpg
 
Excellent work and sourcing something unusual again - please upload an audio of the cheesy star wars theme it plays.
 
Back
Top Bottom