What's new
Pinball info

Register a free account today to become a member! Once signed in, you'll be able to participate on this site by adding your own topics and posts, as well as connect with other members through your own private inbox!

In Progress Sorting a bop 2 mess

chris b

Registered
Joined
Apr 18, 2012
Messages
2,521
Location
Bradford west yorkshire
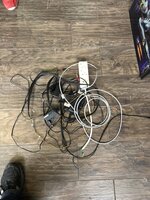
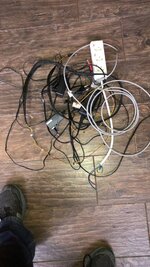
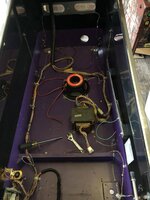
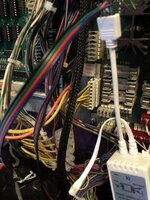
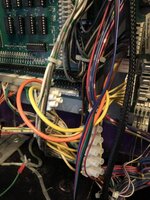
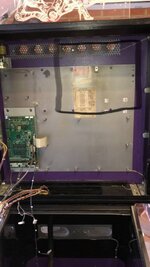
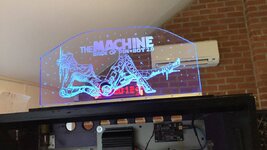
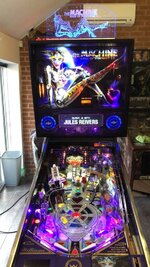
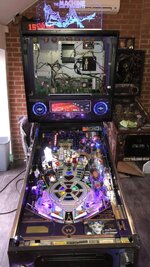
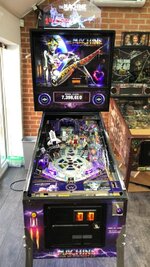
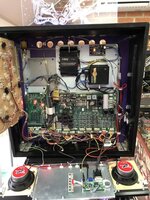
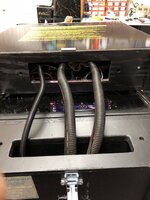
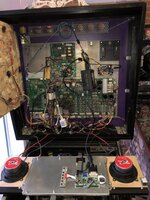
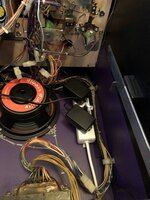
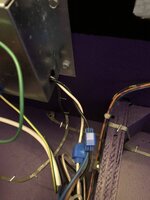
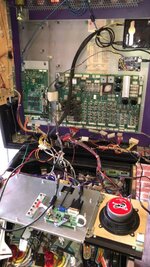
EAE7C6AF-E4E8-4EDF-8339-D18549D5890E.jpeg 4A6EE77A-4A7B-4D92-B849-CCB12CC33B3D.jpeg D333886E-D7D5-406E-930A-662E8012162F.jpeg F767AE67-3C9A-40C6-9E7B-3D27E644BB71.jpeg E63BE4F6-310D-476F-A6B8-0B8C7172BA5B.jpeg 845B27AE-F8AA-4FBD-BCBA-C49FCE4623F4.jpeg had a bop2 dropped with me from a customer a couple of months ago non booting well on first inspection I think the butcher of Baghdad did the conversation on this one I have never seen anything like it I think a bit more than I can handle on my own so a quick call to my good friend Jim at my Pinball’s for a hand
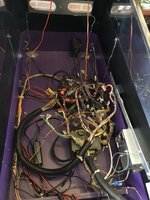
 
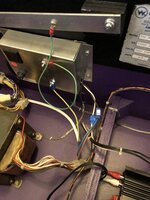
4ECA3977-DAFE-4133-BB24-6EA88CD59C8D.jpeg E3D027BD-8616-4E0E-A693-F4A82090E526.jpeg 62FFC7FF-10D2-4FA1-BF1E-A6D73C1375AD.jpeg All you got on boot up was a horrible noise from the amp and nothing else you need a permanent live to the bop pc and this did not that’s the main reason it wouldn’t boot up and shut down correctly as it was wired to the on off switch
To sort this we fit 2 new power supplies one fit to the constant live side of the switch to allow the pc to have a permanent live so it can shut down correctly
The other to the switch side so it then boots up on the switch as it should the previous owner must have been turning it on and off in the backbox
 
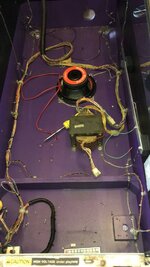
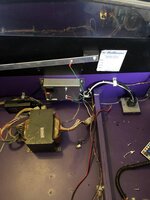
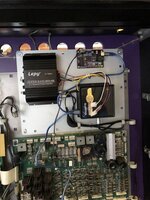
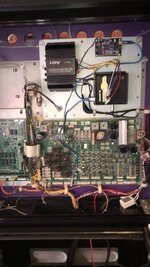
38EDD64F-1167-4F1B-8DD3-A7ADC9E2DAC9.jpeg 7BB78C70-C4C5-433A-90F7-91593E12EB97.jpeg 9645A0D6-7083-46CF-89FC-D9B1DE856D6E.jpeg Next thing to go work in the back box I doesn’t need the original sound board so this could be removed to give more space
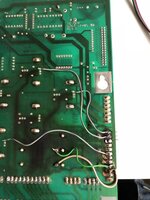
Then on to the horrific repair on the gi on the driver board
 
So driver board and wireing loom all sorted new header pins on the board but sadly still had to jumper some as the previous repair was so bad all new gi connectors input and output all done for less than a fiver
 
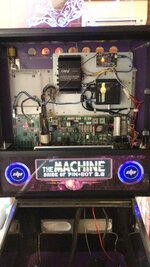
EBED4F16-D673-4514-A709-688D038C888A.jpeg Next on to the trick bit originally the amp was on the bottom of the cab and had to be switched on manually but as it now wired up correctly it powers up and down on the main switch I didn’t like the amp in the bottom of the cab and removal of the sound board allowed us enough space to put in the backbox
 
I thought we where all done but sadly not on playing a game I noticed some switches not working on further investigation we had a row off so so fit all new connectors to the cpu as it was a poor job originally still no switch row changed the lm 339 for the row still no luck so sadly a new expensive p roc board now all up and running
 
Good log Chris. Yes this one was a bit of a slog to get it all straightened out wasn't it! We spent a good 3 days solid on it. Pretty bad install attempt to begin with with plenty of no no's

My 3 top tips for any v2.0 or custom rewrite installs are : ( and what we used to sort this mess out)

1) Always properly install power supplies into the line filter /switch box with line grounds. Don't use extension leads or psus with plugs built in. Never join mains power cables outside of filter boxes

2) Always use a proper mount plate for all computer and amp parts making sure the computer can be started and stopped reliably as the software dictates. This may mean using Scott Danesis CSCC board. Also make sure the audio ground is not isolated in any configuration. Mount all computer parts in the backbox if possible.

3) Always use proper molex connectors and pins for any custom connections to maintain the factory look. Makes sure all items can be disconnected easily for future servicing needs. As Chris points out make sure any cabling that has to run up to the backbox is long enough to allow proper game pack down
 
Are you getting any noise out the speakers whilst in stand by - I can not see an audio isolation transformer between the PC and amplifier. I would recommend one, especially in a cab with an LCD screen and switched mode power supplies.

If you need one message me as I have one spare that I can drop across to you.
 
Holy freaking hell!

Ban whoever made that original mess from going near a machine ever again!!!
 
Chris: My amp is wired into the extension socket (that the PC is wired into) and doesn't turn off with the switch. What do I need to change to trigger it to go off with the switch? Re-wire direct to the PS, or can I plug it into the PS itself (there is an american plug socket on it but I thought that was permanently wired).

Cheers

Martin
 
Are you getting any noise out the speakers whilst in stand by - I can not see an audio isolation transformer between the PC and amplifier. I would recommend one, especially in a cab with an LCD screen and switched mode power supplies.

If you need one message me as I have one spare that I can drop across to you.

Yes the audio power supplies and computer power supplies are isolated. After we finished the update the sound was crystal clear with no hum or noise at power on or during load/game play
 
Last edited:
Chris: My amp is wired into the extension socket (that the PC is wired into) and doesn't turn off with the switch. What do I need to change to trigger it to go off with the switch? Re-wire direct to the PS, or can I plug it into the PS itself (there is an american plug socket on it but I thought that was permanently wired).

Cheers

Martin

The computer should be wired so it's power supply is live all the time, the amp power supply should be wired so that it turns off with the game. Then you use a cscc board to detect the game power off/on and shut the computer down/ start up automatically as we showed above
 
When it comes to anything that involves heavy mods - pictures first before you even go view in my opinion. I would look under the playfield and in the backbox for anything other than a fixer sale anyway... but this is a bit more extreme.
 
Hi, chris,

Apart from the conversion 'work', I noticed a common service error on the playfield - the thin washers used on the rods of the jet bumpers. They're meant to be fitted between the ends of the rods and the metal linkage, not the fibre linkage and the 5/16" nuts
 
Anyone know if they are doing a second run of the BOP 2.0 kits ? A mate is now in the market for one. I have heard they were gauging interest but havent heard anything since...
 
Only just seen this thread .........Holy sh*t :rofl: You have to try really hard to make such a mess of that.

I did a BOP 2.0 conversion on Wills old one - followed the instructions - all quite straight forward, installed it all neat, tidy, secure ....what the hell is wrong with people :cuckoo:
 
Anyone know if they are doing a second run of the BOP 2.0 kits ? A mate is now in the market for one. I have heard they were gauging interest but havent heard anything since...

Have you checked with cointaker?


Sent from my iPhone using Tapatalk Pro
 
Back
Top Bottom