What's new
Pinball info

Register a free account today to become a member! Once signed in, you'll be able to participate on this site by adding your own topics and posts, as well as connect with other members through your own private inbox!

Complete Revenge From Mars (lock down 2020)

Tyke

Site Supporter
Joined
Apr 10, 2012
Messages
824
Location
Melksham
Alias
Mike
Here’s another RFM shop log. Looking back on here it seems a popular machine to get the refurb treatment. I guess that removable playfield makes it a nice one to attempt :)

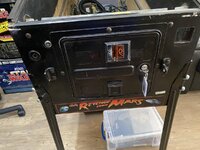
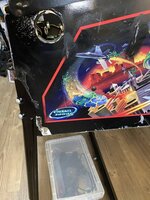
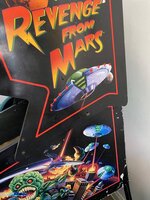
This one came to me in pretty standard condition for a RFM. Tatty decals and a beat up cabinet. It also had some insert wear to the playfield. Not normally a problem when sticker kits are easily available for most titles, sadly this game doesn’t have them available to buy. What this cab did have going for it was original PC hardware and a recently serviced original Wells Gardner CRT monitor.

I have decided to go full on, inspired by Pete B and his RFM shop log. If I can get 80% to his I will be happy. The playfield inserts are going to take some extra effort that’s for sure!

I’ll do my best to update this thread and get it up to where I currently stand with it.

New parts:

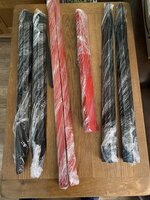
Red T moulding 3/4 inch
Red leg protectors
Metal leg protectors
Cabinet Decals
Apron decals
Flipper Buttons
Start Button
Video amp
Rubber kit
Green super bands
Spotlights
Translite
Translite Lift channel
Bumper skirts x 3
Flipper rebuild kit
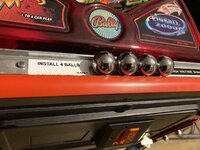
Balls x 4
Playfield protector
Cabinet glides x 4
Red flipper bats x 2
Monitor Power cord
Leg levellers
Leg bolts
Slingshot lexan washers
Misc screws/bolts
Speakers
Subwoofer
 
Last edited:
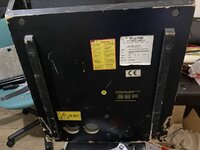
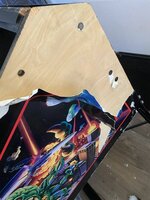
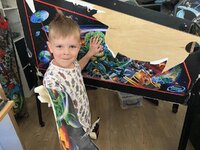
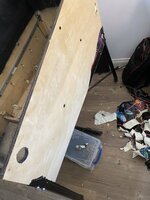
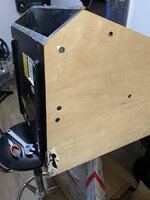
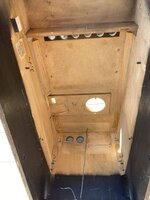
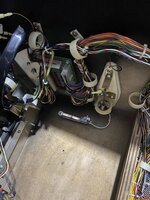
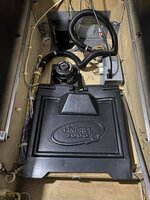
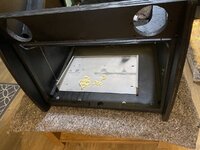
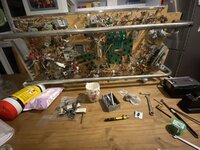
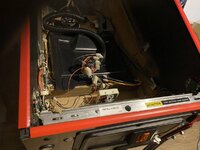
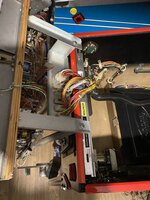
First thing was to strip it right down. I got some of my small minions to help me on this part :D

AB73F9BB-DBF2-424A-867E-E55C0FB68616.jpegD1B9DEC9-48A5-4C8D-A5E3-1B0274B71653.jpeg735A79A7-AE29-4DDD-A55A-D2081B1508DE.jpeg87F1D665-FD93-476F-963F-AAF5BD7E56AF.jpeg
 
Last edited:
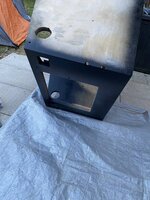
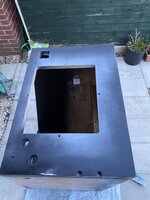
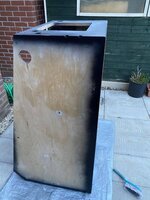
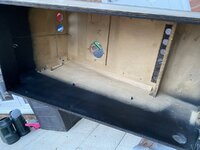
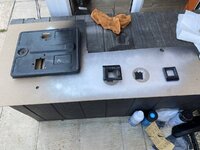
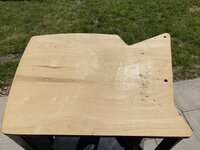
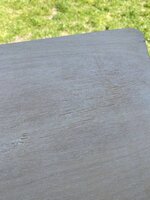
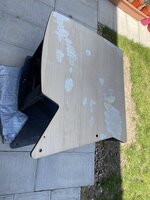
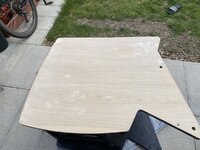
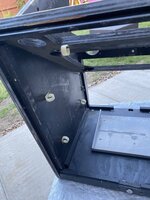
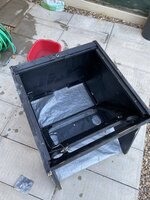
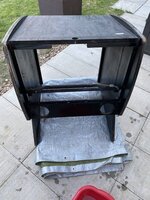
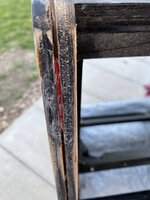
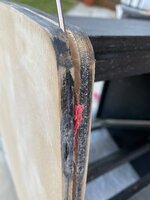
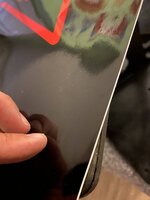
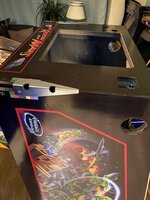
Stripping the insides out was the next task. I then went on to filling/repairing, sanding and priming the cabinet as best as I could. The weather was awesome so it was a nice sunny afternoon to be outside with the cab.

B8928E6B-E068-41EC-8989-8F129B6CC82E.jpeg8D05506D-5338-4C89-A1F3-167BB56786C9.jpegB499384C-9460-47F2-9BDA-6C96FC23137E.jpeg30D78477-9E59-4DBD-9A42-352211325CB4.jpeg1B004F8C-1019-4BE8-B847-62268BCE186E.jpeg
 
Playfield progress..

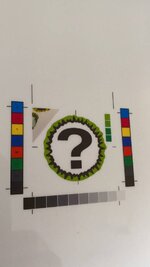
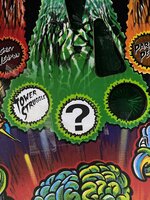
So with the lack of available insert kit I had to start on making my own. The aim is to have them professionally printed on transparent vinyl once I have got them as close as I can get them

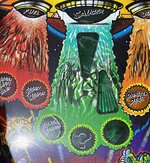
You can see the missing inserts in this picture:

F4095DBC-25B2-48CF-8000-8A32DD5DB60B.jpeg

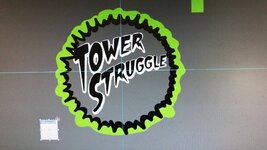
So having not done this before It was a case of sizing, colour matching and trying to get new vectorised versions to match as close as possible.

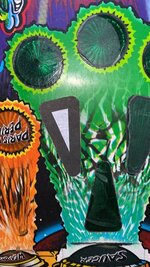
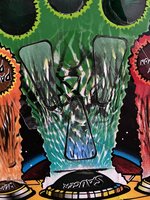
Various test fits here below. Excuse my **** poor alignment on the paper cut outs. The triangles printed too small on this test but was more for pattern and dithering match up.

6C0E1C31-A7E3-45A2-AB6E-A3315A2763DE.jpeg58C7DFC4-C6F7-4B60-8115-04150F36081C.jpeg

AB14928F-4F6A-4621-9415-59C3EAA19C3D.jpeg1CAB3017-FEFE-4AF8-A31B-D9C512B0BBAD.jpegDF716702-EA5F-4889-A153-26DCF0326274.jpeg8D9C6AD5-43BE-4A3A-BC9D-3D3E2DE673FD.jpeg
 
Last edited:
brilliant. i have some missing/damaged pf insert decals , so watching with interest......


Sent from my iPhone using Tapatalk
 
Lots of random bits of progress in the photos below.

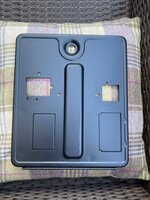
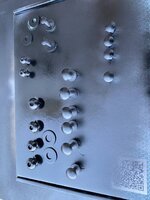
All of the metal work went off to my local powder coater and came back 2 days later looking all minty.

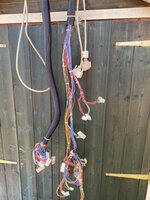
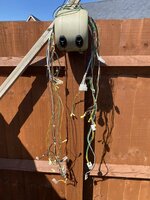
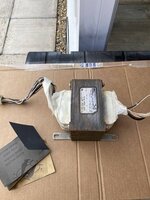
The wiring was all given a hot bath and blow dry on a nice and sunny day.

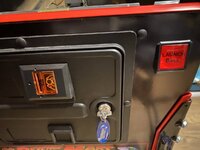
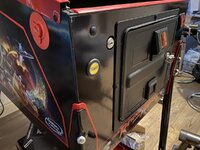
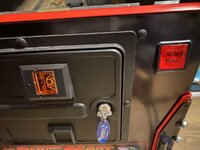
The coin door I rubbed down and sprayed myself. It's come out really nice so I'm happy with that.

F244E9A1-2F91-4195-BC75-A21D9E16BDB1.jpeg424F6A69-6293-4931-BB25-A92DF8F590E6.jpegC70F4453-D00D-4145-90C8-BF27F3ED4609.jpeg880D802D-0A17-4CB3-A295-355AB40CD46B.jpeg5D299AD9-DC5F-4425-A010-C17CBCBD601A.jpeg8C87D29D-39DC-4048-B1CA-D334E0B46199.jpeg45D12C63-6752-425E-9CE5-6AF994EA6DE2.jpeg83EE728A-CBFE-4FB3-8299-A2B4E5E42AA0.jpegECEA213E-5C29-4274-B283-09850EDCD6B5.jpeg
 
Last edited:
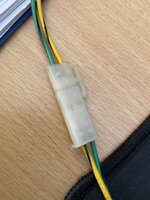
Here is a question someone might be able to help me with, the wiring from the subwoofer (green/black and yellow/black) comes of the woofer to a interconnect which then switches the wires to be not matched i.e. green/black now connects to yellow/black.

Any reason why its like that? My OCD wants to tweak it 😆

3E87105B-3CBB-4BA0-8152-E494665EB71F.jpeg
 
Factory error on that wiring loom to speaker. It will make no difference. If you do have phasing issues then swap the plus and minus over at the speaker itself.

You can get the molex extrator tools to remove those pins and swap them over. Depends how OCD you are!
 
Factory error on that wiring loom to speaker. It will make no difference. If you do have phasing issues then swap the plus and minus over at the speaker itself.

You can get the molex extrator tools to remove those pins and swap them over. Depends how OCD you are!

thanks for confirming dude. I will swap it around so it looks right :)
 
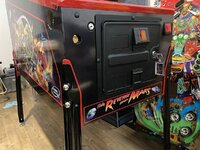
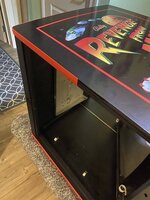
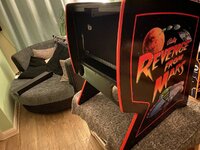
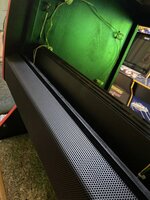
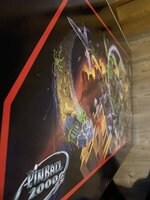
A little bit of progress on RFM amongst work and other commitments. Main cab is finished and just awaiting new flipper buttons and a start button to land from pinball spare parts in AUS. I’m super pleased with the red powered coating on the rails and lock down bar. Now on to the back box.. more soon

6532A526-4220-4EAF-A5CF-52CF1738FFBC.jpeg
551334F0-41BC-4EB0-AD58-5612A0DD9DA8.jpeg1B034469-0AC1-4ED0-917B-CF5A8121CCAC.jpeg735982C3-9A7B-41A9-841B-926F1971AB0D.jpeg24DF4129-0DEE-42B6-BC28-BB2557F958DB.jpeg
218A09AD-C982-450C-82AF-10EB019234B6.jpeg
 
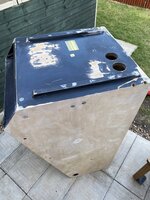
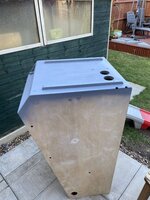
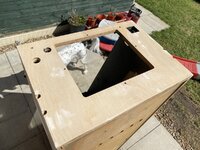
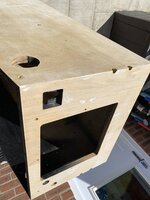
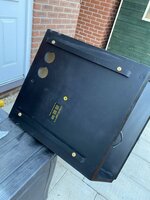
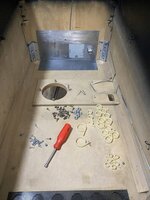
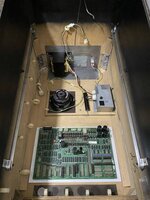
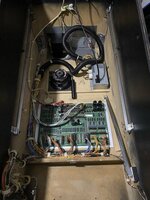
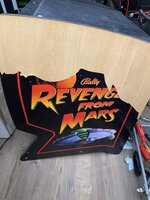
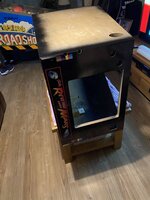
Stripped the back box down and gave it a deep clean and wash today. Utter filth inside as to be expected. Prepped the sides, filled and sanded. There was some deep grooves from removing the old decals which needed some extra attention. Also both side panels had holes drilled for what must of been signs screwed to the sides :oops:
Back box will get some primer and satin black tomorrow, then it’s on to decals and t-moulding.

CF49CE55-FAAB-4733-AF4E-31DD4D77AD2C.jpeg
54AABBD6-294F-492C-BCE3-D893CA8CD1FA.jpeg
82865EE8-CCDA-4AF3-9D54-B20F0CA7B863.jpeg
2B1432F9-63EF-4506-B53A-C26F1C9597B7.jpeg
4661D612-FF86-4769-803D-9336697F5A7C.jpeg
6C072889-FBB9-4B3B-A9EF-6525DF7FBEA2.jpeg
FF4214EC-3717-417C-87C6-D1D1D41E437B.jpeg
B4E0668D-EC61-4476-9906-E76C49CB0DFB.jpeg
CED86D7B-5574-4674-BE48-B25EC18F2126.jpeg

More parts to add to the list as I have realised The locks all need replacing. The key was broken off in the back of the back box, missing key for operator lock and the translite lock was missing.
 
Very nice! Good to see they loads of build-up before and after pics! The black and red powder coating looks ace! :)
 
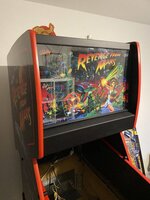
Finally got a few hours today to finish prepping the backbox. It was time to fit the decals and t-molding after what seemed weeks of tripping over the bloody thing 🤣

C505AC45-E4F9-486E-8B10-522E7855D32A.jpeg1629F271-4EDE-490A-BE26-16D4D803F3DB.jpeg8DBC4E63-2030-43F0-8D63-859C4B8E7C80.jpegBA5924E4-2692-48C5-BF67-97F1ACA2B3C9.jpeg

It came out much better than I had hoped so quite pleased with myself. The fresh red T-molding really pops 😃
 
simply WOW, it looks brand new! pretty much is brand new now actually :rofl:
hats is off to you sir, very good job!
 
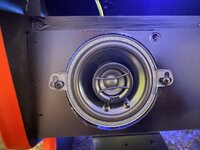
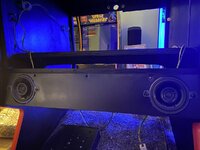
Didn’t get much time yesterday but did get around to fitting the new backbox speakers and fitting all of the metal work back on to it. The cab is starting to look like it’s nearly finished.. well expect for the playfield which is another story 😂

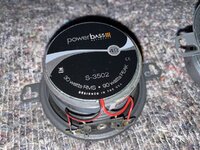
I chose a reasonably priced pair of speakers for the back box, key thing is the depth as there is limited room behind the metal plating. These are the same 3.5” diameter as the factory speakers with a 1.5” depth. They look pretty so hopefully they will sound ok too.

B5477892-1BEE-4807-8C02-9103D7ED5786.jpeg
55A084D9-9FD5-4021-A485-9FF8579F2F5E.jpeg
71E4A09E-EA20-422F-99A4-9A5145FC6D37.jpeg
3D44571F-8DFD-4F3D-828E-320E865C126A.jpeg582112D8-38AE-4205-AFF0-6B61ADE199C1.jpeg

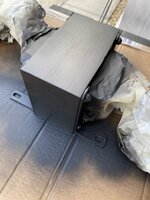
All of the backbox metal work was rubbed down and given a few coats of Matt black. Had thought about power coating but decided against it to keep the costs down and felt it was unnesscary on these parts.

Still need to track down replacement locks, I did email the legend to see if he had them in stock but haven’t hear back yet. In other news all of the remaining parts I ordered from pinball parts AUS back in March have arrived in the UK :)


B5477892-1BEE-4807-8C02-9103D7ED5786.jpeg
 
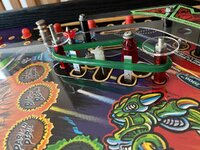
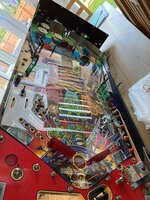
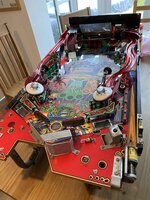
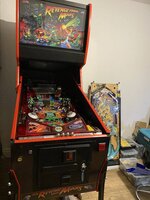
Well this one has been sat waiting for what feels like forever on some minor little bits which I finally got done yesterday. I was feeling a little fed up with 2 machines stripped in pieces all around the house and decided to get on and put it back together again. So nice to have it all back complee and playing again. Really pleased with how it turned out and just have a few minor niggle to sort out.

Last jobs on the list was to rebuild the flippers and jets, fit new score and kicker switches5BA71EB9-46F8-4EB4-996E-57B93CC2B984.jpeg1D83292C-CDE9-4CCF-9DE0-70E156C06651.jpeg

B57A27EF-E1D0-40E1-883C-B6AF2EBAFCBB.jpeg
2E1B5B36-826B-49A1-B876-E6FA26A656BD.jpeg
77BC99BB-9FCE-48B0-AA22-54F9A998F892.jpeg
6F3D466F-93DD-4E04-A21C-A20D0E822A66.jpeg

I’ll do some proper photos at some point but for now here is a selection.

939657D1-0202-4D2B-B183-03EE05D68ED8.jpeg

547AB549-86D0-494C-B806-20DB9E676C8B.jpeg
32D3270C-7635-4699-95B9-BDB3D2574EAB.jpeg
77824B43-9970-4123-A339-DBE251D0F392.jpeg
C8FD34F3-F57F-464C-AEA5-B2CAA83E47DB.jpeg
80BDEE6D-A51F-436A-9427-1BC2E8202255.jpeg
5DE0ABD5-C00C-47C5-BA58-AAAFB473BA7D.jpeg
 

Attachments

  • BDD42EB6-E529-42A3-832B-AB1E2B3AC695.jpeg
    BDD42EB6-E529-42A3-832B-AB1E2B3AC695.jpeg
    104.6 KB · Views: 13
Looks fantastic
Just picked one of these up, May I ask where you sourced your translite?
 
Thanks 😊

Yeah I got the Translite from @xianek give him a shout and he’ll hook you up with one.

Thank you @Dave Bishop just pointed me to @xianek as well :)
I am having to resist a full restore on mine!!! this thread is not helping lol. I think a simple clean up / new plastics / rubbers / lamps will be ok for me on this one :)
 
Looking nice. One thing you could consider is get a new trough weldment as the apron is translucent so you can see it on the playfield, plus they wear badly anyway internally with divots etc.
 
Back
Top Bottom