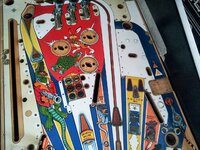
In spring last year I tackled my first ever strip/clean/reassemble on a Batman Forever. I was a bit daunted at first as more and more parts came off the playfield, but happily things all went well. I also found it a pretty enjoyable and rewarding experience.
So when I had the opportunity to purchase a machine that was sold as 'needing a bit of work' I pretty much leapt at it. That was last summer. I'm not exactly the quickest at working on these things...
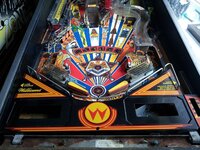
When I picked it up it was literally covered in dust. You couldn't see through the glass to the playfield, and with the glass removed it wasn't much prettier.
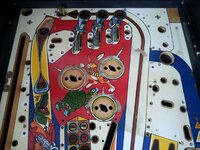
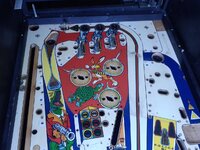
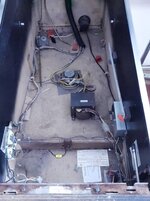
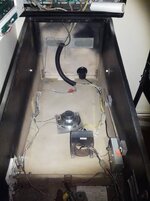
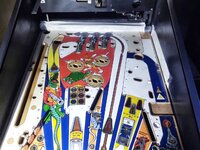
The faults were many. Motor that moves the car entirely missing. Drop targets entirely gummed up (someone had oiled them. Nice). 90% of all plastics cracked. Mylar bubbling all over the lower playfield, to the point it affected the ball. Upper playfield not mylared, and worn through to the wood in various places.
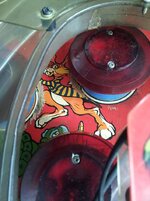
Grime on the rails. It was only a few days ago when I started to clean these that I realised they should be shiny, and not a gun metal colour
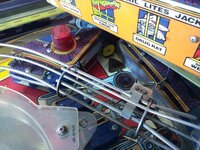
Pretty sure that these ramps should be transparent too!
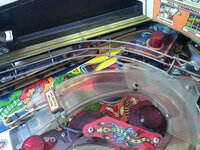
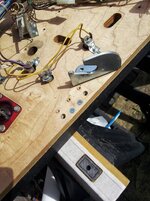
Started the strip down last year. Looking back through the photos now its a little horrifying to see that the best memory aids I have for reassembly are crappy photos like this:
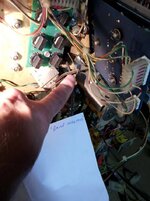
..and photos of parts in semi breakdown (screw goes through ball guide, then post, then washer. Great. Just hope I can find these parts again later)
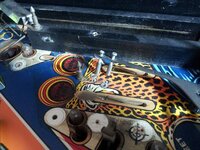
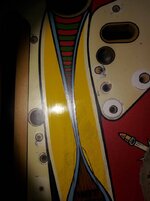
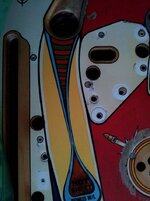
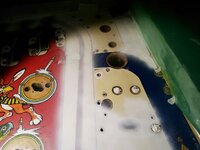
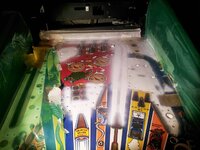
Stripdown well under way. I decided the mylar had to come off. Like I say, it was affecting ball travel, and also looked terrible.
I was expecting it to pull up a lot of the insert text (it was already easy to see in a lot of places where it had lifted, the text was stuck to the mylar rather than the playfield). With that in mind I ordered replacement insert decals from the US, then got stuck in with the freeze spray approach
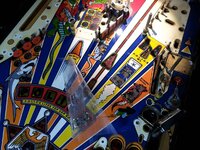
Some guys on pinside were talking about using flour to remove the remaining glue. I took that approach and can fully recommend it. Splash some 'sticky stuff remover' (or goo gone/etc) around, scrape up as much goop as possible, sprinkle flour over the rest. Push flour around with finger and it soaks up the glue. You end up with balls of chewing gum like goop, and an entirely clean playfield, no scrubbing required.
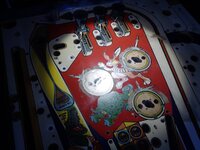
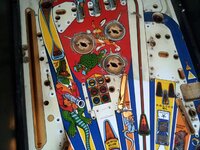
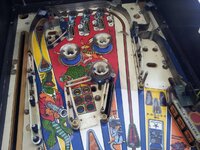
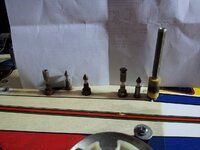
With the mylar off I continued into unexplored territory (my previous shop was much simpler) by removing all playfield posts. You can see just how rusty some of them were here, and also note the discolouration in the top half of the playfield which had not been covered in mylar. This photo was used as a guide to label all the different types of post that were scattered around the playfield.
So when I had the opportunity to purchase a machine that was sold as 'needing a bit of work' I pretty much leapt at it. That was last summer. I'm not exactly the quickest at working on these things...

When I picked it up it was literally covered in dust. You couldn't see through the glass to the playfield, and with the glass removed it wasn't much prettier.
The faults were many. Motor that moves the car entirely missing. Drop targets entirely gummed up (someone had oiled them. Nice). 90% of all plastics cracked. Mylar bubbling all over the lower playfield, to the point it affected the ball. Upper playfield not mylared, and worn through to the wood in various places.

Grime on the rails. It was only a few days ago when I started to clean these that I realised they should be shiny, and not a gun metal colour

Pretty sure that these ramps should be transparent too!

Started the strip down last year. Looking back through the photos now its a little horrifying to see that the best memory aids I have for reassembly are crappy photos like this:

..and photos of parts in semi breakdown (screw goes through ball guide, then post, then washer. Great. Just hope I can find these parts again later)

Stripdown well under way. I decided the mylar had to come off. Like I say, it was affecting ball travel, and also looked terrible.

I was expecting it to pull up a lot of the insert text (it was already easy to see in a lot of places where it had lifted, the text was stuck to the mylar rather than the playfield). With that in mind I ordered replacement insert decals from the US, then got stuck in with the freeze spray approach

Some guys on pinside were talking about using flour to remove the remaining glue. I took that approach and can fully recommend it. Splash some 'sticky stuff remover' (or goo gone/etc) around, scrape up as much goop as possible, sprinkle flour over the rest. Push flour around with finger and it soaks up the glue. You end up with balls of chewing gum like goop, and an entirely clean playfield, no scrubbing required.
With the mylar off I continued into unexplored territory (my previous shop was much simpler) by removing all playfield posts. You can see just how rusty some of them were here, and also note the discolouration in the top half of the playfield which had not been covered in mylar. This photo was used as a guide to label all the different types of post that were scattered around the playfield.


