S
Shark
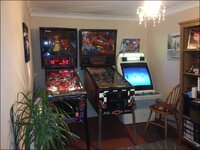
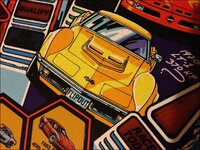
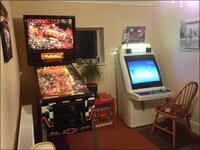
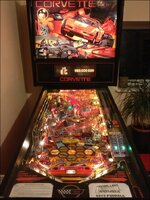
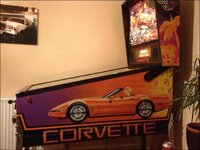
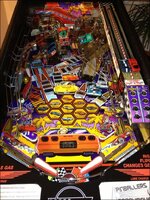
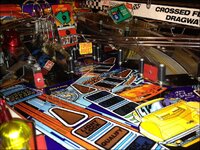
The Corvette was in need of a good servicing. I bought it in the knowledge
it required a service and repair to the LT5 engine toy, had many bulbs out,
in need a full rubber kit and a good clean. It had been off the road for many
years but looking beyond the dirt, it was in fantastic minty condition.
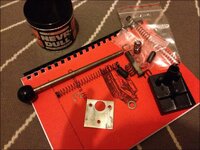
I bought all the bits I needed to service it..
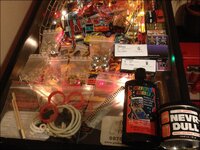
Various bulbs
Various flashers
Four new balls
Shooter tip
Shooter spring
Shooter outer barrel spring
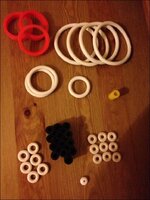
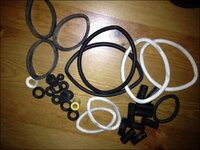
Corvette rubber set - white, red flippers
Cleaning sticks - sand, leather
Mill wax - playfield cleaner/polish
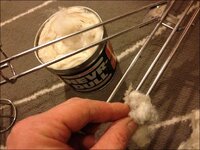
Nevr-Dull - metal polish magic wadding
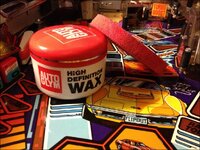
I was advised not to use the Millwax, so instead I will be using AutoGlym
High definition Wax (carnuba) for this deal..
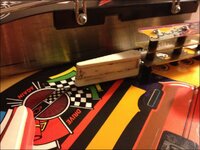
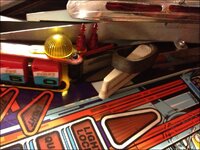
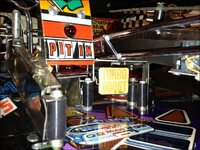
Many photos were taken of the work being done, most for my benefit so I could
see how it went back together(!). They are all below..
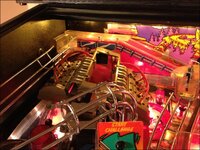
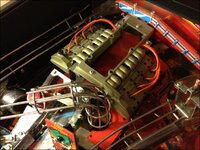
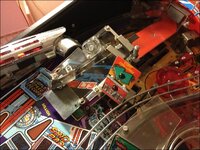
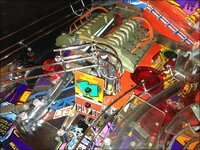
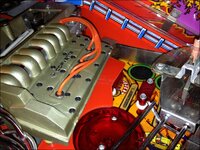
The engine repair was going to be quite a job.. it requires alot of
dismantling to get to the parts that need looking at. So to begin with, I set
about reading up on the subject of engine failure which is a common Corvette
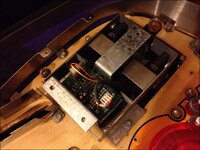
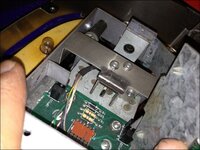
problem. From my findings, I understand the engine has 4coils, 2 optos, and a
Hall effect sensor with a horseshoe magnet and is prone to failure. Sometimes
it worked, other days it did not..an intermittent problem.
This was going to take a few evenings work. I started with replacing any
bulbs and flashers that were out.. I think I have replaced between 15 and 20
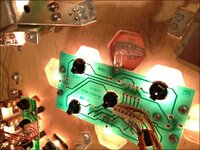
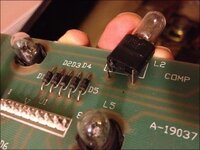
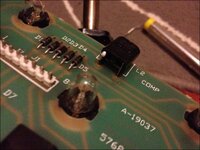
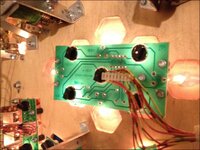
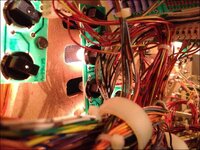
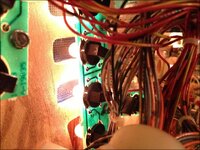
bulbs, some were in hard to access places too. I discovered a broken lamp
socket and fixed it with some solder, now it works.. all bulbs working.
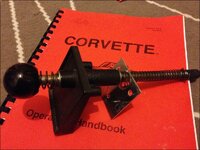
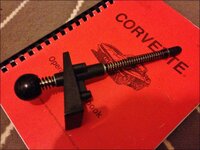
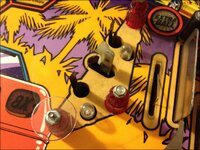
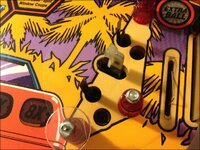
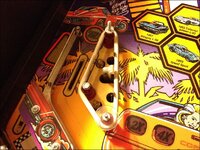
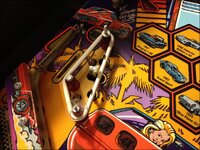
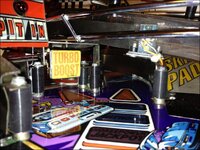
After the bulbs, I refurbished the shooter with new springs and tip and some
polish. That was one evening. Shooter now feels great, very powerful and only
needs pulled a third of the way...smooooth.
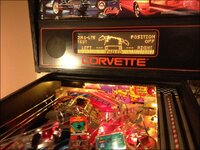
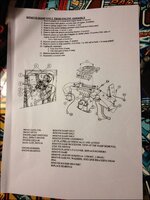
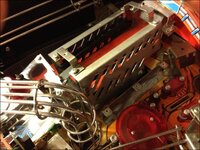
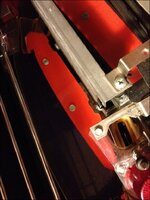
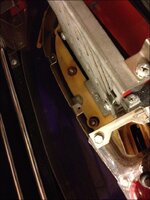
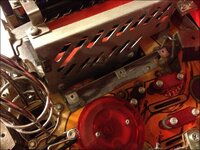
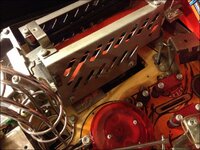
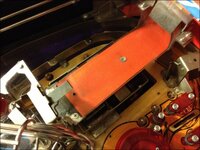
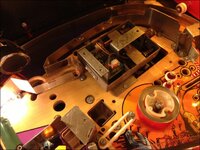
Next, it was time to tackle that engine. The instruction manual was not
great, luckily I found an update PDF online with instructions on how to
dismantle the engine and ramp and set about taking it apart. I stripped it
down, had a poke about, cleaned the opto's and hey!! now it works perfect in
test mode with zero errors. Now the machine is back together, the engine
still works great and is doing things in game that it didnt do before- it
sits there grumbling away now again and vibrates real quick when shot with a
ball, itsbehaving just fine! Delighted!
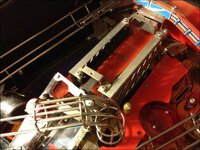
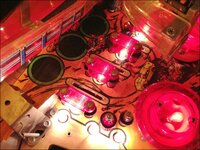
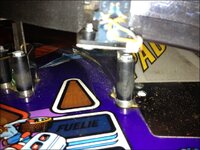
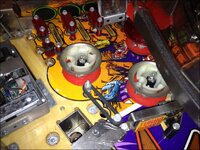
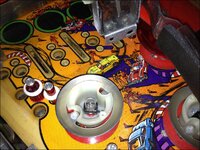
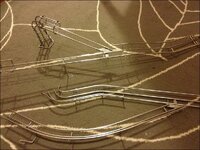
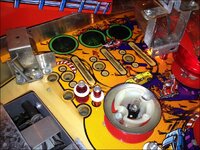
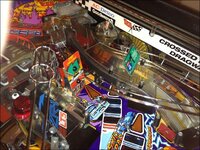
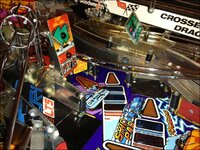
While I had the engine in bits, it was a good time to replace all those
perished rubber parts. More dismantling required, but all good because it was
due a good clean anyway and with the ramps off, access is far better.
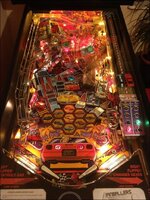
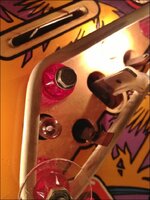
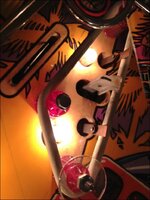
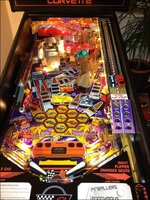
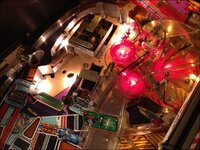
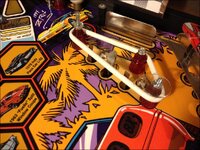
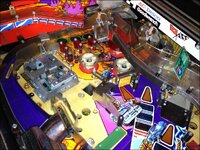
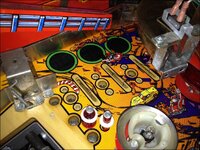
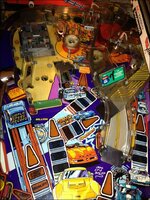
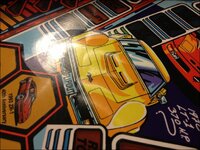
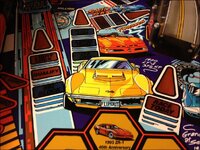
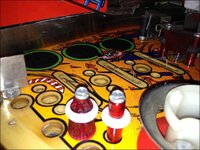
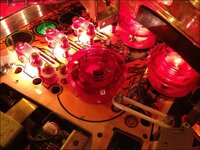
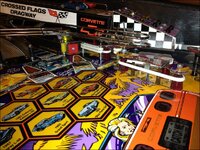
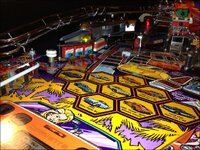
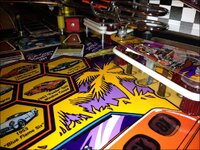
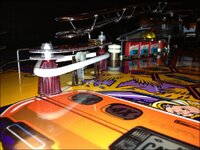
After washing and polishing the plastics, the playfield was cleaned with
glass cleaner and a couple of coats of HD wax applied. Polished to a
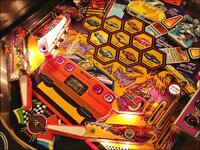
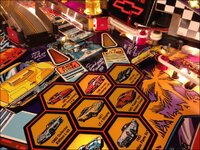
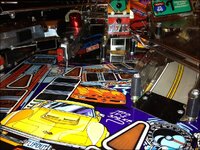
brilliant shine. The playfield really is mint condtion, I have been all over
it, there is no wear at all, no chips in the paint of finish..good as new all
over.
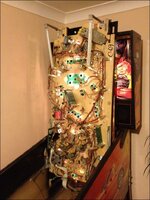
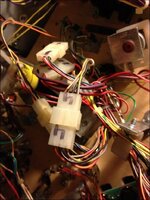
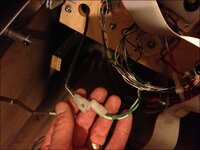
Now on to evening four, it was time to build it back up again. I would have
been hours sooner, but kept dropping screws and bolts through the playfield
holes, then they magincally disappear inside the cab and take thirty minutes
to find again- this happened a few times, very frustrating...I swear, I
driopped a ball in there and it took over 5 mins to find hiding behind a
bunch of cables..bent over back aching, iphone torch- you've all been there
im sure..
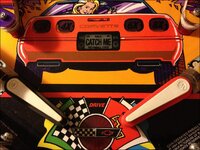
All put back together, it's as good as new and plays great. I can hardly hear
the ball move around new as it bounces around. No more whacking and banging
as it cracks off ancient brittle and hard perished rubber.. and it just
glides over the waxed surface..
Complete!
Still a few things to do like powder coating the legs and lock down bar, I'll
get round to thos another time, but for now, I'm just going to enjoy playing
this awesome game!
it required a service and repair to the LT5 engine toy, had many bulbs out,
in need a full rubber kit and a good clean. It had been off the road for many
years but looking beyond the dirt, it was in fantastic minty condition.
I bought all the bits I needed to service it..

Various bulbs
Various flashers
Four new balls
Shooter tip
Shooter spring
Shooter outer barrel spring
Corvette rubber set - white, red flippers
Cleaning sticks - sand, leather
Mill wax - playfield cleaner/polish
Nevr-Dull - metal polish magic wadding
I was advised not to use the Millwax, so instead I will be using AutoGlym
High definition Wax (carnuba) for this deal..
Many photos were taken of the work being done, most for my benefit so I could
see how it went back together(!). They are all below..
The engine repair was going to be quite a job.. it requires alot of
dismantling to get to the parts that need looking at. So to begin with, I set
about reading up on the subject of engine failure which is a common Corvette
problem. From my findings, I understand the engine has 4coils, 2 optos, and a
Hall effect sensor with a horseshoe magnet and is prone to failure. Sometimes
it worked, other days it did not..an intermittent problem.
This was going to take a few evenings work. I started with replacing any
bulbs and flashers that were out.. I think I have replaced between 15 and 20
bulbs, some were in hard to access places too. I discovered a broken lamp
socket and fixed it with some solder, now it works.. all bulbs working.
After the bulbs, I refurbished the shooter with new springs and tip and some
polish. That was one evening. Shooter now feels great, very powerful and only
needs pulled a third of the way...smooooth.
Next, it was time to tackle that engine. The instruction manual was not
great, luckily I found an update PDF online with instructions on how to
dismantle the engine and ramp and set about taking it apart. I stripped it
down, had a poke about, cleaned the opto's and hey!! now it works perfect in
test mode with zero errors. Now the machine is back together, the engine
still works great and is doing things in game that it didnt do before- it
sits there grumbling away now again and vibrates real quick when shot with a
ball, itsbehaving just fine! Delighted!
While I had the engine in bits, it was a good time to replace all those
perished rubber parts. More dismantling required, but all good because it was
due a good clean anyway and with the ramps off, access is far better.
After washing and polishing the plastics, the playfield was cleaned with
glass cleaner and a couple of coats of HD wax applied. Polished to a
brilliant shine. The playfield really is mint condtion, I have been all over
it, there is no wear at all, no chips in the paint of finish..good as new all
over.
Now on to evening four, it was time to build it back up again. I would have
been hours sooner, but kept dropping screws and bolts through the playfield
holes, then they magincally disappear inside the cab and take thirty minutes
to find again- this happened a few times, very frustrating...I swear, I
driopped a ball in there and it took over 5 mins to find hiding behind a
bunch of cables..bent over back aching, iphone torch- you've all been there
im sure..
All put back together, it's as good as new and plays great. I can hardly hear
the ball move around new as it bounces around. No more whacking and banging
as it cracks off ancient brittle and hard perished rubber.. and it just
glides over the waxed surface..
Complete!
Still a few things to do like powder coating the legs and lock down bar, I'll
get round to thos another time, but for now, I'm just going to enjoy playing
this awesome game!

