Anyone done this? Have any tips? Appears I have much to learn...
My thinking was: apply Frisket to the cabinet, cut out the stencils required. Then go to town on the cabinet (sand down/repair/primer/base coat). Re-apply each stencil and spray. Job done.
But this Frisket film is SUPER super 'low tack'. Suspecting it also reacts badly to spray paint, as it seemed to bubble and lift up? Fair chance that I've just gone at it too heavy handed though.
Advice very very welcome!
This was my quick effort on some scrap wood:
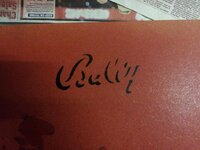
Cutting stencil from original cabinet (name the game, win a prize*)
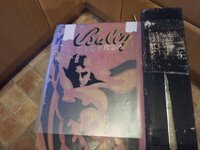
Applying stencil to scrap wood. Second application of stencil has barely any tack to it, so I laid it flat. (Tackiness possibly also not helped by dropping stencil onto garage floor)
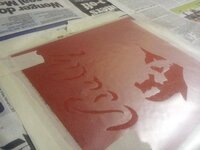
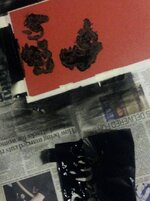
Light spray stuck to the Frisket like magic, but barely touched the wood. So I possibly was a little over zealous in spraying!?
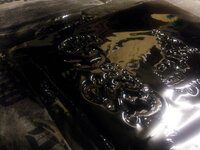
Super fail!
(*There is no prize)
My thinking was: apply Frisket to the cabinet, cut out the stencils required. Then go to town on the cabinet (sand down/repair/primer/base coat). Re-apply each stencil and spray. Job done.
But this Frisket film is SUPER super 'low tack'. Suspecting it also reacts badly to spray paint, as it seemed to bubble and lift up? Fair chance that I've just gone at it too heavy handed though.
Advice very very welcome!
This was my quick effort on some scrap wood:
Cutting stencil from original cabinet (name the game, win a prize*)

Applying stencil to scrap wood. Second application of stencil has barely any tack to it, so I laid it flat. (Tackiness possibly also not helped by dropping stencil onto garage floor)

Light spray stuck to the Frisket like magic, but barely touched the wood. So I possibly was a little over zealous in spraying!?

Super fail!

(*There is no prize)

