meesterpieter
Registered
I needed a rotisserie for my homebrew project
I thought it might be nice to show you how you can make your own rotisserie for cheap.
I spent about 60-70 euro on this one, and it works great for me.
So im explaining the build a bit better and with some parts you need for those interested.
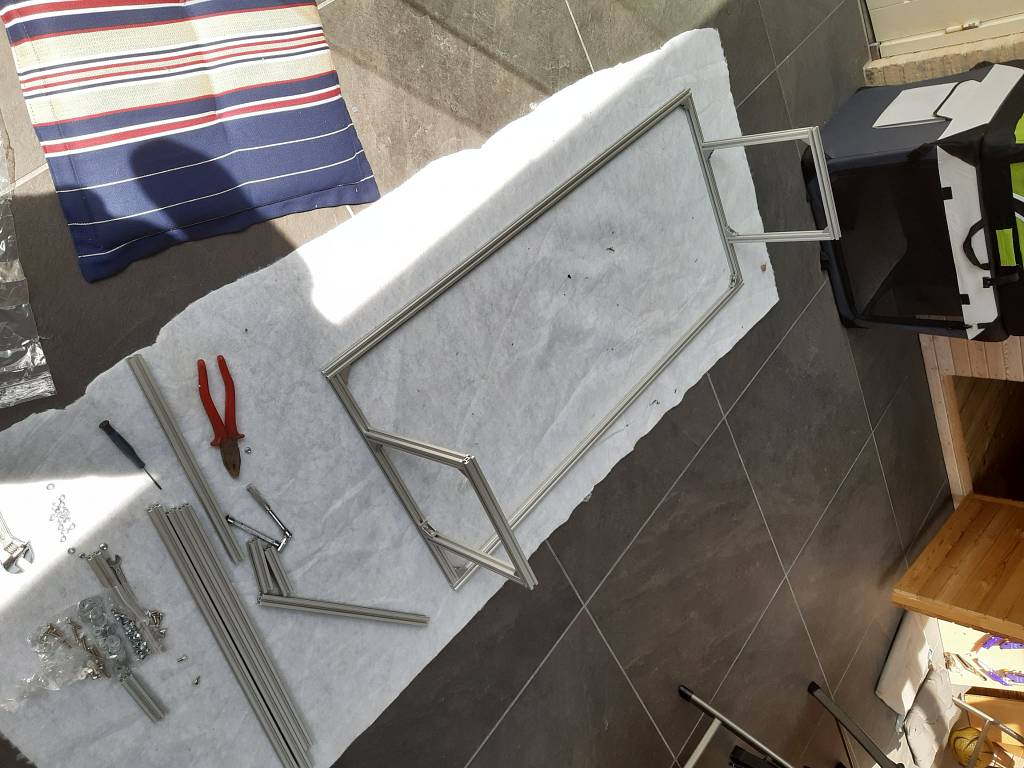
Except for the 3d printed pivot point, this is easy DIY bolt-on.
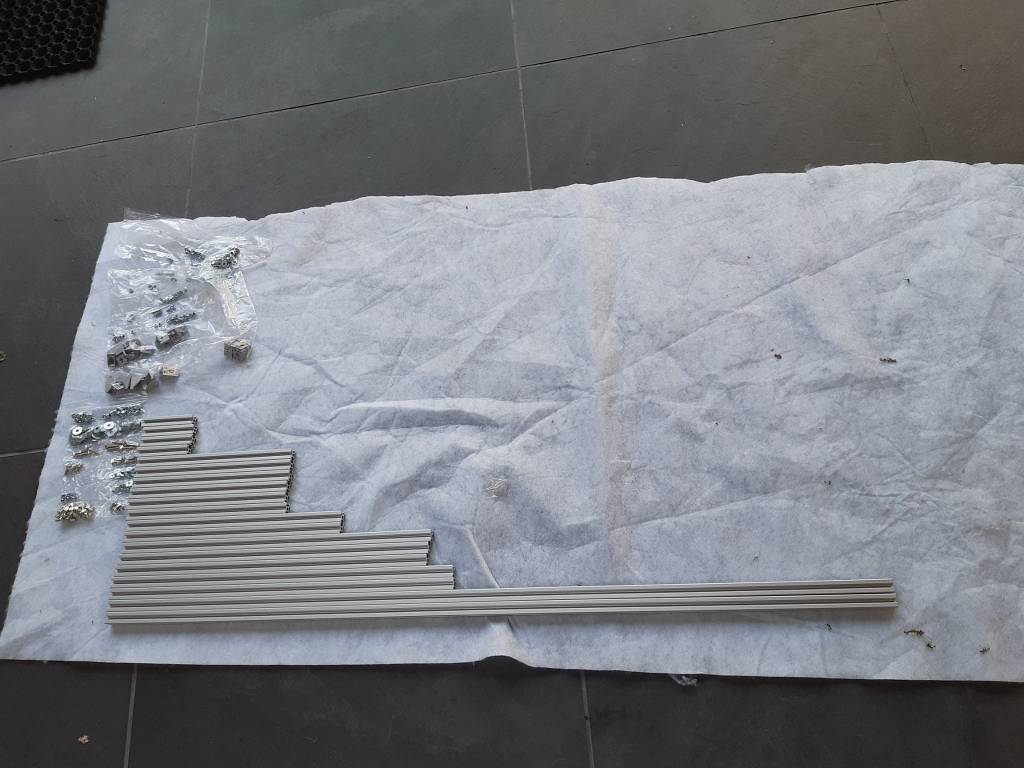
You order the parts in the length you need, order enough hammerhead bolts and washer nuts.
the main part are aluminium extrusion profiles, you can buy those in lots of places in different sizes and cut to the length you want
Ive used 2020 aluminium profiles myself, that is sturdy enough for the way i built it by reinforcing the corners.
if you want some less flex in the material, maybe you should try a size larger like 3030 profiles.
for me 2020 works well enough, but if you plan to use it a lot, you might consider to use 3030
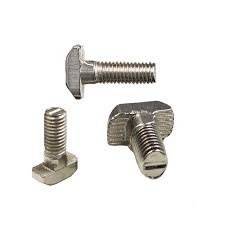
I advise to use 2028 corners and not the 2020 corners because you cant properly screw both bolts in if you have a large size (i used M5x12 hammerhead and washernuts)
hammerhead and 2028 corners:

for sizes ive made a color scheme:
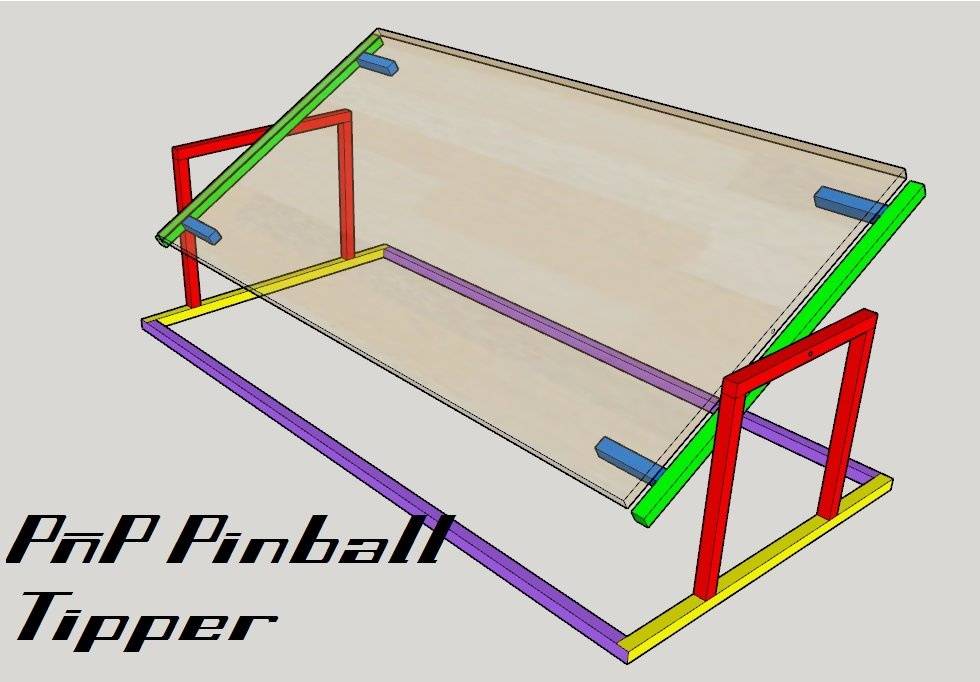
red, 6 pieces of 30cm
yellow 2 pieces of 56cm
purple 2 pieces of 130cm (this is for my board which is 122cm long, a regular playfield is schorter, take purple about 6-8cm longer than your playfield is
green 2 pieces of 60cm (this is for my board which is 61cm wide, a regular playfield is shorter, use the same width as your playfield)
Blue 4 pieces of 10cm (check for your playfield which holes you want to use)
the blue pieces are to hold the playfield, ive used hammerhead screws and drilled a hole in my playfield to hold them, since my playfield didn't have much holes yet. for an existing playfield you should check which existing holes u can use to fasten them on the alu profile
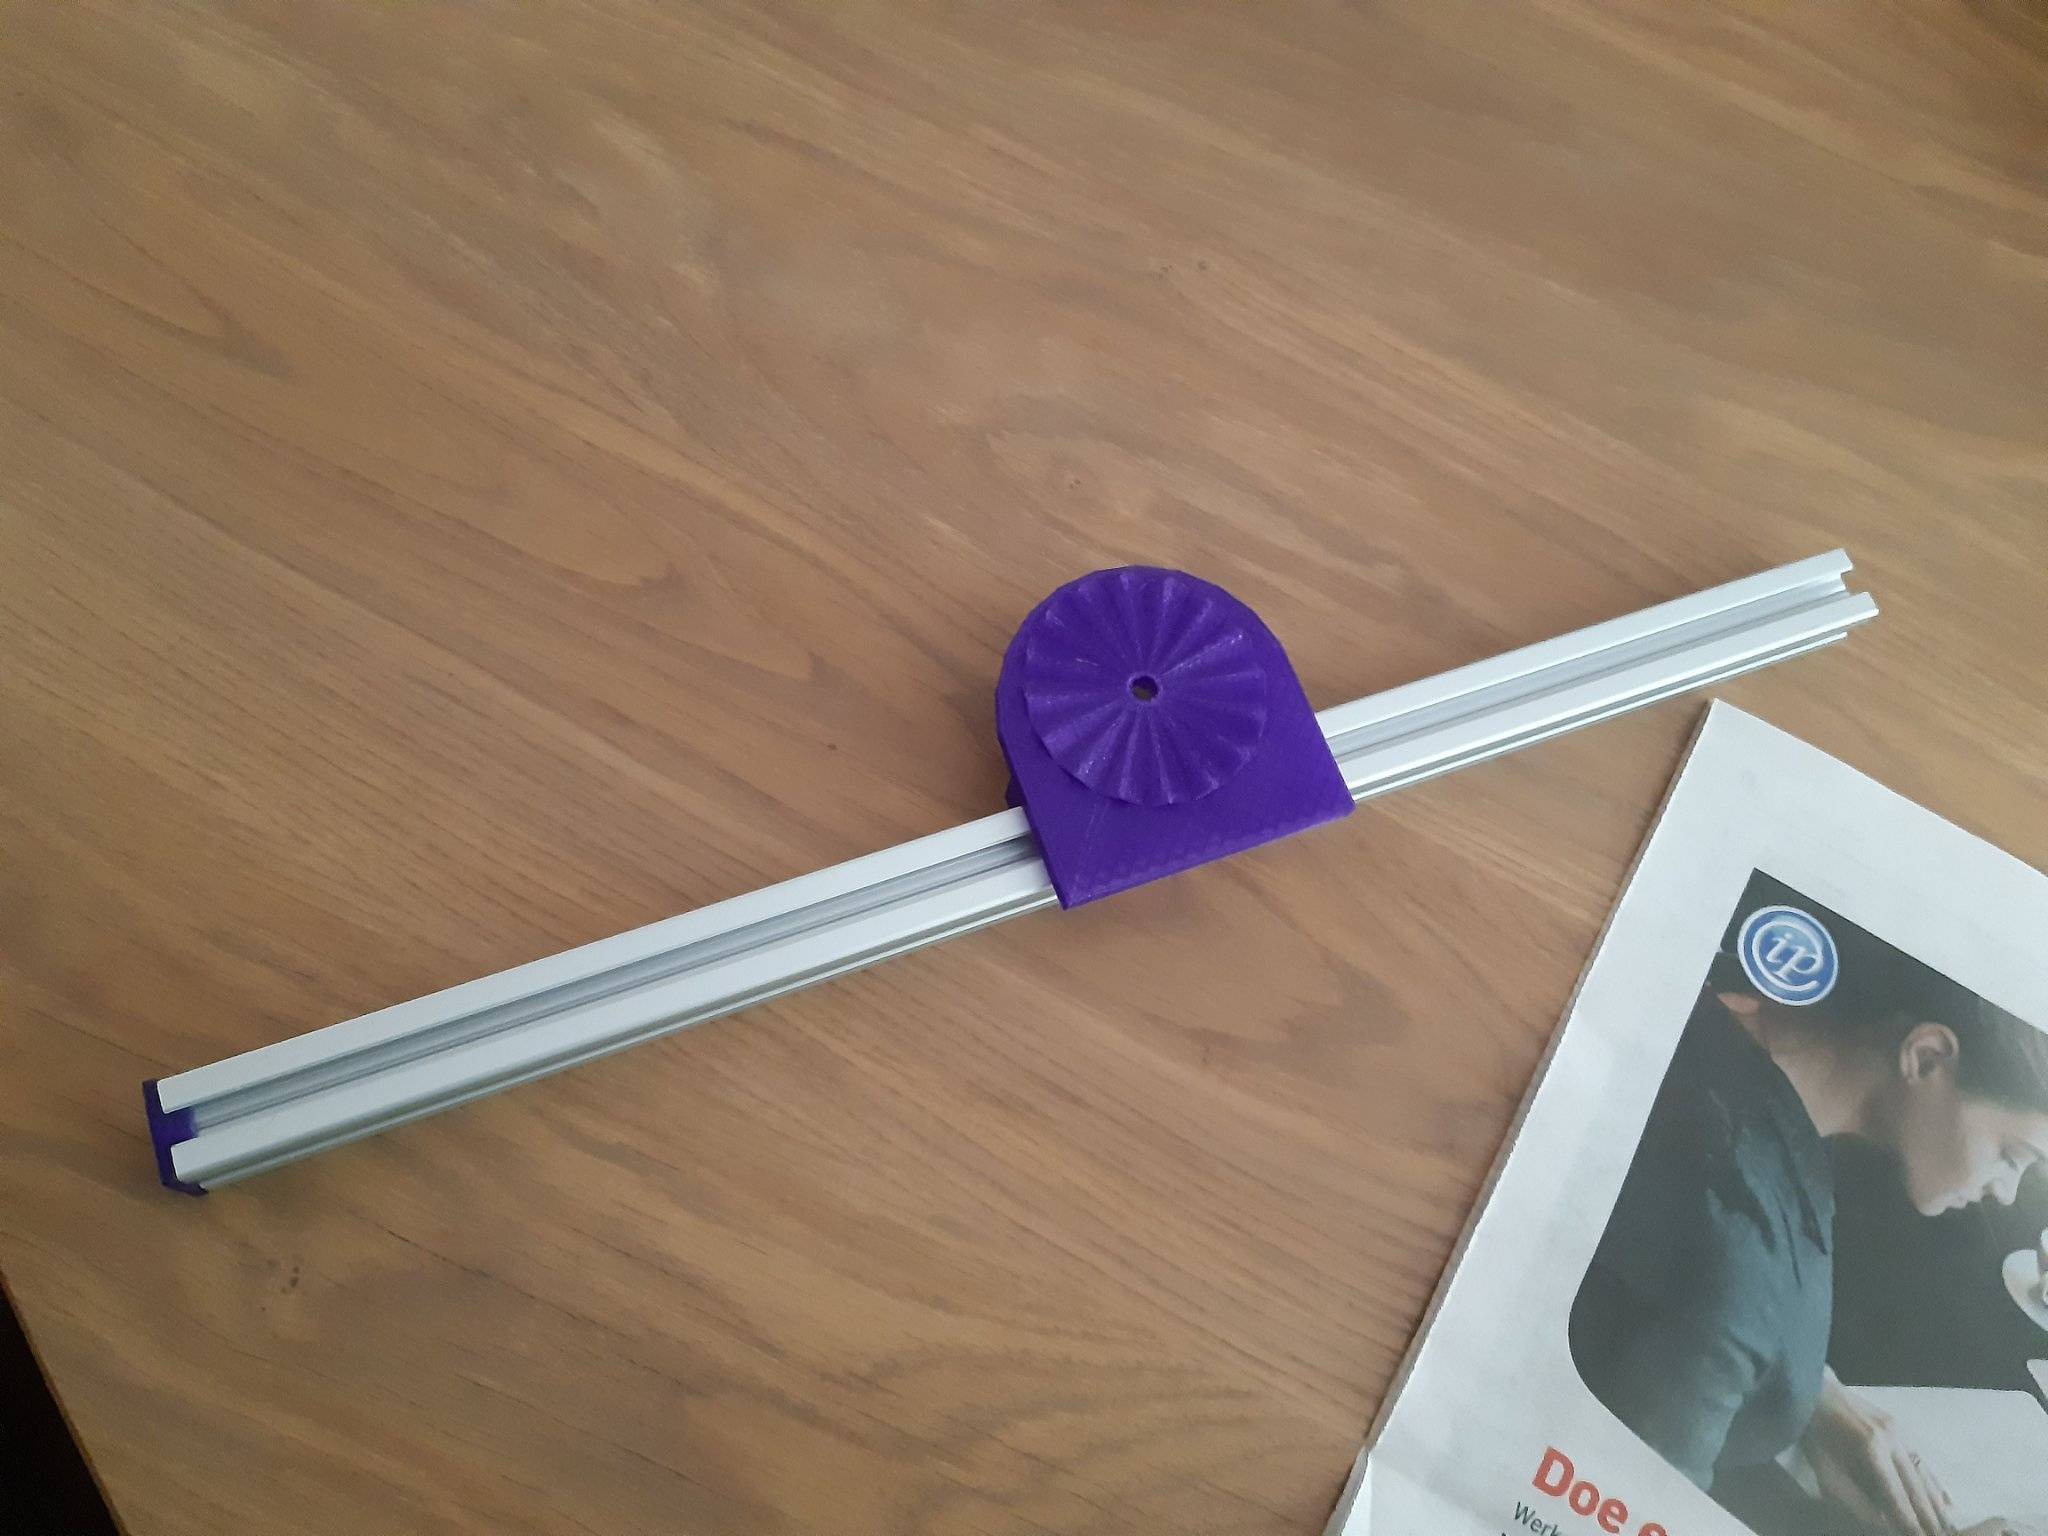
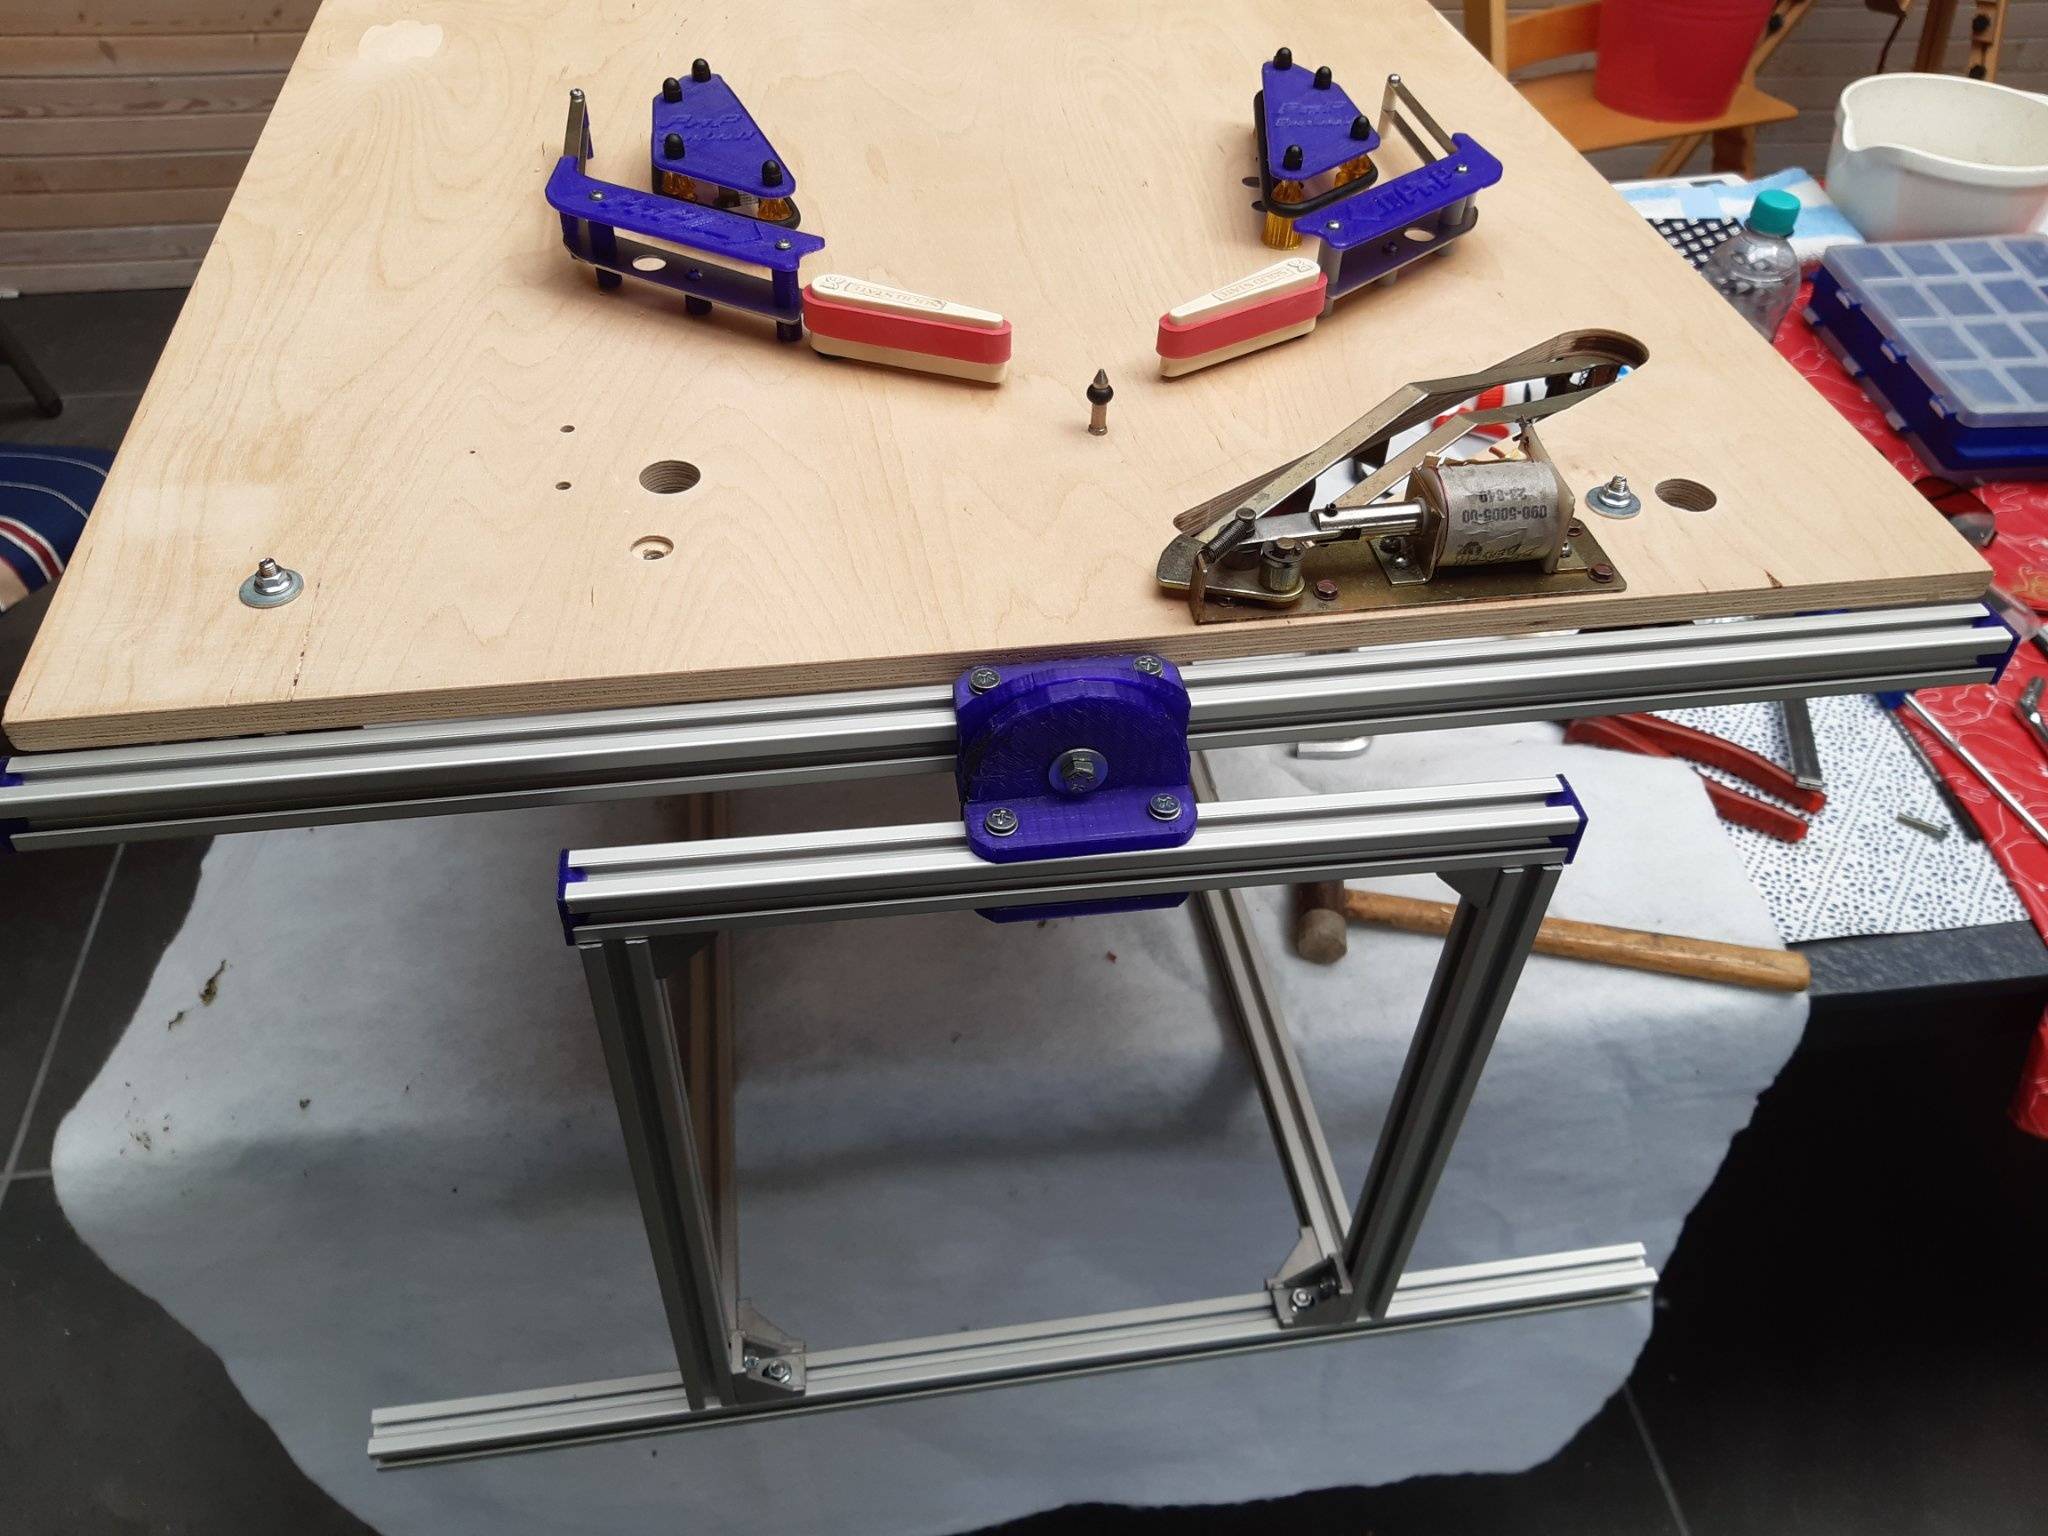
for the pivot point you could also just drill a hole through the upper red bar and the green bar and just stick a bolt through (as shown in the color scheme picture) but then you'll have to secure it in another way in certain angles.
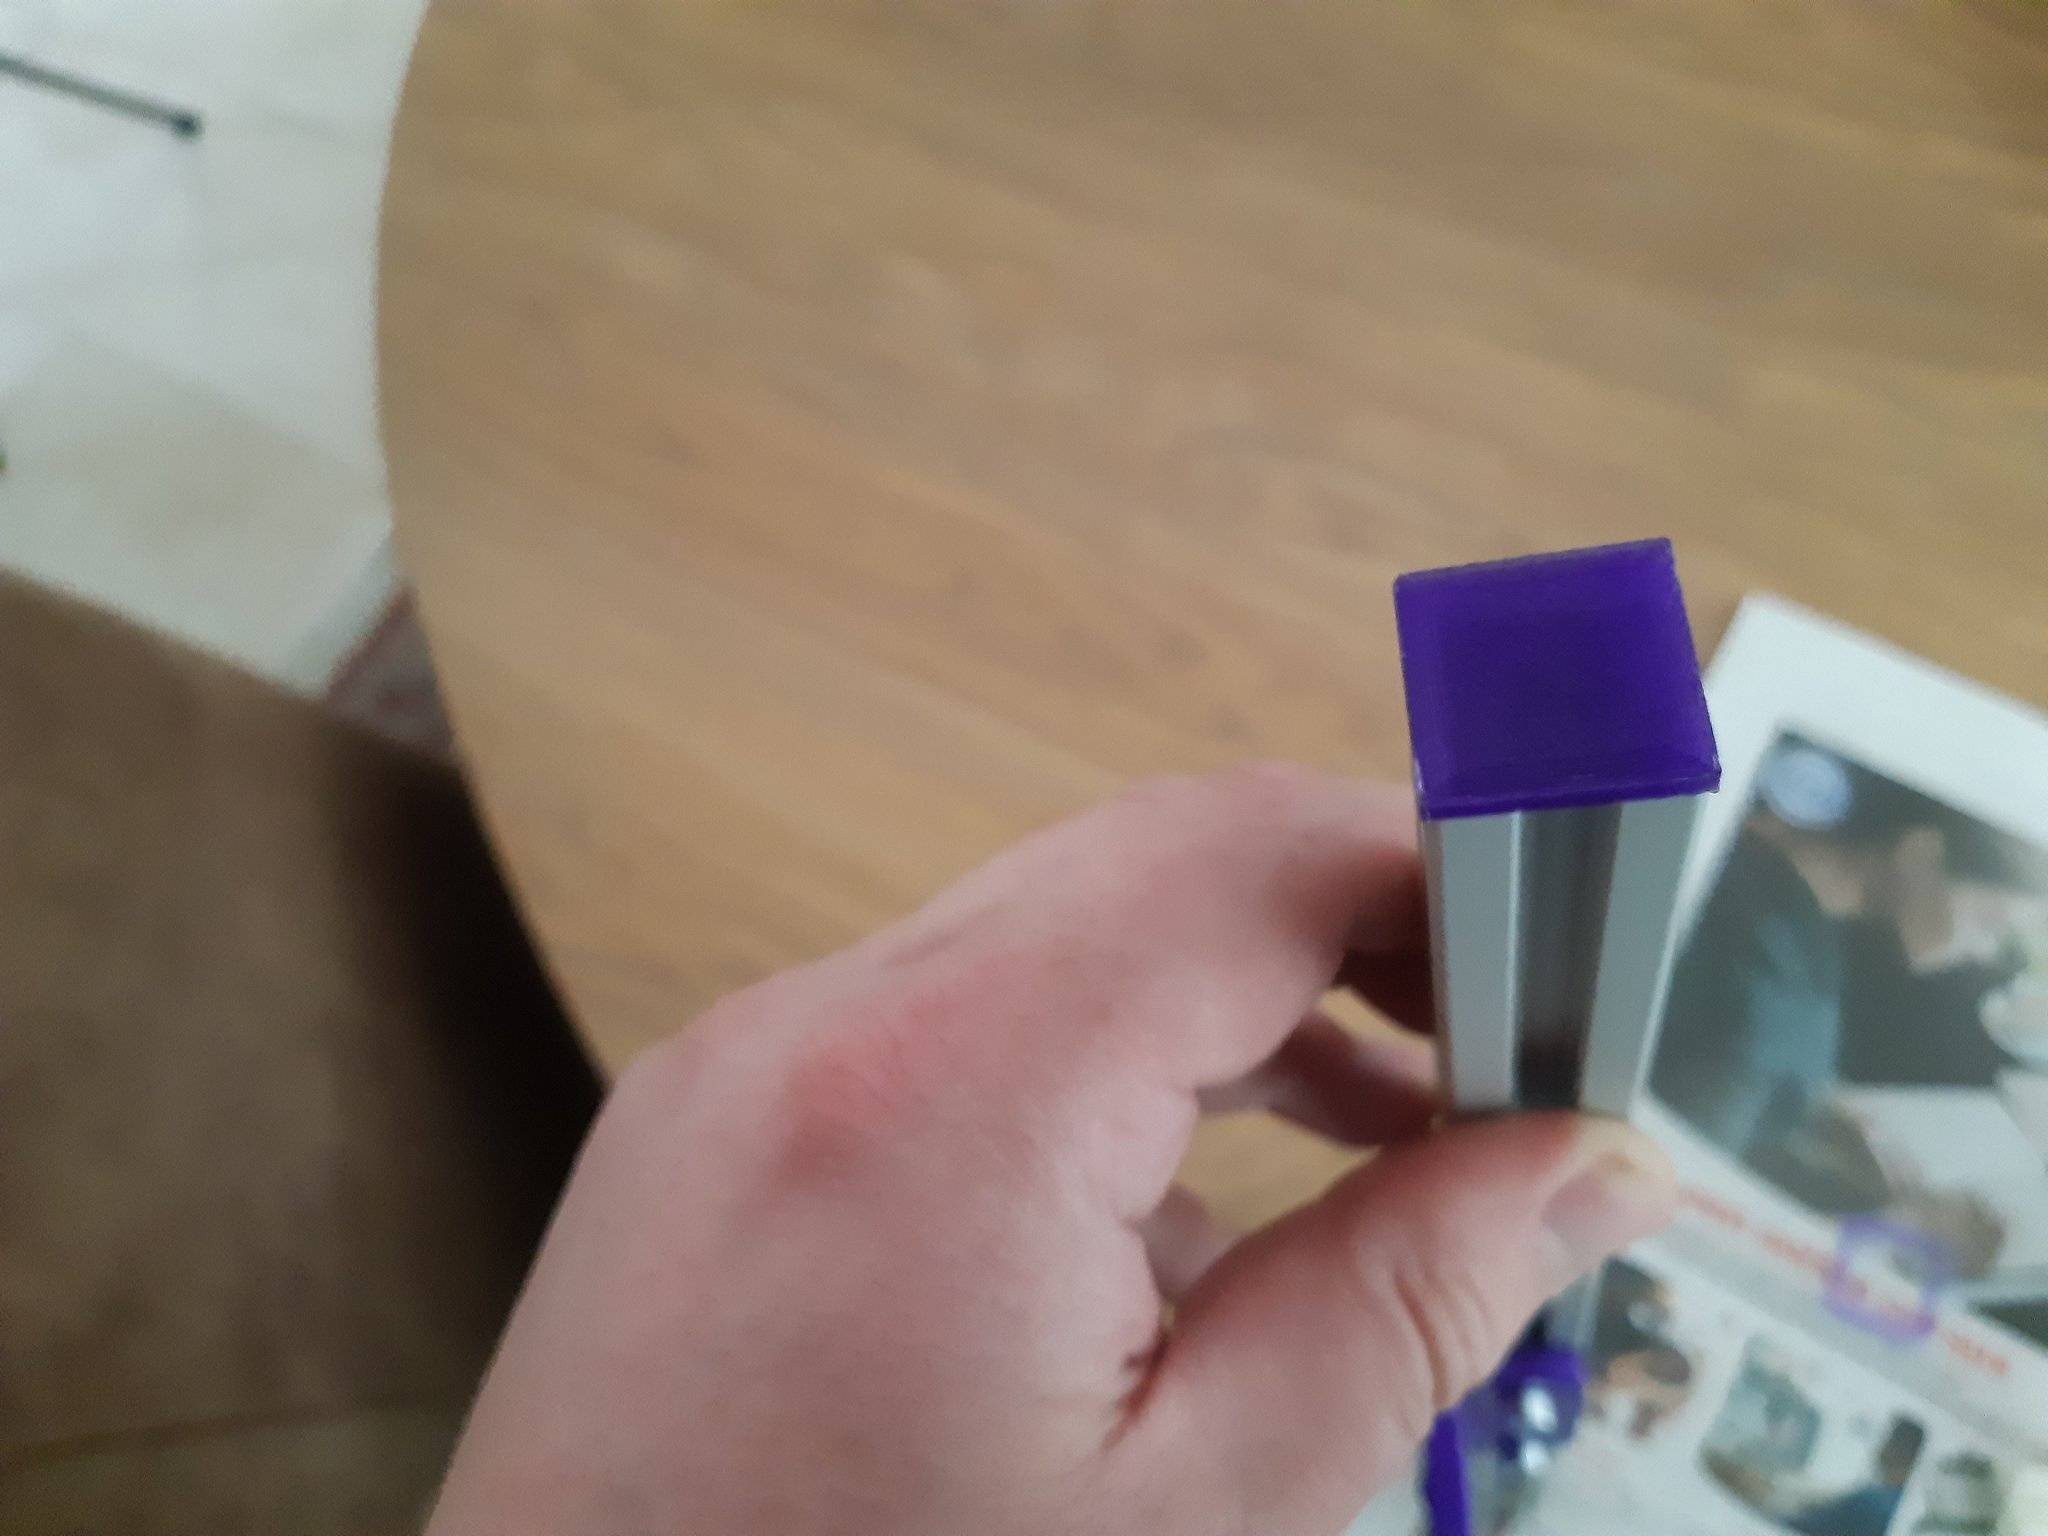
since i have a 3d printer i designed a simple angle lock pivot point. the piece that comes on the green bar gets a m6 slide nut behind it, and then you stick a short m6 bolt in the piece on the red bar to tighten and lock it in position.
the 3d printable pieces you can find here:
angle lock pivot point, endcap and endcap for on the bottom: https://www.thingiverse.com/thing:4394879
off course you could also make a frame for under the tipper from the same material if you want to have it at height, i myself didn't need that, but if you do i would recommend taking at least 3030 or maybe 4040 in that case, to make sure that it is sturdy enough.
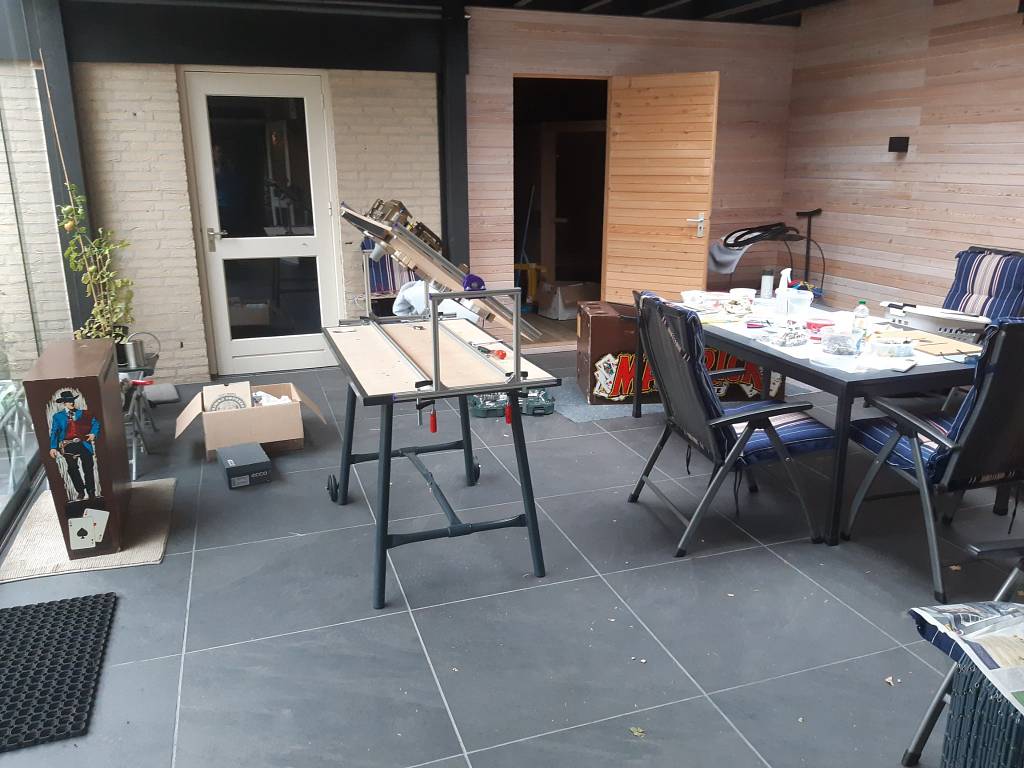
mounted on my workbench:
Hope this helps some of you who want a cheap, light demountable rotisserie.
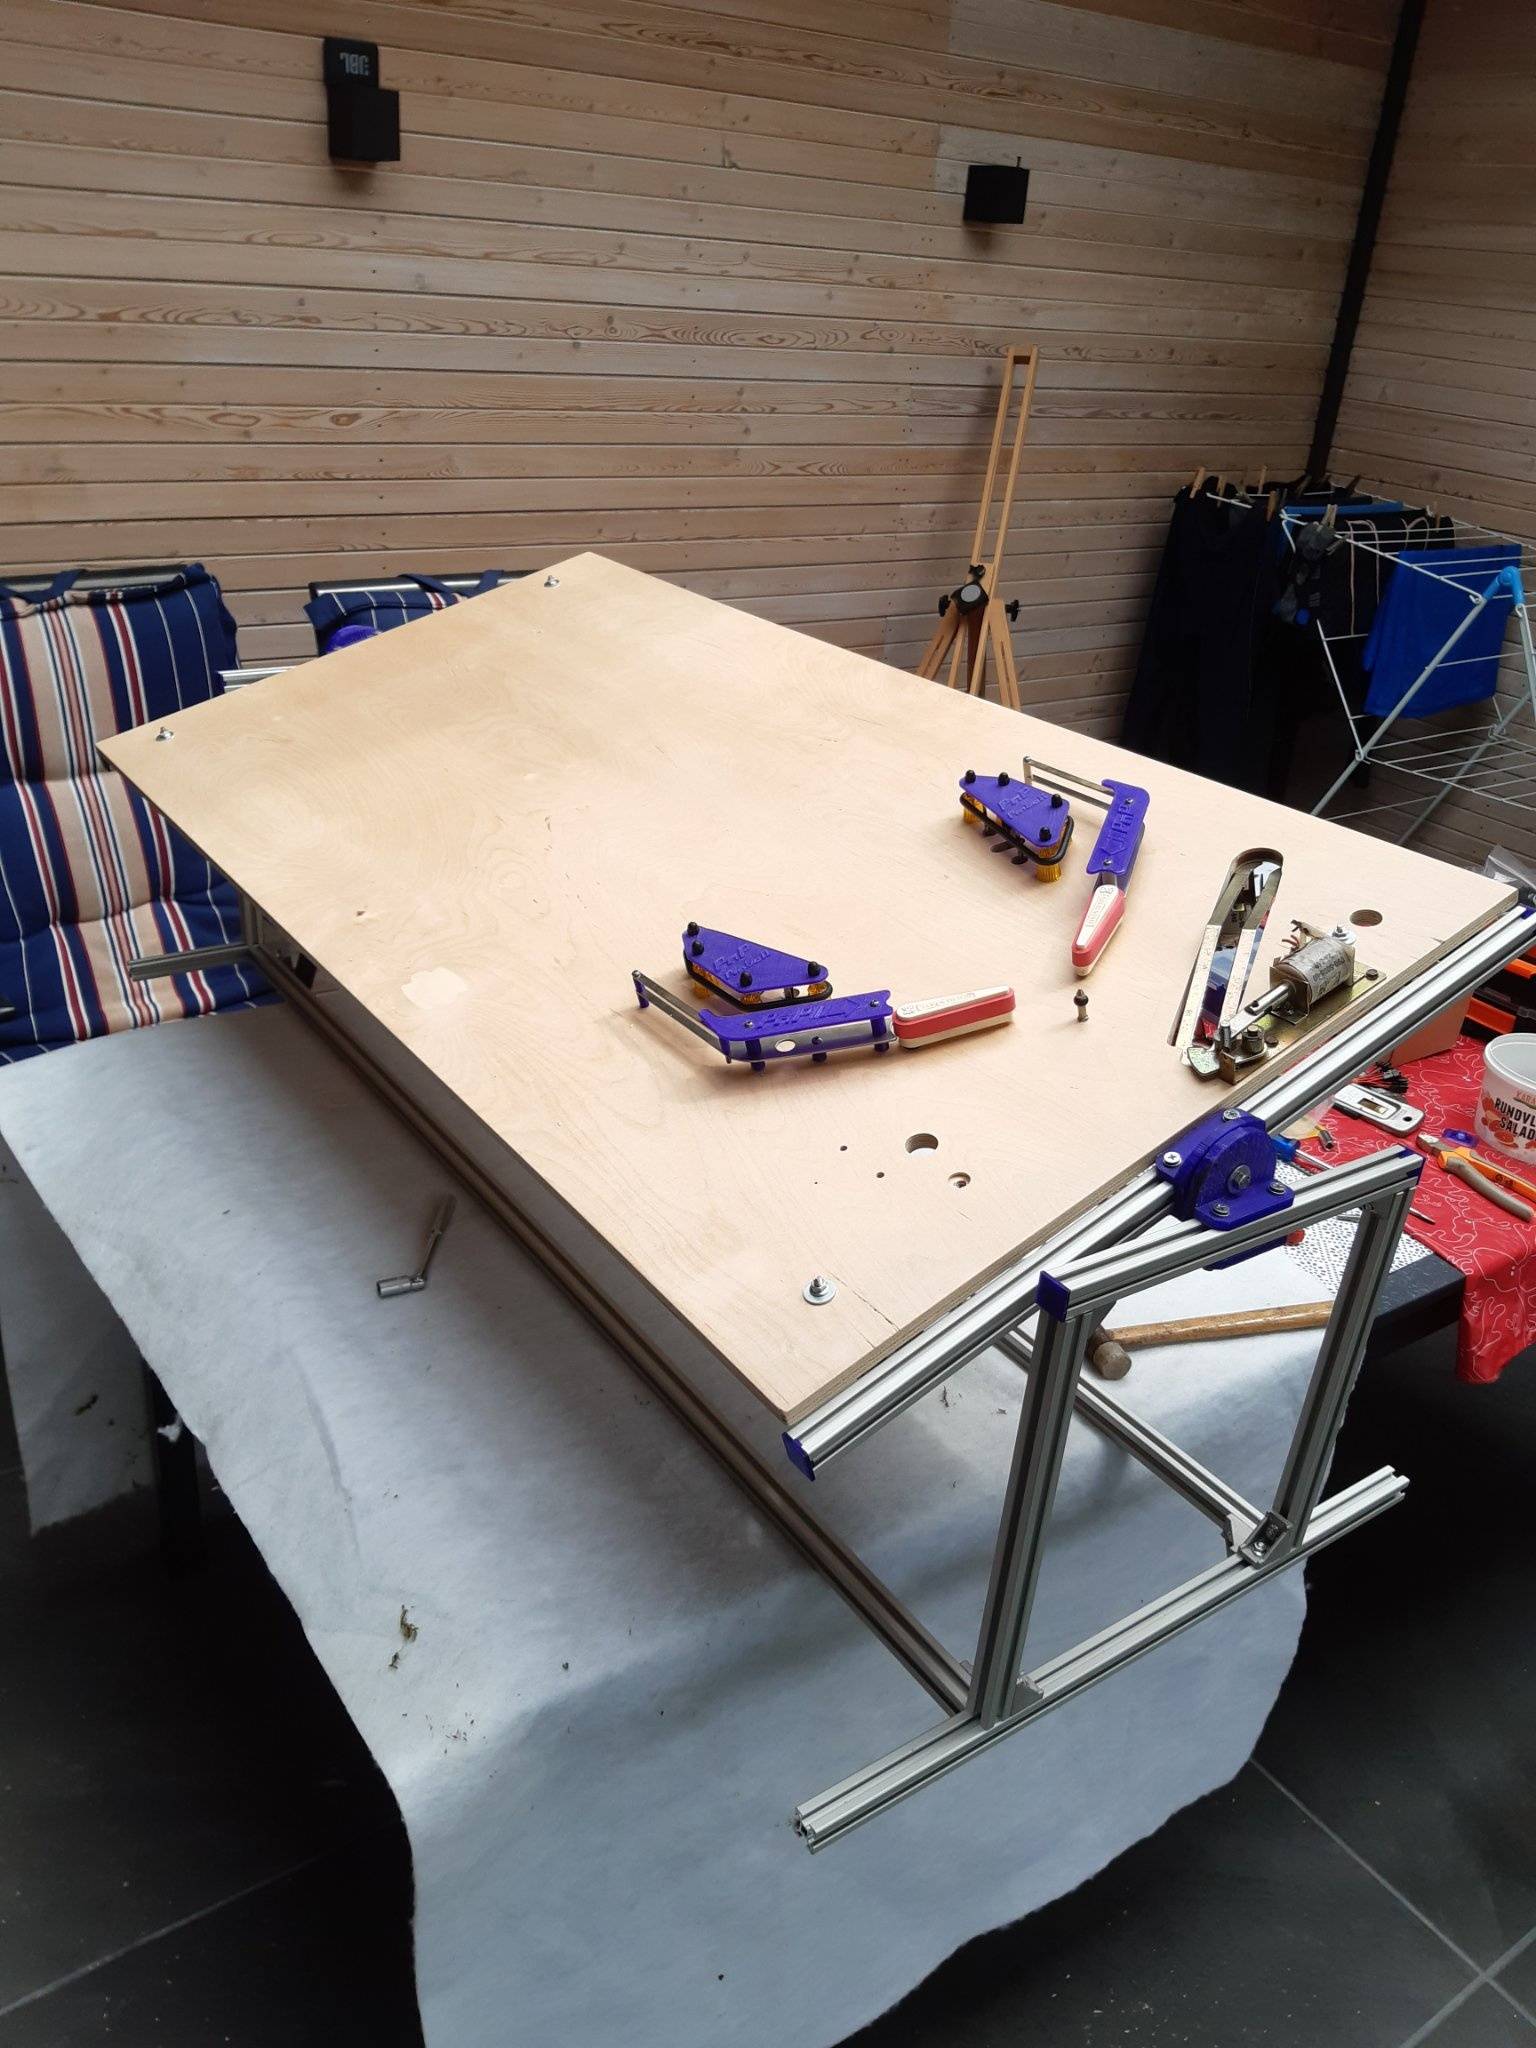
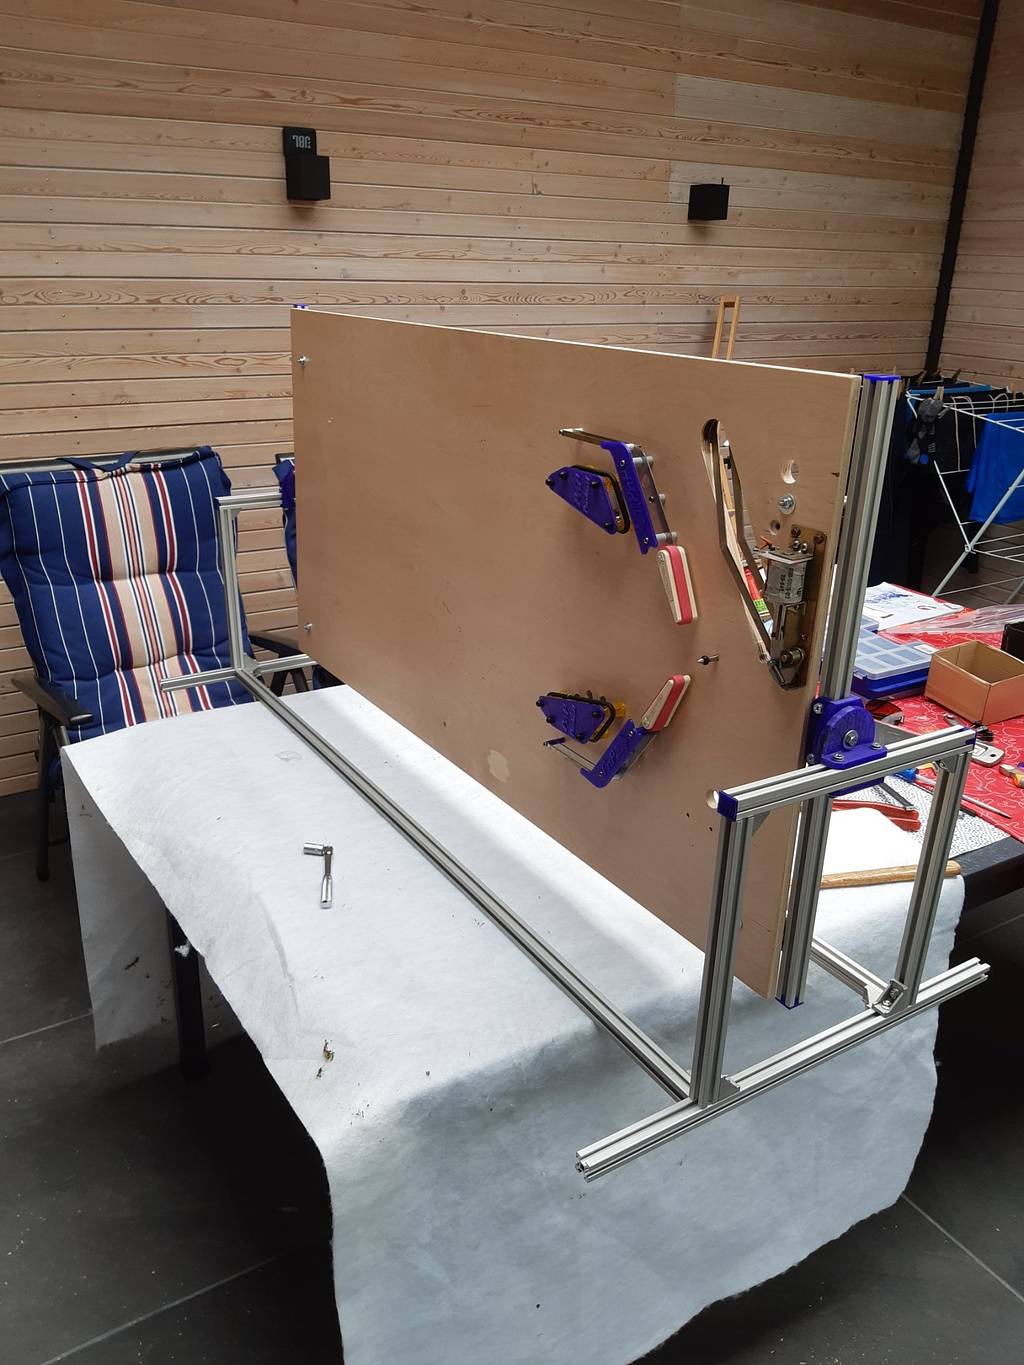
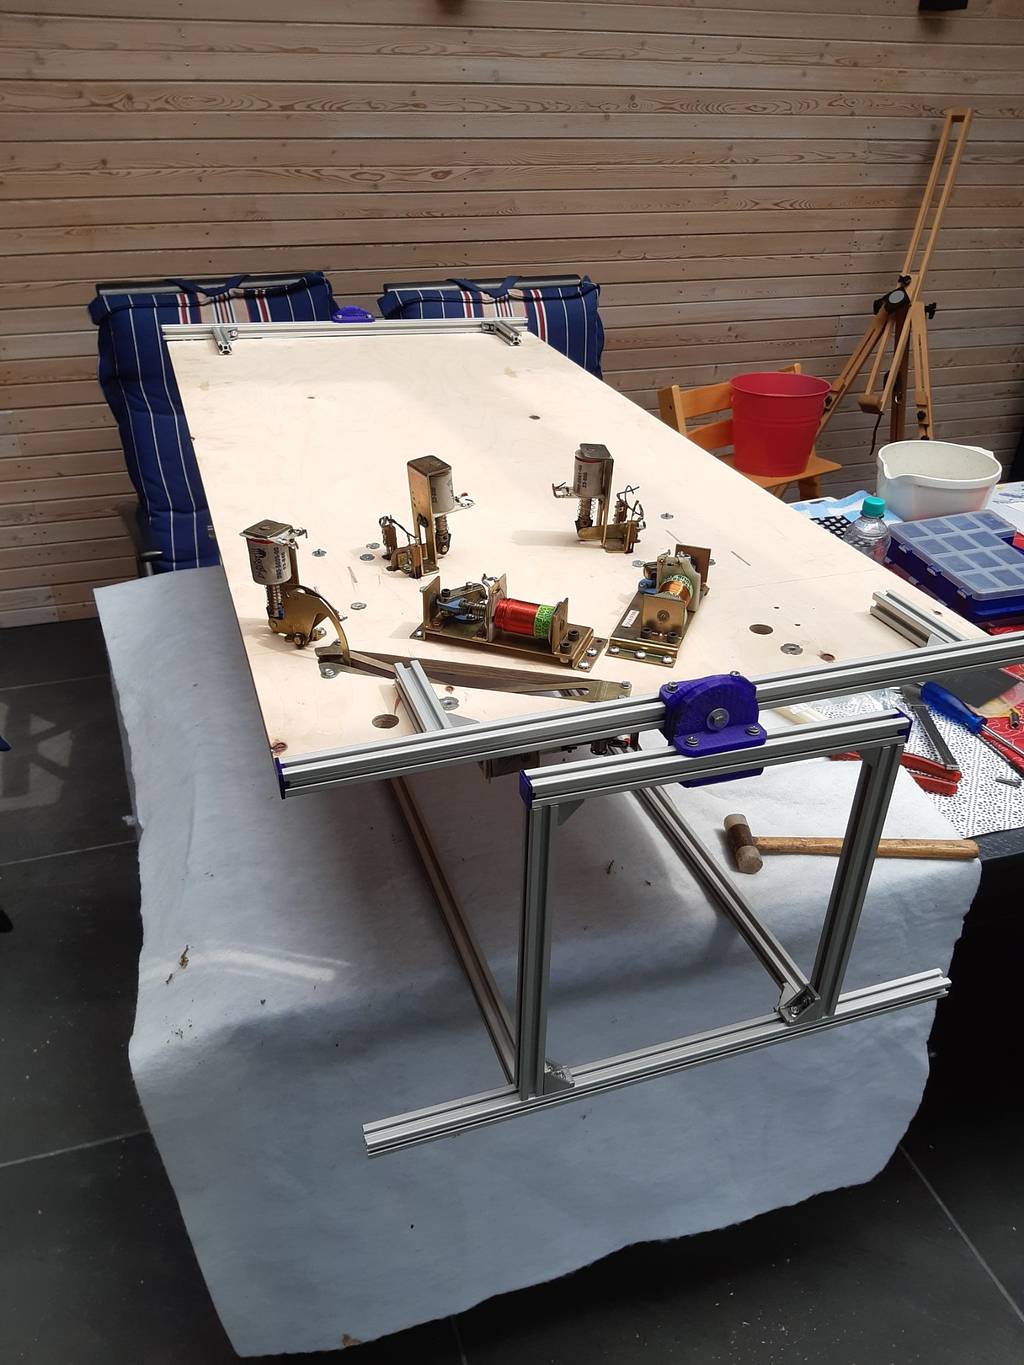
some more pics from the parts and assembled

I thought it might be nice to show you how you can make your own rotisserie for cheap.
I spent about 60-70 euro on this one, and it works great for me.
So im explaining the build a bit better and with some parts you need for those interested.
Except for the 3d printed pivot point, this is easy DIY bolt-on.
You order the parts in the length you need, order enough hammerhead bolts and washer nuts.
the main part are aluminium extrusion profiles, you can buy those in lots of places in different sizes and cut to the length you want
Ive used 2020 aluminium profiles myself, that is sturdy enough for the way i built it by reinforcing the corners.
if you want some less flex in the material, maybe you should try a size larger like 3030 profiles.
for me 2020 works well enough, but if you plan to use it a lot, you might consider to use 3030
I advise to use 2028 corners and not the 2020 corners because you cant properly screw both bolts in if you have a large size (i used M5x12 hammerhead and washernuts)
hammerhead and 2028 corners:
for sizes ive made a color scheme:
red, 6 pieces of 30cm
yellow 2 pieces of 56cm
purple 2 pieces of 130cm (this is for my board which is 122cm long, a regular playfield is schorter, take purple about 6-8cm longer than your playfield is
green 2 pieces of 60cm (this is for my board which is 61cm wide, a regular playfield is shorter, use the same width as your playfield)
Blue 4 pieces of 10cm (check for your playfield which holes you want to use)
the blue pieces are to hold the playfield, ive used hammerhead screws and drilled a hole in my playfield to hold them, since my playfield didn't have much holes yet. for an existing playfield you should check which existing holes u can use to fasten them on the alu profile
for the pivot point you could also just drill a hole through the upper red bar and the green bar and just stick a bolt through (as shown in the color scheme picture) but then you'll have to secure it in another way in certain angles.
since i have a 3d printer i designed a simple angle lock pivot point. the piece that comes on the green bar gets a m6 slide nut behind it, and then you stick a short m6 bolt in the piece on the red bar to tighten and lock it in position.
the 3d printable pieces you can find here:
angle lock pivot point, endcap and endcap for on the bottom: https://www.thingiverse.com/thing:4394879
off course you could also make a frame for under the tipper from the same material if you want to have it at height, i myself didn't need that, but if you do i would recommend taking at least 3030 or maybe 4040 in that case, to make sure that it is sturdy enough.
mounted on my workbench:
Hope this helps some of you who want a cheap, light demountable rotisserie.
some more pics from the parts and assembled
