This is my first shop log and first complete restore.
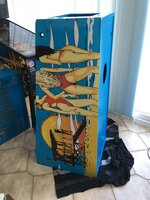
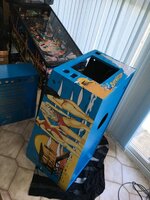
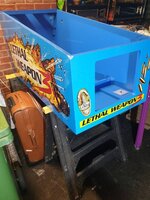
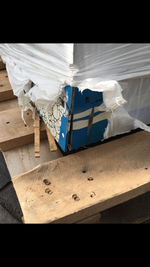
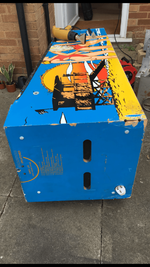
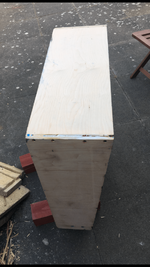
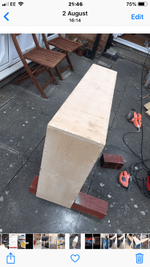
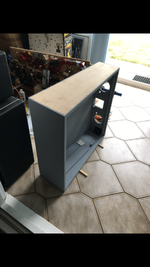
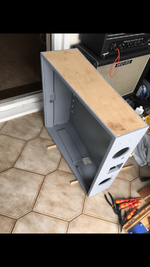
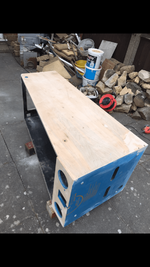
I have started a TOM but I got this and apart from the bad repair to the backbox, it was only secured to the pallet by one strap which broke during transit and effectively ripped the front off so I had to do something.
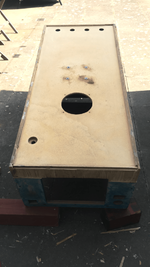
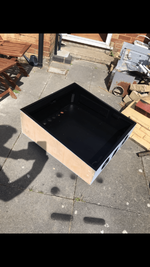
I started stripping the machine exactly 5 weeks ago, and I have to do sanding etc in the garden as I don’t have a workshop so the weather has made life difficult to say the least.
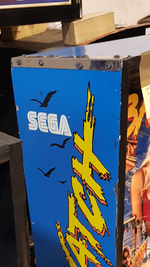
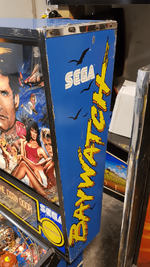
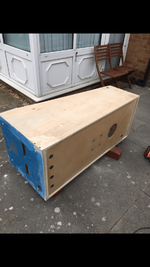
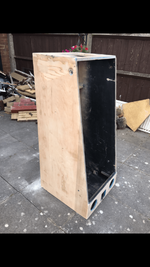
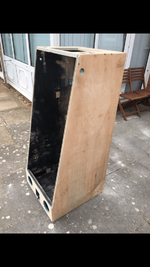
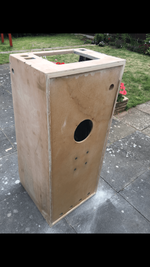
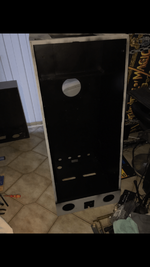
First up some pics of it when I got it -
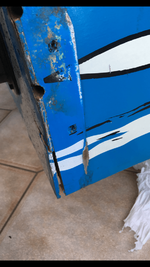
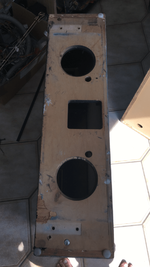
The front was hanging on by a thread and wouldn’t push back flat even after cleaning debris from behind it so I had no choice but to remove it.
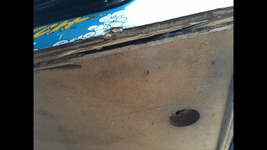
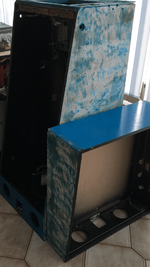
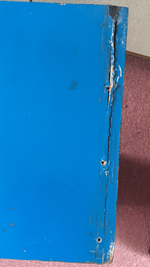
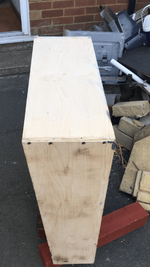
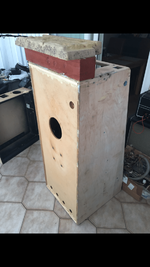
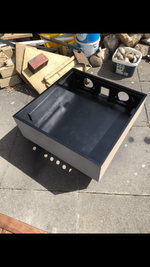
The backbox had external brackets screwed each side and loads of black rubber like filler, also the front was 1/2 inch wider at the top than the back, also the bottom of the backbox was loose and did not sit flush
I have started a TOM but I got this and apart from the bad repair to the backbox, it was only secured to the pallet by one strap which broke during transit and effectively ripped the front off so I had to do something.
I started stripping the machine exactly 5 weeks ago, and I have to do sanding etc in the garden as I don’t have a workshop so the weather has made life difficult to say the least.
First up some pics of it when I got it -
The front was hanging on by a thread and wouldn’t push back flat even after cleaning debris from behind it so I had no choice but to remove it.
The backbox had external brackets screwed each side and loads of black rubber like filler, also the front was 1/2 inch wider at the top than the back, also the bottom of the backbox was loose and did not sit flush
Attachments
-
 B9449A6B-1CAD-4CA1-89D1-4C5483F6CD2C.png191.2 KB · Views: 77
 -
 1C5664BB-EFAB-4EDA-9DD9-A2ACC360B675.png288.9 KB · Views: 75
 -
 059787A6-DD1F-4186-8022-9B6277C0E06F.png171.5 KB · Views: 73
 -
 6CA4A1A3-CEF4-45CD-A1B0-1385B6120A10.png133 KB · Views: 74
 -
 081725D7-8903-4786-9C14-F7FA27CA2C2F.png170.6 KB · Views: 73
 -
 AAC91834-BCFE-4A7A-95B9-09A58A999B09.png186.2 KB · Views: 72
 -
 D93BFBD7-977D-4A9D-8D74-873EDF444052.png119.8 KB · Views: 75
 -
 3F60F968-0B14-4B84-8143-DD1DFBC140CD.png214.4 KB · Views: 75


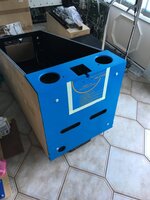

") will make the cab pop
will make the cab pop