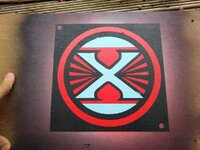
I picked this up on Sunday, it was only 260 miles away in North Devon! No problem for a 20 year old Renault Scenic(!), I made it there and back by 7!
Yes I was pretty pumped to get it, well that was until I took off my rose tinted glasses!
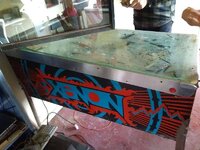
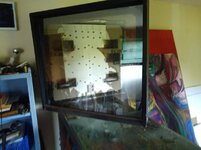
It was left in a damp unventilated place for about 6 years, ok but looks okay...
Missing the backglass, (i'm thinking - are you sure you're not keeping it?!!), well hopefully I can find one...
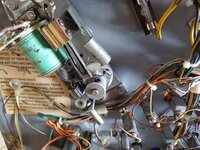
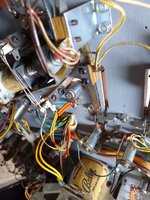
some of loom has been cut, well damm, but I can fix that...
It has the dreaded woodworm, just a few holes not too bad...er wait there's more holes...Kill it with FIRE!! (only joking!?)
So I started stripping this down. The first thing I noticed was the white mould and the fact that it was really dirty.
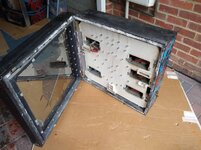
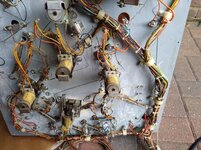
So I cleaned that off with some very mild bleach solution.
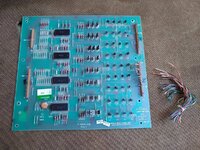
Inside the cab, I found the part of the loom that was cut. The wires were soldered straight onto the lamp driver board, apperently it was always like that!
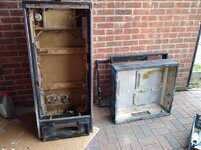
So the cabinet mostly stripped, I went at it with plenty of woodworm killer
The backbox lamp board was the worst for wood worm:
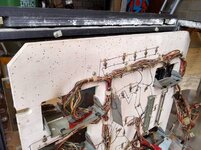
Looks like the little blighters got in and had a party. It has 2 sessions of woodworm treatment, I am going to inject the holes as well, before filling them.
If there any any signs of life after that , then I will think about remaking this piece.
I was worried about the woodworm treatment lifting the paint, well mostly it has been ok. The paint has started to lift on one side of the backbox, but I figure I am going to have to paint anyway because of the dreaded worm.
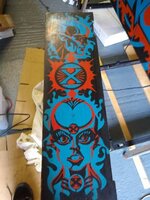
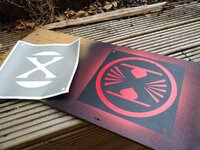
So I scanned the cabinet and backbox and bought some stencil material.

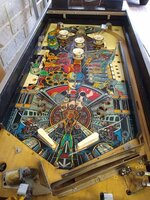
The playfield is not too bad
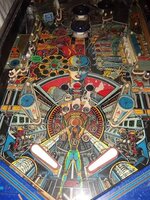
So far I have stripped it and started to clean it. some of the bulbs are missing from the light bar, but the tube is fine.
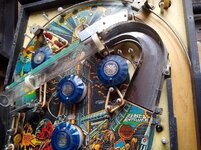
I has some really worn out bumpers and a broken flipper, so it has had a hammering.
I might be able to get away with some touching up and a few decals, if only I had a decent scan of the missing parts!
Then again cpr playfields...
Think I will get it working first.
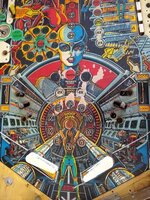
So at the end of day 2, I have stripped, cleaned and treated this pin.
I am going to let it completely dry out before doing any work again. In the meantime I am going to work on the stencils, I have not tried making them before so I will paint a test piece first.
I am missing the translite, head bolts were wrong so need other ones, the legs were wrong, but apart from that it is pretty complete.
Yes I was pretty pumped to get it, well that was until I took off my rose tinted glasses!


It was left in a damp unventilated place for about 6 years, ok but looks okay...
Missing the backglass, (i'm thinking - are you sure you're not keeping it?!!), well hopefully I can find one...
some of loom has been cut, well damm, but I can fix that...
It has the dreaded woodworm, just a few holes not too bad...er wait there's more holes...Kill it with FIRE!! (only joking!?)
So I started stripping this down. The first thing I noticed was the white mould and the fact that it was really dirty.


So I cleaned that off with some very mild bleach solution.
Inside the cab, I found the part of the loom that was cut. The wires were soldered straight onto the lamp driver board, apperently it was always like that!

So the cabinet mostly stripped, I went at it with plenty of woodworm killer

The backbox lamp board was the worst for wood worm:

Looks like the little blighters got in and had a party. It has 2 sessions of woodworm treatment, I am going to inject the holes as well, before filling them.
If there any any signs of life after that , then I will think about remaking this piece.
I was worried about the woodworm treatment lifting the paint, well mostly it has been ok. The paint has started to lift on one side of the backbox, but I figure I am going to have to paint anyway because of the dreaded worm.

So I scanned the cabinet and backbox and bought some stencil material.

The playfield is not too bad

So far I have stripped it and started to clean it. some of the bulbs are missing from the light bar, but the tube is fine.

I has some really worn out bumpers and a broken flipper, so it has had a hammering.
I might be able to get away with some touching up and a few decals, if only I had a decent scan of the missing parts!
Then again cpr playfields...
Think I will get it working first.


So at the end of day 2, I have stripped, cleaned and treated this pin.
I am going to let it completely dry out before doing any work again. In the meantime I am going to work on the stencils, I have not tried making them before so I will paint a test piece first.
I am missing the translite, head bolts were wrong so need other ones, the legs were wrong, but apart from that it is pretty complete.
Last edited:

