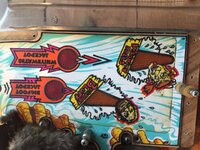
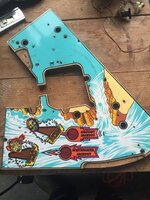
Cut a long story short I bought this Whitewater off eBay about 3 years ago as 100% working. When it arrived it wasn't just not working but it was a completely different pin than those in the pictures! So I opened up a dispute with and got my money back but now I was stuck with a pin which had cost me ££ to get delivered and was going to cost more to send back. I contacted the seller and made them an offer which I thought was fair and luckily they accepted. So from a nice Whitewater I ended up with a non worker with almost every plastic and ramp broken. 
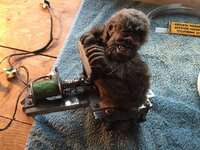
I've been accumulating bits over the years and started on it twice before moving house both times. Now I have the time and space to crack on and have set a target of June to have it done as I would like to have it at the wedding.
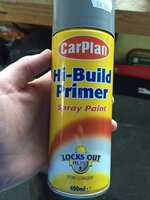
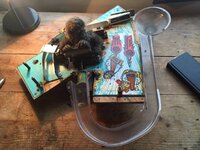
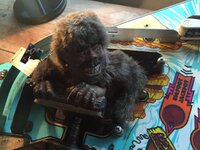
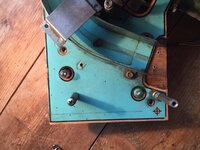
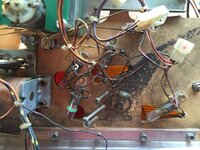
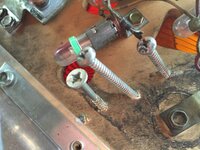
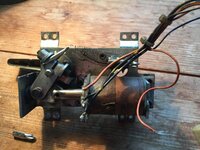
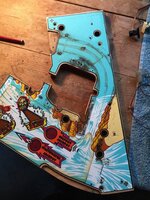
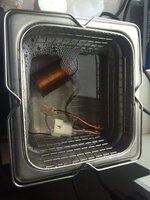
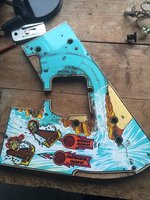
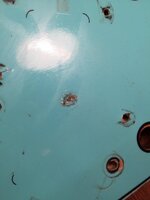
Anyway I started stripping the cabinet and back box Boxing Day and have been filling and sanding the back box the last couple of days. Luckily there was no battery corrosion on the boards even though their use by date was 2009. However the power driver board has been hacked to fcuk and will need replacing so any suggestions which way to go?
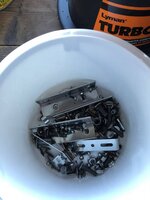
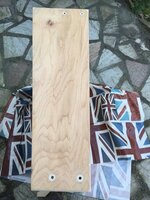
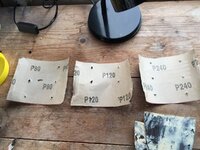
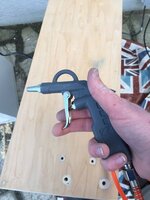
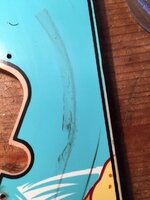
I'll shut up and post some pictures of the last few days progress.
Ps thanks to @Paul @newdos and @Spandangler amongst others for posting their logs and giving me inspiration!
I've been accumulating bits over the years and started on it twice before moving house both times. Now I have the time and space to crack on and have set a target of June to have it done as I would like to have it at the wedding.
Anyway I started stripping the cabinet and back box Boxing Day and have been filling and sanding the back box the last couple of days. Luckily there was no battery corrosion on the boards even though their use by date was 2009. However the power driver board has been hacked to fcuk and will need replacing so any suggestions which way to go?
I'll shut up and post some pictures of the last few days progress.
Ps thanks to @Paul @newdos and @Spandangler amongst others for posting their logs and giving me inspiration!
Attachments
-
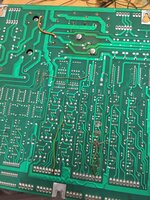 image.jpg154.2 KB · Views: 86
 -
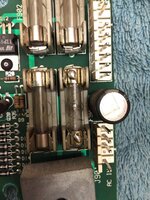 image.jpg116.3 KB · Views: 84
 -
 image.jpg123.5 KB · Views: 82
 -
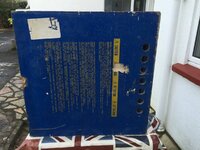 image.jpg151.9 KB · Views: 83
 -
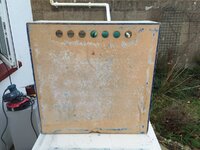 image.jpg171 KB · Views: 81
 -
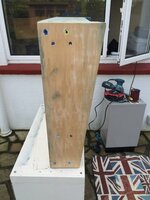 image.jpg87.6 KB · Views: 79
 -
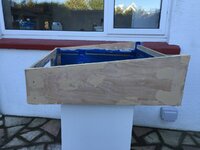 image.jpg107.3 KB · Views: 78
 -
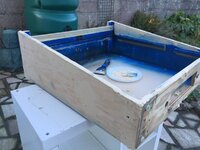 image.jpg121.5 KB · Views: 82
 -
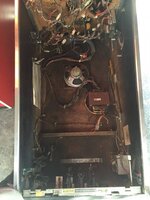 image.jpg93.1 KB · Views: 83
 -
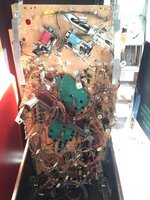 image.jpg124 KB · Views: 86
 -
 image.jpg126.6 KB · Views: 83
 -
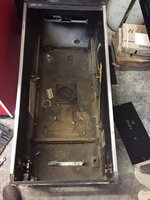 image.jpg96 KB · Views: 83