What's new
Pinball info

Register a free account today to become a member! Once signed in, you'll be able to participate on this site by adding your own topics and posts, as well as connect with other members through your own private inbox!

Playfield protector installation

nugat

Registered
Joined
Jul 14, 2018
Messages
70
Location
Newmarket, UK
This is probably a stupid question and I think I know the answer, but just want some reassurance as I'm new to this hobby :)

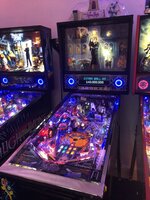
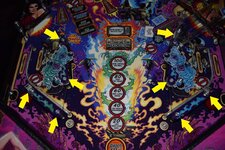
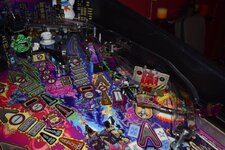
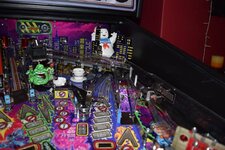
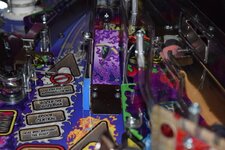
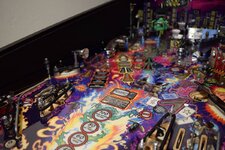
I've ordered a playfield protector (from playfield-protectors.com) for a new Ghostbusters Pro, but looking at the playfield there are already some mylar(?) strips that have been installed at the factory. For example there is mylar applied immediately next to the left scoop.

Should I remove the existing mylar before installing the playfield protector or just leave it in place? I guess the answer is remove it, as otherwise the new playfield protector will create a tiny ramp over the existing mylar.

Any general tips on installing a playfield protector would also be appreciated, even if it's "don't do it" :) I plan to give the playfield a wipe with some Novus 2 and blow off any detritus with an air compressor.

Cheers!
 
So I read this thread, interested having had various reviews of it. I've had a TAF one for 3-4 months and not got around to putting it in as I'd been thinking of getting a new clearcoated playfield as I have a super nice mint TZ.

Anyway, I couldn’t sleep last night due to the humidity so I went in to my pins to set about putting in the playfield protector.

Onto the install:

Removed bottom flippers and bumper caps, exit lane wire guides, left-right wire guide, ramp. All ok apart from flipper bolts were a total sod to loosen and took me a while, WD40 to the rescue, will replace bolts!

Cleaned thoroughly.

I decided to remove existing Mylar around the large pop cap area/Electric chair and to the right near lower swamp. I couldn’t clean the playfield properly, with dirt at the edge of the mylar and it was surprising how much haze there was due to the Mylar adhesive. I used gum/adhesive clear to clean it (apply and leave 5-10mins before cleaning).

After that I was ready to place down the protector, I did so with the backing sheets on to make sure it was OK.

I found that it would be easier using a craft knife to make a cut in the top loop rather than struggle with all the wiring and re-soldering etc. This worked out OK.

I found that I had to use a craft knife to shave off a few millimetres on the area just to the left of the vault as it was catching on the metal. This also worked out OK.

Once I was happy it was a good fit, I took the protector out and cleaned things again.

I removed both front and back protective sheets and fit the protector. There's nothing to 'stick' as such as the protector went in, stayed solid and didn't move. Great.

Then it was time to re-connect everything I had removed for the job, which wasn't so much and 10-15mins later it was done. Flippers were a little awkward but tightening was not nearly as bad as loosening them.

Some tests before I put the glass back on and job done.

Funnily enough, my pal Lee Riley was picking a machine up and he had a look at it with Pin Stadium on. It passed the Riley test, so thats a good thing.


Summary:

Time taken: 2hrs or so, mostly on flipper bolts and cleaning. I managed to sheer both hex standoffs on the main wire guide by over-tightening, but I had spares so lucky.

Skill level: Low-Medium, you have to be confident in your ability to remove ramps and such. You need to have several tools at your disposal.

Result: Happy with it, looks good, plays well (I didn't notice a huge difference in play/speed)

Summary: The result is shiny, looks good, ball is smooth and it evens out the play-field. It's not the same as clear-coat, which when done well is much nicer, shinier, high quality. However clear-coating is expensive and very time consuming with the machine out of action a while. The other option is a new clear-coated play-field with quite a lot of reconstruction work. I'd say if a high quality clear-coat was a 10/10 then I'd likely say this is an 8 on that scale and on that basis, pretty good value for the cost. I've ordered another and to pass the Lee Riley test says a lot :)

Tools I used.

Long Phillips screwdriver with mag tip (Pinball Heaven)
3 x nut drivers (Common nut sizes for usual nuts, mag tip, Pinball Heaven)
Long nose pliers
Standard pliers
Other pliers - finally used these after WD40 to get flipper nuts loose (Big strong thick pliers with angled jaws)
Wd40 to help loose nuts
Gum clear for Mylar adhesive I removed
Novus 1/2 for various plastic cleaning
Craft knife for general utility and cutting protective sheet
Rubber mallet for knocking guides back in


Pictures:

After removing the mylar, there was lots of haze on the playfield due to the adhesive. Cleaned with adhesive remover and polished.
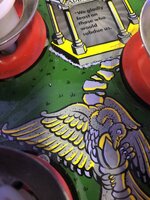
IMG_2983.JPG

Adhesive mostly gone.
IMG_2985.JPG

Had to trim using craft knife for better fit around the left of the vault.
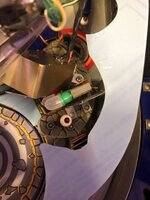
IMG_2990.JPG

Testing the protector fit.
IMG_2991.JPG

The left most wire guides need to be pulled and soft hammered back in.
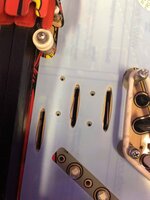
IMG_2992.JPG

Sheet trimmed for vault area.
IMG_2993.JPG

Made a couple of incisions to allow me to fit the protector sheet without de-soldering wires, worked fine.
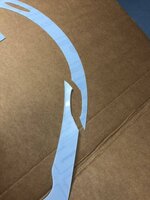
IMG_2995.JPG

Protector sheet in place prior to re-fitting parts I'd removed. Ribbon cable in top corners is from Pin Stadium.
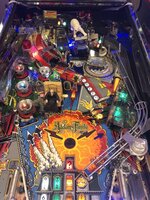
IMG_2996.JPG

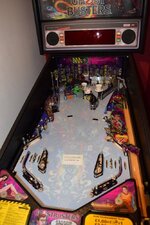
Sheet in place, clean and shiny.
IMG_2997.JPG

Over tightened hex standoffs on main left to right wire guide.
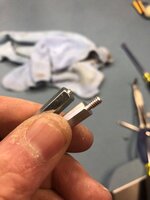
IMG_3002.JPG

Finished.
IMG_3006.JPG
 
Short video of the result...
 

Attachments

  • AFA606CA-9149-4521-8E57-4325069A7640.MOV
    11 MB · Views: 21
Superb! Thanks for taking the time to document the process, that's extremely helpful. Sweet setup you have there! :)

When I do the Ghostbusters I will take some pictures of the disassembly process etc, as I haven't any pictures of this on the web so far.
 
Okay so I installed the playfield protector on my Ghostbusters Pro last week. Took a long time but was worth the effort I think. Here's a write up for anyone wishing to do the same. Apologies in advance for any incorrect terminology :)


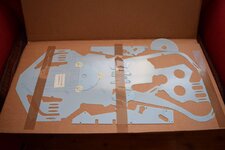
The protector in all its glory....
DSC_0001.JPG
I ordered the full kit (from playfield-protectors.com/) which included protectors for the slingshot plastics, side plastics and the area around the flipper buttons. Note that the protectors for the plastics goes underneath to protect the artwork, not on top (I didn't make that mistake, honest ;-) ).

Right, onto the painful part, stripping the playfield. I started at the bottom and worked my way up, taking photos along the way to give me some chance of remembering which bits went where. Any screws, nuts or bolts removed were immediately put back where they were, or stored with the part they came from.

And don't forget to remove your balls before lifting the playfield!!!!

Use an allen key, loosen the clamps that holds each flipper on. These are done up VERY tightly by the factory so use a tight fitting hex key to avoid stripping the bolt head.
DSC_0002.JPG

Once the bolt is loosened pull the flippers off of the playfield. I reinserted them underneath to keep the mechanism in its place.
DSC_0003.JPG

Next use a 5/16 driver to undo the four nuts holding on the plastics above the slings shots. The right sling shot plastic has a hex post at the top which connects to the bottom of the plastic loop. This post can be removed with a spanner/grips without removing the loop.
DSC_0004.JPG


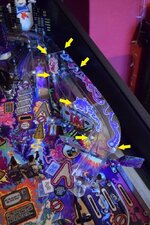
Next attack plastic loop. There are 7 screws with washers holding on the top cover. Some of the screws have nuts underneath so you may have to lift the playing field to get a grip on these. The lowest screw also has a black plastic spacer.
DSC_0009.JPG

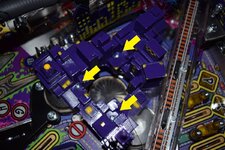
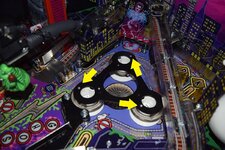
Next I removed the plastic city model above the pop bumpers. Remove the three screws that hold the city model above the bumpers.

DSC_0013.jpg

Next remove the three screws that hold on the the metal plate above the bumpers (a smaller screw driver is needed for these). Replace the screws in the bumpers to avoid loosing them.

DSC_0014.jpg

Continued in next post.....
 
Last edited:
Start removing the rest of the screws that hold on the plastic loop. Start at the bottom right and work your way up. Remember to note the position of the screws. Where possible put them back where they came from.

DSC_0018.JPG

I've not marked the screws in the photo as there are too bloody many of them :)

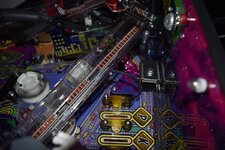
Also remove the screws that hold the left and right metal ramps that lead onto the plastic loop. These are screwed straight into the playfield wood so take care when removing them.
DSC_0019.JPG
DSC_0021.JPGDSC_0020.JPG

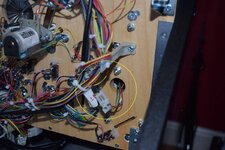
Once (you think) you have undone all of the screws that hold on the plastic loop, we need to go underneath the playfield and disconnect some wires.

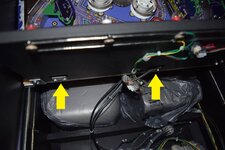
There are five wires in total which need disconnecting. You can easily trace them down through the playfield.

1) Rollover switch at bottom right of plastic loop.

2) Lane diverter at right of plastic loop.

3) Rollover switches (3x) at top of plastic loop (all go into a single cable).

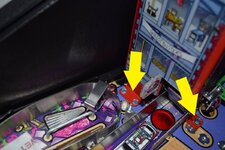
4 & 5) Red flashers at top left of plastic loop.

I used some masking tape to make labels for all of the connectors (both halves) so that I new which connected to which.

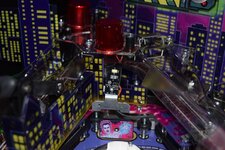
At this time I also removed Gozer the Gozerian from in front of the red flashers.

DSC_0023.JPG

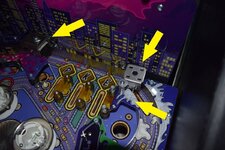
In order to make room to pull the connector for the 3x rollover switches through the playfield, you also need to remove the left most yellow post on the PKE rollovers.

DSC_0032.JPG

Continued in next post....
 
Once the wires are disconnected, pull the cables up through to the top of the playfield. You should now be able to carefully lift the entire plastic loop off of the playfield. It does need some slight bending to get it past some of the objects left on the playfield, but take it gently and it should come off.

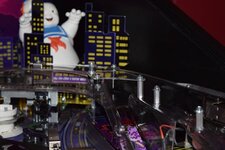
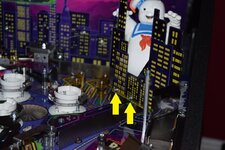
Next we need to remove our old friend Mr Stay Puft. Remove the city scape infront of him by undoing the two screws at the bottom.

DSC_0034.jpg

Now go under the table and disconnect the wire leading to Stay Puft, remember to label it.

Undo the two bolts which hold Stay Puft onto the table and carefully lift him off.
DSC_0035.JPG

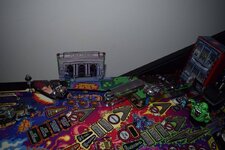
Once Stay Puft is removed we need to remove a piece of plastic trim and loosen two lane gates at the top of the playfield.

DSC_0042.JPG


The two lane gates are held on by screws at the back of the table. The gates do not need to be completely removed themselves, but by removing the screws it gives us enough wiggle room to eventually slide the playfield protector underneath.

DSC_0041.JPG

Next we need to remove the fire station. We have already exposed one of the screws, but the other two are hidden under the plastic covering the captive balls.

Removing the captive ball plastic is fairly self explanatory, the bottom cone shaped light can be left to dangle, but be careful of the LED underneath the dome light. At least for re-installation it's easier to disconnect the cable underneath the playfield for the dome LED (although the connector wont pull all the way through).

DSC_0036.JPG

Once you've removed the plastic cover, liberate the three captive balls and put them somewhere safe.

Now we have access to all three fire house screws, undo them and remove it.
DSC_0037.JPG

Continued in next post......
 
Last edited:
Now you should have something that looks like this.

DSC_0047.JPG

The good news is, Slimer does not have to be removed!

Next lay the playfield protector on for a test fit, leave the protective covers in place for the time being.

DSC_0050.JPG

Make sure the protector is free to move (couple of millimeters each way). Check that the protector is sitting flat on all parts of the playfield, if not it's probably snagged on something, in my case the 3x and 5x targets.

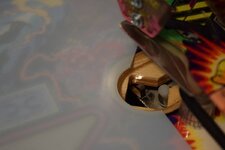
I noticed that the protector was covering up the right eject hole a bit too much for my liking so I used a sharp craft knife to trim it back slightly. The photo below was taken before it was trimmed.

DSC_0049.JPG

When you're happy with the fit. Remove the protector and clean the playfield. I used some Novus 2 to give it a polish and them blew any remaining dust with an air hose. When you're happy that the playfield is clean, remove the protective covers from both sides of the playfield protector and place it onto the playfield.

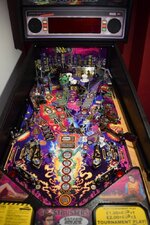
All being well you should now have a nice shiny playfield.
DSC_0053.JPG

Now you can begin the fun of re-assembling the playfield! Just do the reverse to put it back together :) If you bought the full kit the side plastic protectors can be installed at this time.

Once you've re-assembled everything and connected all of the wires. Have a last double check around the table, particularly underneath to spot any loose wires or anything out of place. Make sure your balls are clean and free of any marks that might scratch the protector, cross your fingers, turn the machine on and admire your handy work.

During the first few plays I did notice that the ball was 'moonwalking' slightly on the shiny new protector, but I imagine this will happen less over time as it wears in.
Hope this is useful to someone at some point, I think it would have saved me a lot of time. Any questions please ask :)
 
Last edited:
Back
Top Bottom