Pinball info
You are using an out of date browser. It may not display this or other websites correctly.
You should upgrade or use an alternative browser.
You should upgrade or use an alternative browser.
Complete Pinfest Panic: Mission Complete, Welcome Home Rocket III
- Thread starter astyy
- Start date
Anybody else up against it?
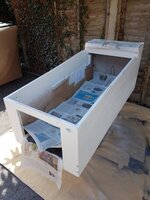
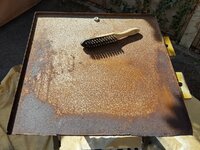
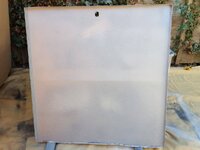
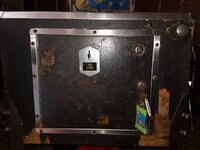
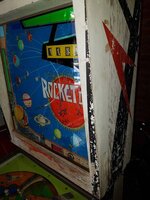
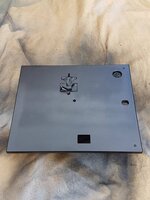
I was stripping very rusty legs ready for painting and triple thicking a backglass over the weekend with the hope being I can bring one of the more unusual games

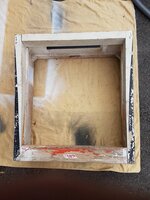
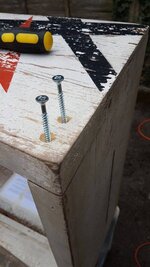
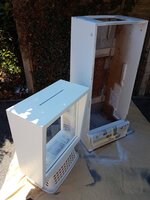
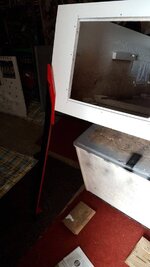
The head was falling apart and all a bit wonky woo. Inside some of the wooden triangular braces are missing (the wood glue long dried out and they fall off), I'll replace these with s/s corner brackets but in the meantime I've glued and screwed it together, these were counter sunk and covered when I did the 2-part Ronseal filling. Primed and several top coats its looking more tidy.


Looking good mate  What are you going to do about cab stencils?
 What are you going to do about cab stencils?
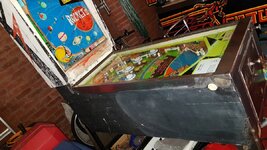
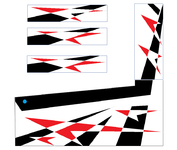
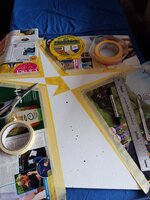
Stencils aren't available but I have a cunning plan, more specifically an actual plan of the cab art! Fortunately it's very simple and only straight line polygons. I measured the position of all of the vertices of the existing art then drew my plan with improvements from the flyer and pics I found online. My current thinking is to frogtape the shapes which should give clean lines but unfortunately I won't get the over spray that I like I might specially add that after. Alternatively, perhaps cut the shapes from red and black wrap  Before all that though, once I've finished all the White top coat I plan to reproduce the Bally speckles, plenty of methods I'm practicing to do this.
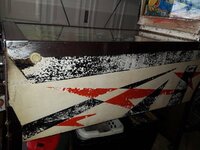
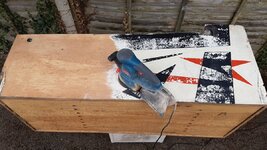
Here's the starting point, vertices marked on tape, the blue circles are errors possibly from factory. Fortunately I thought of doing this before firing up the orbital sander.
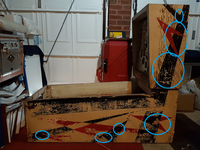
Art tidied up on my plan. All red/black overlaps should be white.
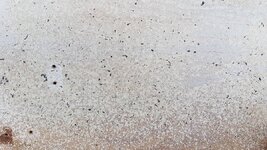
Sample Bally splatter from inside cabinet
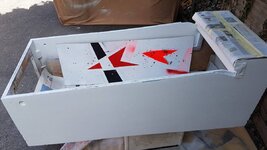
My mood board, Note to self - need more practice
 Before all that though, once I've finished all the White top coat I plan to reproduce the Bally speckles, plenty of methods I'm practicing to do this.
Here's the starting point, vertices marked on tape, the blue circles are errors possibly from factory. Fortunately I thought of doing this before firing up the orbital sander.

Art tidied up on my plan. All red/black overlaps should be white.

Sample Bally splatter from inside cabinet

My mood board, Note to self - need more practice


Looks good  If it was me I think I'd go down the frog tape route and not worry about the over spray.
 If it was me I think I'd go down the frog tape route and not worry about the over spray.
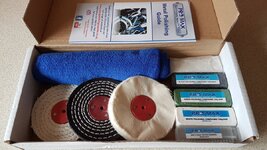
Watching paint dry is like well watching paint dry so onto the external coach bolts and metal work. My initial plan was to poke them through this cardboard, wire brush off the worst rust and spray black. However I went a bit mad Dremel cleaning and they're starting to be nice and shiny which I prefer (I blame @Nedreud )
Note use of mothers polish how very pinside.
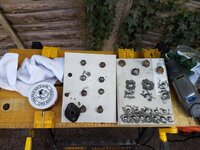
Note use of mothers polish how very pinside.

I'm not even in the same ballpark for condition with my F14 that I was hoping for with this event. Cabinet is going to have to stay tatty and I'm just racing to make it bulletproof.
I'm looking forward to playing F14 @PBrookfield 

I'm looking forward to playing F14 @PBrookfield
Unless I pull off some magic, it's going to be less Top Gun, and more Airplane!:

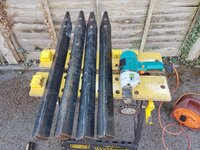
Abrasive wheel is ace though
I need one of these for the legs I'm doing at the moment
 Currently using a wire brush attachment which is ok but not great. Where did you get it from?
Toolstation £4.30 - https://www.toolstation.com/shop/p11419
If there's not one near for you they deliver next day foc min £10 order. They wear down pretty slow the 4 legs both sides used about 1/2 a wheel. Great on painted coin doors too
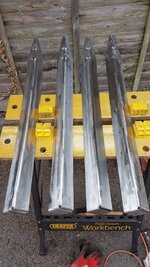
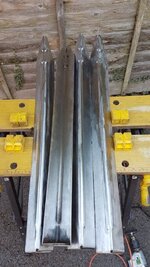
I did about 80% with the wheel, the inside of the rib I used 3M 60 grit paint removal paper, then my trusty Dremel-Sabre 443 Carbon Brush to clear out the fine lines and bolt recesses.
If there's not one near for you they deliver next day foc min £10 order. They wear down pretty slow the 4 legs both sides used about 1/2 a wheel. Great on painted coin doors too

I did about 80% with the wheel, the inside of the rib I used 3M 60 grit paint removal paper, then my trusty Dremel-Sabre 443 Carbon Brush to clear out the fine lines and bolt recesses.
15 days to go...
Another/final coat of the base White - I'm out of paint! What's working for me is that I spray the cabinet side to side with it upright on the battons, then (while wet) tilt it onto the box and spray mist more coats horizontally. I can spray the whole cab 3-4 mist coats with one 400ml can, then leave it 24 hours, then light 600 grit wet sand, rinse and repeat.
Next up, make some homepin style skids (didn't have them originally), these will be Red as a nod to Supreme-X. In a couple of days it'll get the Bally splatter then onto the art shapes.
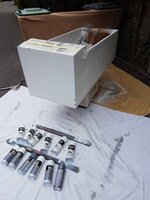

14 days to go
It's fortunate I finished the main spraying yesterday as the Hampshire monsoon season started today, rain for the first time in ages and high humidity. It occurs to me that I need to get the painting finished asap so it has some curing time before Joe Public get their dabs on it.
Today's progress summed up in the pic below.
- Cab and Head Bally Splattered. Being my first full cab restore this was nerve racking and counter intuitive as after all that effort to get your best paint job you effectively ruin it! In the end I decided to splatter metallic silver as black was a bit harsh. No dramas.
- Legs primed
- Supreme-X Skids, cut, primed and glossed
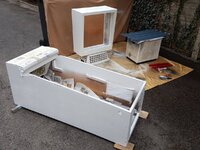

I've been thinking about the Skids I've cut. Obviously they'll protect the back of the cab when it's upright, but as the cab tilts forward onto its front legs should it remain resting on the skids to protect the back/bottom edge? I guess probably not as they'd have to stick out a fair way at the bottom to pivot the whole cabinet.
Last edited:
Great thread, love to see restorations... 

13 days to go
The monsoon really did arrive it's been hoying it down most of the day. My empty 300l water butt is now half full just off the detached garage roof alone.
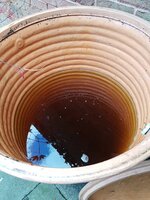
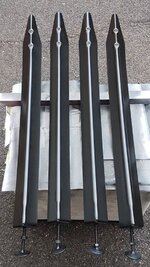
I did get a few things done - leg fronts sprayed satin black, coin door sprayed same, Supreme skids fitted, I will hide the screw heads with overlapping glides but they're currently hiding from me.
All going well hope to get onto cabinet art over the weekend
I hope you guys are going to play this at Pinfest
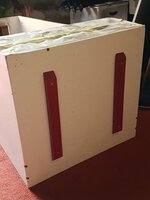
The monsoon really did arrive it's been hoying it down most of the day. My empty 300l water butt is now half full just off the detached garage roof alone.

I did get a few things done - leg fronts sprayed satin black, coin door sprayed same, Supreme skids fitted, I will hide the screw heads with overlapping glides but they're currently hiding from me.
All going well hope to get onto cabinet art over the weekend

I hope you guys are going to play this at Pinfest


I’ll play it dude [emoji1303] just put the first coat of etch primer in my legs too!
12 days to go...
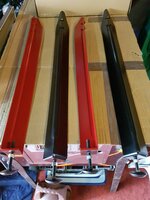
Painting the inside of the legs today and I thought I'd try something different, paint the insides a contrasting colour. I'm sure I've seen this idea on an EM somewhere
First off, adapt my workbench into a leg spraying rack using a parcel box received today from The Legend, what can go wrong now he's involved?
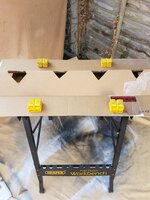
Works good
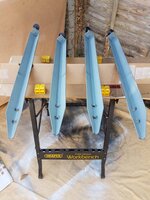
Mask up the outside
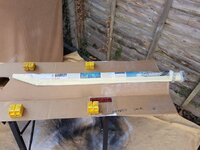
Spray, spray, spray, that'll be Red then
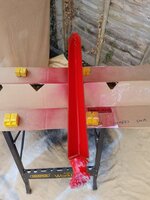
Masking off fast once paint is touch dry
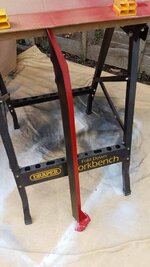
All done and pretty chuffed with the result
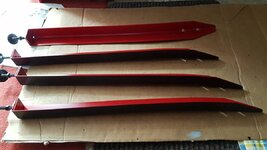
Not the best photo but offered up to the cabinet
Painting the inside of the legs today and I thought I'd try something different, paint the insides a contrasting colour. I'm sure I've seen this idea on an EM somewhere

First off, adapt my workbench into a leg spraying rack using a parcel box received today from The Legend, what can go wrong now he's involved?

Works good

Mask up the outside

Spray, spray, spray, that'll be Red then

Masking off fast once paint is touch dry

All done and pretty chuffed with the result


Not the best photo but offered up to the cabinet

Love it!
With your momentum built up, I'm certain you will have the best machine out of us two at the show... 
Wot? I'm aiming for best in show mateWith your momentum built up, I'm certain you will have the best machine out of us two at the show...
Tbh, I was embarrassed to take it in the state it was in, after all this is a showcase of pinball perhaps it could have demonstrated what less than a £100 buys you these days. The problem is my other machines I'm taking aren't getting any prep with this going on

11 days to go...
Oh dear, woke up to this sothe open air spray booth is closed today
2 tone legs still looking sharp, another shameless photo now sporting their new black levellers
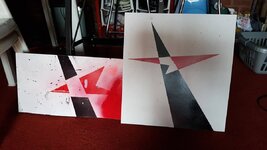
I'd prepped another mood board so time for final dress rehearsal of spraying the cab art, this time using low tack frogtape
(note this board made me decide that black speckles were too harsh)
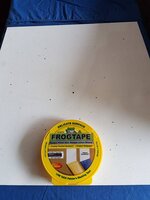
I'm glad I practiced this masking of the shapes took ages and more complicated than it looks, but now I'm fully appraised of latest celebrity gossip
Defo improvement on mood board #1. Hopefully start on the real art tomorrow. Slowly, slowly catchy monkey!
Oh dear, woke up to this sothe open air spray booth is closed today

2 tone legs still looking sharp, another shameless photo now sporting their new black levellers

I'd prepped another mood board so time for final dress rehearsal of spraying the cab art, this time using low tack frogtape
(note this board made me decide that black speckles were too harsh)

I'm glad I practiced this masking of the shapes took ages and more complicated than it looks, but now I'm fully appraised of latest celebrity gossip


Defo improvement on mood board #1. Hopefully start on the real art tomorrow. Slowly, slowly catchy monkey!

10 days to go.....
Cab art day. Out came the frog tape and the trigonometry set, what could possibly go wrong?
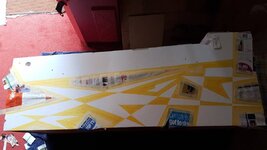
No U-turns from this point
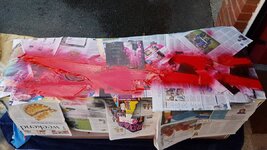
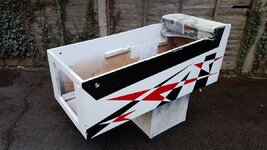
The reveal, pretty pleased with that at least I got all the shapes and overlaps correct
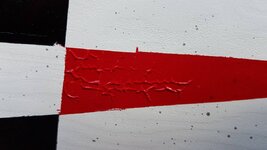
Despite my testing paints on the mood boards the red has crackled in a few places, I'll do some touchups and repairs in due course
Cab art day. Out came the frog tape and the trigonometry set, what could possibly go wrong?

No U-turns from this point

The reveal, pretty pleased with that at least I got all the shapes and overlaps correct

Despite my testing paints on the mood boards the red has crackled in a few places, I'll do some touchups and repairs in due course


