What's new
Pinball info

Register a free account today to become a member! Once signed in, you'll be able to participate on this site by adding your own topics and posts, as well as connect with other members through your own private inbox!

In Progress Multipin Madness - Virtual Pin build

Tyke

Site Supporter
Joined
Apr 10, 2012
Messages
824
Location
Melksham
Alias
Mike
I've been asked by a few folks to put a thread together for a virtual pin build. So here you go :)

Back Story
I built my first virtual pin back in 2013, I was struggling for space and also wanting to experience more pins than I could technically afford. I spent the first few months playing around with the visual pinball software and getting to grips with that and pinMAME. At first it does seem a little daunting but after a while it clicks and its not really that hard. What struck me and surprised me was the quality of the table recreations and that the games ran the original ROMs. I was hooked, and yeah its not a replacement for the real thing, but with full force feedback and nudge support it gets pretty close!

Regrettably I sold my virtual pin when I moved house 2 years ago, the biggest regret was having poured more hours than I care to mention into it, I knew I'd never be up for the challenge again. Or so I thought...

Current Build
Flash forward to the summer of 2016, having sold most of my pins to fund and give space to my games room conversion, I found myself hankering for a virtual pin again. Time is a great healer and I felt like it was time to give another one a go. Having built one before I was fully aware of the costs and parts required. I wanted to ensure that I out did my old one, which was going to be a pretty hard thing to beat.

The Cabinet

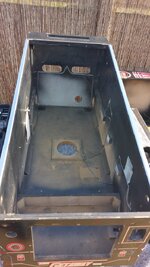
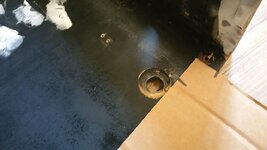
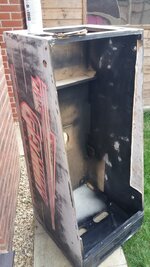
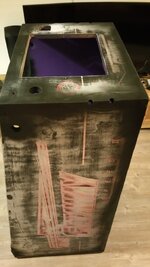
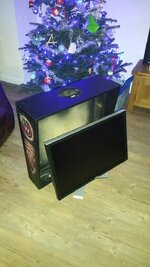
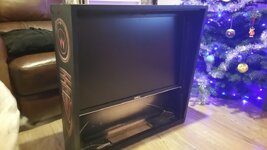
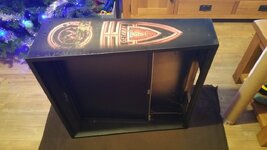
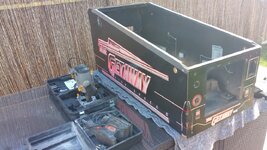
If you can, I would suggest starting with an original cabinet. This can save you a ton of cash and ensure all standard parts will fit when you come to start acquiring things. To start with I decided to go for a standard bodied cab like last time, I put some feelers out and soon enough an empty Getaway High Speed 2 cabinet came my way.
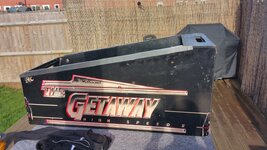
i1105.photobucket.com_albums_h352_thetyke_20161015_133925_zpstqqaqhvc.jpg

i1105.photobucket.com_albums_h352_thetyke_20161015_133947_zpsgobfozai.jpg

i1105.photobucket.com_albums_h352_thetyke_20161015_133955_zpsjuox0vwq.jpg

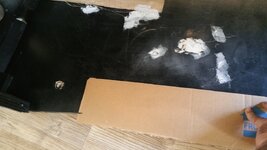
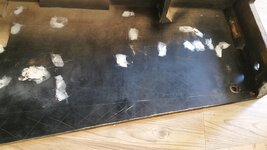
I gave the cab a good rub down and filled any holes and dings I found to ensure the smoothest finish for the new artwork.

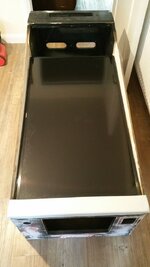
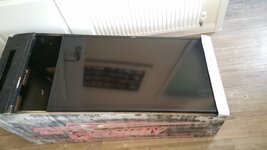
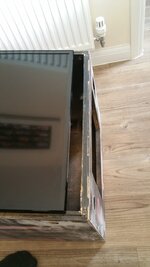
For a standard bodied cabinet the maximum TV you can fit for the play field is a 40". This will require some routing of the cabinet sides, I like to lay the screen so its angled away from you just like a real play field. I find butting the screen up to the edge of the lock-down bar gives the best effect. I sink the screen 3/4" down at the front to 4" down at the back of the cab.
i1105.photobucket.com_albums_h352_thetyke_20161105_114930_zpsk5gfnumx.jpg

i1105.photobucket.com_albums_h352_thetyke_20161105_114951_zpsea7uclkz.jpg

i1105.photobucket.com_albums_h352_thetyke_20161105_120900_zpsn9xw1o9t.jpg

i1105.photobucket.com_albums_h352_thetyke_20161105_120905_zpskswdwcwz.jpg

i1105.photobucket.com_albums_h352_thetyke_20161105_120912_zpsrerblrym.jpg

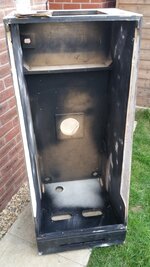
After a good messy routing you should end up with something like this:
i1105.photobucket.com_albums_h352_thetyke_20161106_130016_zpsnowzwcyd.jpg

i1105.photobucket.com_albums_h352_thetyke_20161106_130020_zpssa9xizuq.jpg

i1105.photobucket.com_albums_h352_thetyke_20161105_154942_zpsebflb5o7.jpg
 
Last edited:
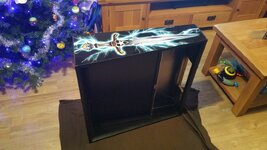
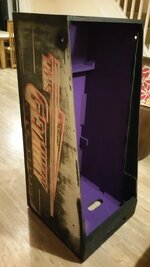
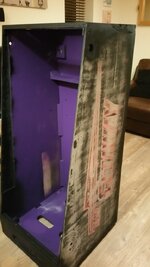
After a few more rub downs I gave it some paint. Matt black paint around the edges of the cabinet and the base. This gives you a nice finish for when you apply the artwork. I decided to give the inside of the cab a nice deep purple to brighten up what was rather dull and old looking. The wife kept saying "but no one will see it!" to which I told her "I will see it" :)

i1105.photobucket.com_albums_h352_thetyke_20161113_181947_zpsloveo13r.jpg

i1105.photobucket.com_albums_h352_thetyke_20161113_181958_zps2u8xhvm1.jpg

i1105.photobucket.com_albums_h352_thetyke_20161113_182011_zpseov8siki.jpg
 
Last edited:
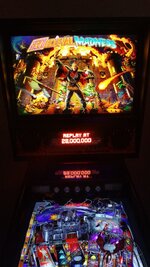
Artwork

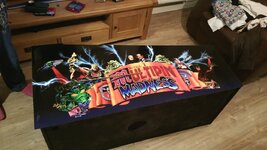
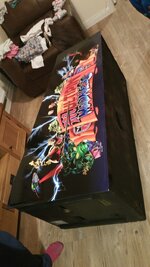
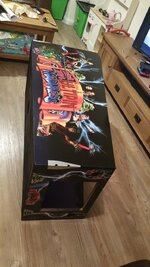
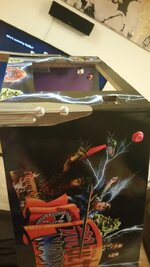
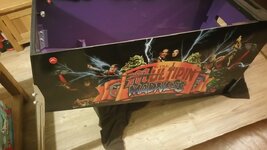
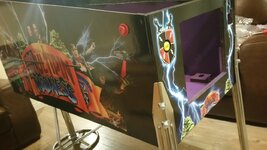
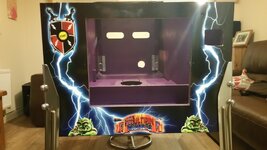
My old cabinet was built into the empty carcass of my favourite game Medieval Madness, but this time I knew I would have to decal the cabinet. This was a job I'd never tackled before and one I wasn't looking forward to. The first thing I needed to do was decide on what game art I wanted on my cabinet. I toyed with buying decals for an existing game, again MM came to mind but this didn't fit by mission of outdoing my last cabinet. So there was only one thing to do, design my own artwork.

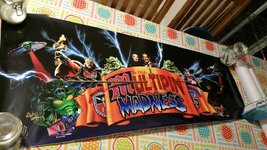
I quickly came to the realisation that creating artwork for a pinball of the DPI needed for print quality was a tall order. After a few failed attempts I gave up and came across a chap from the land down under who creates custom artwork for pinball cabs. He also does custom commissions for a fee, after a few emails and some initial ideas the "Multipin Madness" theme was born, based around the original MM theme with some of my other fave games blended into the design. The finished design was beyond my expectations!

i1105.photobucket.com_albums_h352_thetyke_tyke_vpinart_zps4eab1spi.png

Next I had to find someone to print them for me. Luckily enough we have @PeteB at Retro Refurbs. These took Pete a week to print and again look amazing, I was very happy with the quality and finish of the decals.

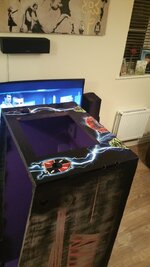
i1105.photobucket.com_albums_h352_thetyke_20161113_182911_zpskgzl9wlf.jpg

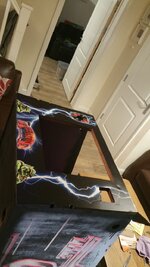
Next came the fun part fitting the artwork :)

i1105.photobucket.com_albums_h352_thetyke_20161113_201649_zps75hf22kc.jpg

i1105.photobucket.com_albums_h352_thetyke_20161113_201702_zpsuvjazmag.jpg

i1105.photobucket.com_albums_h352_thetyke_20161113_202659_zpsriiigpfe.jpg

i1105.photobucket.com_albums_h352_thetyke_20161113_202707_zpsgzk4cl8q.jpg

i1105.photobucket.com_albums_h352_thetyke_20161113_204107_zpslgmbetnp.jpg

i1105.photobucket.com_albums_h352_thetyke_20161113_220246_zps3klgd3bn.jpg

i1105.photobucket.com_albums_h352_thetyke_20161113_220309_zpsaroxvm6i.jpg

i1105.photobucket.com_albums_h352_thetyke_20161113_220426_zpskc65xqyx.jpg

i1105.photobucket.com_albums_h352_thetyke_20161113_220524_zpsrbcoin26.jpg

i1105.photobucket.com_albums_h352_thetyke_20161113_220540_zpsauywid4a.jpg
 
Last edited:
Force Feedback

You can't really appreciate virtual pinball without some form of feedback. The options for haptic, visual and sound tied into the original game logic is quite simple to get going with the use of the direct output framework. This software framework handles the outputs to a host of physical feedback devices. By utilising an output control board like the LEDwiz the PC can control the devices in conjuction with the frame work. There are other options for doing this and plenty of resources online.

This is the feedback set up I will be using for this build. This is regarded as the optimum configuration.

10 x Contactors or solenoids to emulate the flippers, slingshots and pop bumpers.

1 x Solenoid knocker

1 x Shaker motor

5 x RGB led lights

2 x Strobes

To get these all wired up with the correct voltages and protected with diodes takes some doing and many man hours. This was the way I tackled it last time. This was also the least enjoyable and most stressful part of the build.

This time around I decided to utilise the services and products of a friendly chap from Canada. http://www.zebsboards.com who develops and sells a host of awesome innovative products that makes the job of building a virtual pin so much easier.

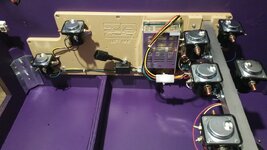
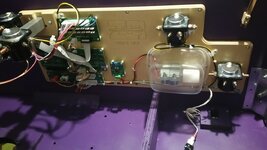
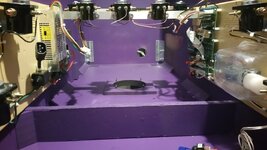
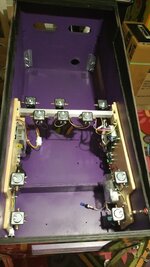
I placed an order for the standard EZ kit which provides a plug and play feedback kit that you can install within half an hour! Yes you read that right, just half an hour :)


i1105.photobucket.com_albums_h352_thetyke_20161114_221658_zps7xayx0zj.jpg

i1105.photobucket.com_albums_h352_thetyke_20161114_221714_zpsv7dtcccu.jpg

i1105.photobucket.com_albums_h352_thetyke_20161114_221733_zpsu7adul8b.jpg

i1105.photobucket.com_albums_h352_thetyke_20161114_221802_zpstepvmobd.jpg
 
Last edited:
Backbox

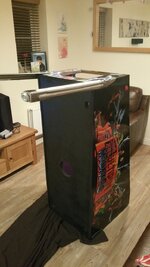
After a really long delay I finally tracked down the monitor I was looking for. A standard Williams back box takes a certain DELL monitor perfectly. It's a monster 30" 16:10 screen which fills the back box like a dream.

I made some custom little brackets to hold the screen in place and fitted the sucker before I fit the side art to the back box.

i1105.photobucket.com_albums_h352_thetyke_20161216_161821_zps7cay3s7y.jpg

i1105.photobucket.com_albums_h352_thetyke_20161216_170624_zpsmtfoegse.jpg

i1105.photobucket.com_albums_h352_thetyke_20161216_170724_zpsgwjkifmn.jpg

i1105.photobucket.com_albums_h352_thetyke_20161216_172549_zpsmmfhfyur.jpg

i1105.photobucket.com_albums_h352_thetyke_20170119_235131_zps9bmbdtho.jpg
 
Last edited:
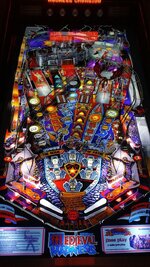
Been excited to see those decals on your cabinet. Its looking great!
 
Very nice,can i ask the price of the EZ kit,i checked his website but looks like he is taking a break....
thanks
 
Fantastic build with the feedback etc. That's the way virtual pinball should be done.

Can I ask, how does nudging work on a game like this? Obviously you can use a tilt bob for tilt but how will the game sense being nudged?
 
Very nice,can i ask the price of the EZ kit,i checked his website but looks like he is taking a break....
thanks

Steve will be back soon, he quite often takes a little break from time to time. The EZ kit comes in 3 versions. I went for the middle option which is the "standard kit" it includes the light bar for RGB lights and strobes. It cost with shipping and import duty just shy of £950. Its quite pricey but well worth the hassle it saves in the long run :)
 
Fantastic build with the feedback etc. That's the way virtual pinball should be done.

Can I ask, how does nudging work on a game like this? Obviously you can use a tilt bob for tilt but how will the game sense being nudged?

On mine I used a Sidewinder Freestyle Pro gamepad stripped of all the bits apart from main board which has the accelerometers on, cheap way to add nudging - £15 (if you can find them!)
 
Yeah I was going to say that's how I did it last time i.e. the decased sidewinder way.

This time I have one of Zeb's digital plunger kits which also handles the button inputs and has nudge support built in. I've fitted it and will do some pics and a run down on it within this thread when I get chance :)
 
On mine I used a Sidewinder Freestyle Pro gamepad stripped of all the bits apart from main board which has the accelerometers on, cheap way to add nudging - £15 (if you can find them!)
out of interest why decase the sidewinder
 
I said mine was 'done' but now I do keep looking at DOF...... Problem is mine is a roughly 1/2 size machine so those premade kits might not fit.
Projects like these are never finished!
 

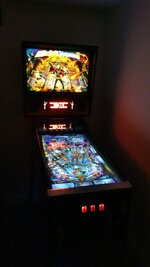
Sneak peek in the dark

That looks awesome. I've never played a virtual machine (is that what they are called?) I'd welcome further comments as to how good these are to play. I'm tempted to own one but then again, ah.... I dunno.


Sent from my iPad using Tapatalk
 
i fancied one and played a few at expo but was quite disappointed in how it played. Just didn't feel right.
 
Hey tyke!
Beautiful cab and build... awesome!

Is that artwork exclusively for you or is there a chance to get a "copy" of it? ;)
No problem if not, just liked to ask.

Greetings,
Dom
 
i fancied one and played a few at expo but was quite disappointed in how it played. Just didn't feel right.

I would agree to a point and that's coming from me who has dropped over 4 grand building this latest one.

Vitual pinball can be very hit and miss for many reasons. The build of the cab, quality of parts, and of course the configuration.

It's all about capturing the feeling of pinball to some extent. That largely comes from visual, sound and haptic feedback. The virtual tables use the real ROMs tied to lots of fancy outputs that emulate all of these cues. All of this is quite easy to achieve if your willing to spend out for them. The hardest part is retaining speed and responsive lag free game play, that's down to fast screens, high end pc hardware and hours and hours of configuration to find the best playing setup.

I've gone for a 4k HDR 60hz setup this time which is massively demanding to get right, but man does it look so good! :)

The cabs at the expo dare I say are consumer ready, built and priced to make a profit from. I suspect they are not quite in the same league as one built by a crazy fan like me.

I do welcome anyone around for a play on mine to make their own mind up if their curious. Its not real pinball, but it's very very close these days. Having one in the collection to have a blast on any game you fancy, even just to brush up on the rules is a great thing to have.
 
Back
Top Bottom