worst job ever that
Pinball info
You are using an out of date browser. It may not display this or other websites correctly.
You should upgrade or use an alternative browser.
You should upgrade or use an alternative browser.
Complete Johnny Mnemonic re-decal etc
- Thread starter insx
- Start date
Lots of elbow grease required to clean up the siderails. I can certainly see the attraction of buying new ones but I'm trying to keep the budget down and they only have a couple of tiny dents and scuffs.
View attachment 59423
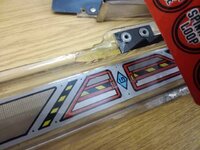
Use a hot air gun with the scraper to melt most of it off, then wipe it down with thinners.
You’ll be done in minutes
Yep that's exactly what I do Pete job done!!!Use a hot air gun with the scraper to melt most of it off, then wipe it down with thinners.
You’ll be done in minutes
Cheers
Kev
Yeah need a paint heatgunSounds like I needed more heat, I tried a hairdryer on full heat and it didn't seem to make any difference. Job done now anyway.
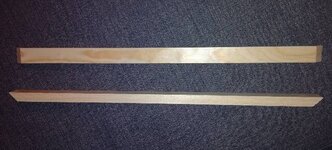
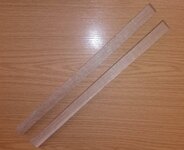
new skids on the back and plastic studs
Do you make the skids from scratch? The wood seems to be a pretty odd size.
Edit: I found that B&Q do 15x21mm or 15x25mm "stripwood", which seems close enough without trying to make an exact replica.
Last edited:
Personally I find that softwood well to soft for skids it's normally hardwood
Do these types have the sliders nailed in too? They add some protection to the skids.
The originals are hardwood unless they have been changed by someone. I used softwood on my old shadow and they got chewed up first time I moved it even with the plastic sliders on it
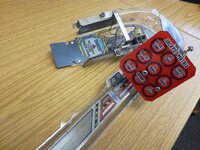
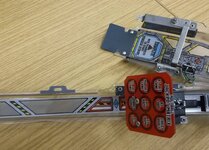
I presume stuff like this, specific to a game ramps, are tough to get brand new replacements?
I presume stuff like this, specific to a game ramps, are tough to get brand new replacements?
I've seen them listed for €150 with no decals but out of stock.
Wowser's - worth repairing then.
I presume stuff like this, specific to a game ramps, are tough to get brand new replacements?
Correct for a lot of titles
Pinball spare parts Australia have plenty of Johnny M parts, and the last time I looked they had both ramps.
Pinball spare parts Australia have plenty of Johnny M parts, and the last time I looked they had both ramps.
I hadn't heard of them. You're right, much cheaper too.
just the ramp though no hard wear or decals
just the ramp though no hard wear or decals
Yes, I could transfer hardware but decals are an issue.
Perhaps some gentle heat from the opposite side of the decal would soften the adhesive and aid removal?

