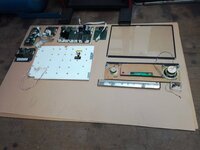
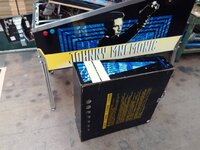
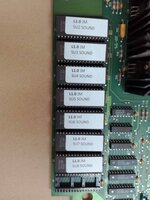
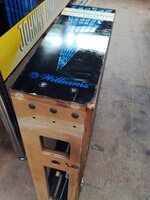
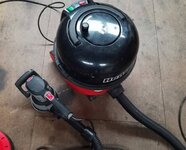
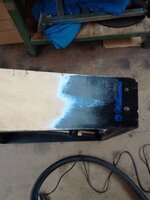
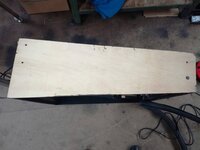
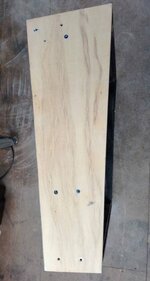
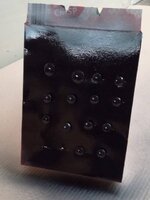
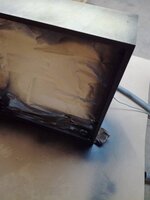
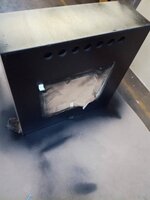
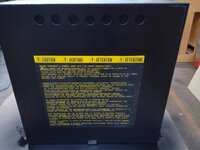
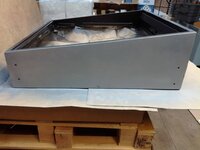
I've decided to restore my JM's cabinet. I was in two minds whether it's worth it as the playfield is never going to be mint but I would like the machine to look nice when it's installed into the man cave so I'm going for it. I've never done this before but at least I won't be learning on the most expensive game in the world. I'll give stuff a good clean up too but I won't be stripping and tumbling everything, reproducing every sticker or painting things you don't see. Wish me luck!
Pinball info
You are using an out of date browser. It may not display this or other websites correctly.
You should upgrade or use an alternative browser.
You should upgrade or use an alternative browser.
Complete Johnny Mnemonic re-decal etc
- Thread starter insx
- Start date
Yep, I read that somewhere. I'm a long way off from sticking anything to anything.It needs to be Baby skin Smooth @insx - Any slight flaws will be magnified 100x when the new decals are on.....
You really need to get that warning text screened on a fully painted backbox, for all the work you are putting in on the machine it's going to let the complete job down.
You will regret not getting it done.
You will regret not getting it done.
Where are you? You might be near enough to Daz or me to do it for you (or anyone else with a screen)
Where are you? You might be near enough to Daz or me to do it for you (or anyone else with a screen)
Wickford in Essex.
Not near either of us then lol. Daz is ooop north I'm in north Devon don't know if anyone else near you has one
Around £60+ the hard part being you need the artwork for the frame to be exposed
If you are doing a top notch job masking out the warning part out is a no no stands out like a sore thumb also those back box warning decals are **** too if you want perfection prep is key and genuine licenced decals
Depends on what you want my ocd would never be able to handle this if you want perfection it’s a must
Like anything when doing cabs quick easy and simple or slow expensive and perfection
Option 1 quick prep cheep decals no back screen and use the old side rails looks better at first glance and 9 out of ten people won’t tell the difference
Or the mint option days and days of cab prep using quality materials screen the back box £40 genuine decals new polished side rails and runners new skids on the back and plastic studs and while you are there get all the metal re zinc plated even the side rail adhesive tape I use is £100 for 30m after all this you will have something to be proud of
If a jobs worth doing, then for feck sake do it right.
It will affect your selling on chances in the future. What you spend on doing things correctly then you will get that back when you come to sell. Who wants a partly restored machine ? Not me.
It will affect your selling on chances in the future. What you spend on doing things correctly then you will get that back when you come to sell. Who wants a partly restored machine ? Not me.
Thanks for your opinions. I want the decals to look right, I'm not bothered if parts that you never look at are a bit rough. It would be nice to have a mint cab but I'm not going to spend hundreds more to achieve it. The machine will never be mint as various bits of playfield unobtanium are busted.
What are genuine decals ?
Are they vinyl that has been screen printed ?
I suppose he meant officially licensed.

