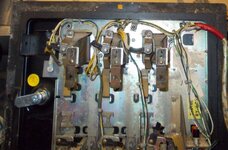
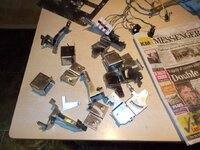
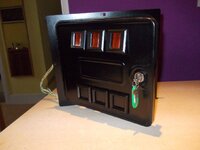
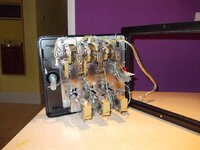
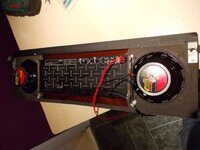
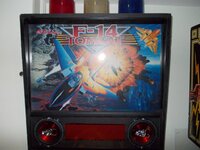
Some of you may have seen occasional posts about my F-14. I'm working on a P-ROC conversion of the game, installing a DMD to replace the existing displays and an auto-launcher to increase the multi-ball options. Full rule-rewrite with new modes and so on.
However, my machine itself is a bit tatty to say the least. Nice new rules and display animations on a worn and beaten-up playfield just doesn't look great. So it's time for a complete shop job.
I suspect this will be like Trigger's broom in Only Fools and Horses. His broom was something like 20 years old and had only had 7 new handles and 5 new heads.
PPS have stated that repro F-14 playfields are up next, sometime in March hopefully. That was the catalyst to get started. So the metalwork is off at the powdercoaters to go a candy red. Side rails, lockdown, legs, apron, shooter housing and also the habit rails. The cab is going away for a refurb, and will be fitted with the new custom decals which Swinks designed for me and Jim printed.
I'll start to document some of the steps here as we go. The playfield swap is going to be a bit of a pig, I have one of the earlier F-14s with individual lamp sockets for all the inserts, many of which are corroded and need replacing. The F-14 uses every one of the 64 lamps in the matrix, that's a lot of lamps. I'll also document the installation of the auto-launcher, but the pure "P-ROC" coding work will be covered over on the P-ROC forum, I'll post a link to that later.
Why F-14? It's the game that got me hooked on pinball, back in the late 1980's at Warwick Uni where the Students Union had a line-up of 7 or so machines. It's fast and furious with great lighting. Adding a P-ROC and an autolauncher opens up a lot of other possibilities to get it even faster and add a lot more depth.
If you want to know more about the P-ROC on System 11 machines drop me a line; I designed the driver board which alongside the P-ROC replaces the System 11 MPU board. If you want to know more about P-ROC in general, take a look over at pinballcontrollers.com, or get in touch and I'll point you in the right direction.
This is a link to an old video to give you an idea.... my software development stalled for a long time while I designed the driver board, but will be getting back on track soon!
Mark

