What's new
Pinball info

Register a free account today to become a member! Once signed in, you'll be able to participate on this site by adding your own topics and posts, as well as connect with other members through your own private inbox!

Complete Earthshaker project

Found a cpr pf on a french pinball site so i ordered this, fingers crossed it turns up :D

I had day off work as is my birthday :D so decided to spend it on earthshaker!! :)

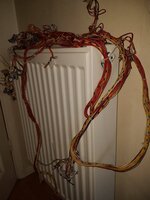
First job was stick cabinet loom in dishwasher.
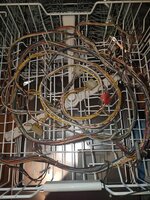
81919

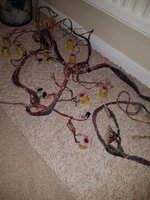
came out very clean, now drying on radiator
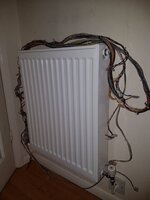
81920

I also visited a local metal plating service and dropped quite a few parts off for cleaning / zinc plating as was pretty cheap and saves me cleaning them :D Will stick all posts in tumbler.

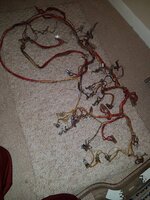
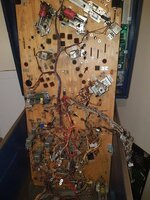
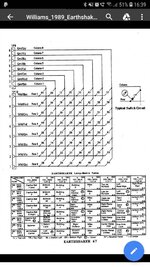
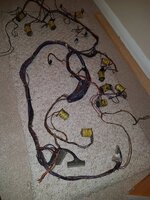
Then moved onto continuing pf stripping. I first labelled all the switches / lamps using zip tie labels using the manual nunber codes for each part. Then was able to completely remove the switch / lamp loom. Just coil/flasher loom left now :) once this is removed ill remove the mechs and get those all zinc plated as well.

switch loom
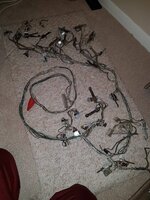
81921

lamp loom
81922

Ill stick lamp loom in dish washer as well but cant put the switch loom in there because of the micro switches (read water gets stuck in the enclosed micro switches) So will have to find another way if cleaning or de solder all micro switches.

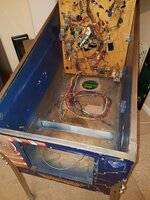
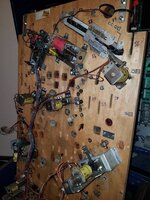
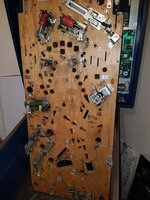
This is where the pf is at now
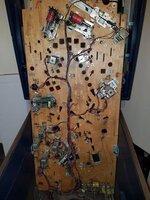
81923

Oh yeah even stuck some lamps in the dish washer(bottom tray) lol came out great, might stick em in tumbler as well clean the metal up.
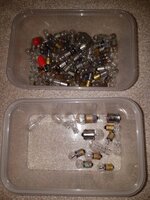
81924


also started putting on the decals on the new starship fantasy ramps (wet method, works very well) ill take photos later :)

Regards
Russell
 
Perfect thanks guys, so walnut for cleaning and corn for polishing. Do you swap media each time you tumble or just every so often?

Another cleaning question (pinball restore appears to be more about cleaning then anything else lol) what are your thoughts on putting wiring looms in the dish washer? appears to be very popular on pinside. Long as you don't put microswitches in there? also lamp boards ok?


Yeah this was basically just meant to be a quick get up and running and restore later in year but sort of turned into full restore now :D (fingers crossed it all goes back together!)

I have moved all my tear down photos to this google photos (might be useful for any one else restoring a earthshaker) ill be adding photos to it as i continue to tear down :)

Regards
Russell

No you only need to change it when it’s really filthy.

Also get urself some of this

4f0fa648b1ca3f5866f7d6d8622caeb7.jpg

Put it in a spray bottle great for cleaning boards, looms everything really. I even use it for a pre clean on stuff before it goes in the tumbler
 
Great thread. Seeing the staged process of the wiring loom removal is really helpful 👍🏻
 
I will certainly pick up some of that "gunk" iv been using Ambersil Amberclens Anti-Static Foaming Cleaner as my goto cleaner at the moment as its amazing, literally watch the dirt drip off :D

I was reading the whitewater shop log and it has opened my eyes to ultrasonic cleaners! results look amazing and so fast. Will have to give these a try.


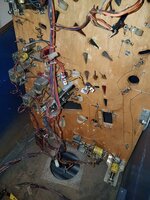
Here are a few more photos of various stages of pf strip. All photos will be in the Google photos album as well :)

81938

81939

81940

81941


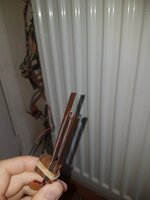
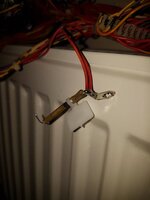
Had one casualty from dish washer, one of the leaf switch contacts fell off, ill just replace whole thing.
81942

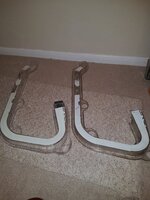
Ramp decals all applied (new on left)
81943

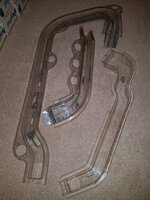
old ramps available if any one needs them
81944

Regards
Russell
 
I will certainly pick up some of that "gunk" iv been using Ambersil Amberclens Anti-Static Foaming Cleaner as my goto cleaner at the moment as its amazing, literally watch the dirt drip off :D

I was reading the whitewater shop log and it has opened my eyes to ultrasonic cleaners! results look amazing and so fast. Will have to give these a try.


Here are a few more photos of various stages of pf strip. All photos will be in the Google photos album as well :)

View attachment 81938

View attachment 81939

View attachment 81940

View attachment 81941


Had one casualty from dish washer, one of the leaf switch contacts fell off, ill just replace whole thing.
View attachment 81942

Ramp decals all applied (new on left)
View attachment 81943

old ramps available if any one needs them
View attachment 81944

Regards
Russell
Oh the gunk stuff is way better than foam cleaner
 
Another clean loom, but all my marker pen labels got wiped DOH. Im pretty sure 90% will just fall back into place and the rest i can work out via lamp test.
81988

DOOOOOOOH
81989

Regards
Russell
 
ah perfect, ill have to pick one of those up.

Coil/flasher loom now removed :) will go in dishwasher tomorrow.
82004

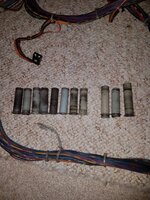
nasty coil sleeves
82006

not much left now. ill remove mechs for zinc plating then directly transfer cable guides over to new pf when it turns up.
82005

Regards
Russell
 
mechs now removed :)
82043

cable guide things removed
82044

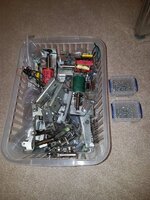
box full of pf mechs :D ill tear them all down and get them zinc plated :)
82045

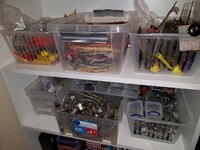
earthshaker is now mostly on my shelf lol
82046


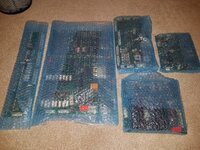
if i have time id like to strip and bubble wrap(anti static) all the back box boards, and dish washer all the back box looms.

Then ill be transferring the cabinet/backbox to parents house for stripping :)

Hopefully the new pf ships soon from french site (https://www.zpeakabonks-pinball-paradise.com)

Regards
Russell
 
back box now completely stripped :)
82140

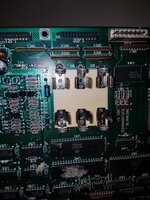
quickly replaced the very corroded battery holder.
82141

82142

82143

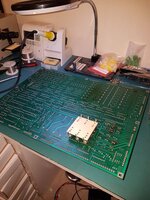
boards are bubble wrapped until rebuild.
82144

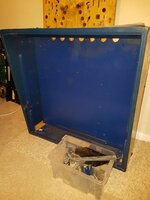
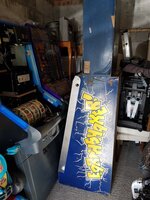
cab in garage ready to take to parents
82145

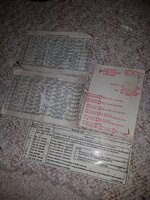
managed to pretty much save all the paper charts :)
82146

Next is a whole lot of cleaning :)
Received email saying new pf has been shipped! :D

Best part of rebuild will be not having black hands every time I touch it :D

Hopefully can put it all back together!

Regards
Russell
 
Last edited:
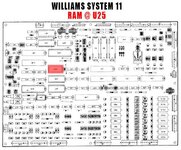
I would have put NVRAM in over a new battery holder - I'd have a look into that on such a quality resto.
 

You would need to remove RAM socket and install - it's fairly easy if you have a desoldering station and are good at board work.

ramloc_williamssys11.jpg


One Left
 
Last edited:

You would need to remove RAM socket and install - it's fairly easy if you have a desoldering station and are good at board work.

View attachment 82196

I have a de soldering gun so should be easy installation :)

Site says does not ship uk, will try and hunt down a uk distro.

Thanks for the heads up.

Regards
Russell
 
Bought it, thanks
ill install that soon although cant test for a while.... LOL :)

Regards
Russell
 
I'm not on commission don't worry - it's a cracking mod - no more batteries :)
 
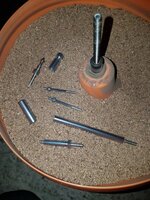
stuck some pretty rusted / dirty posts in the tumbler last night and checked them tonight around 23 hours later and they look brand new! usung wallnut shells / novus2

I'll leave em another day then swap to corn corb / metal polish try and really shine em up :)

82362

i also put them in the ultrasonic cleaner @myPinballs mentioned for 10min but dint seem to do much but the tumbler has transformed them :)

I'll try some other bits in ultrasonic cleaner see if have better results :)

Regards
Russell
 
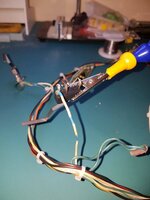
now cleaned the ramps looms, had to de solder the micro switches before putting into dish washer.
82581

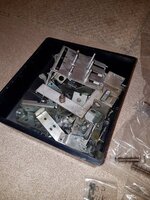
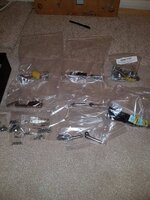
All playfield mechs now completely stripped down and all metal ready to be zinc plated. Have bags full of the screws. cant decide if i should try and clean the screws (how??) or just buy new?
82577

82578

had a little accident in dishwasher with the signs, looks they warped :( luckily iv got the cpr replacements but will need to drill the rivits, does any one here offer a rivit service?
82579

pcbs came out nice though :)
82580

will avoid putting any plastics in dishwasher on heat now!!! hehe.

flipper mechs completely stripped and old frankin wiring removed will rebuild using fresh wiring / switch/cap from rebuild kits :)
82582

Regards
Russell
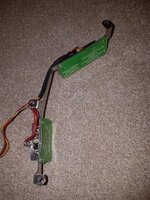
 
oh! I was going off this guide

The looms came out fine (done the x2 cabinet, x3 play field and all the backbox looms now)


ill stick the screws i can't easily get hold of in ultrasonic / tumbler :)
pinparts big bag of bolts covers quite a lot of it which is handy.

Regards
Russell Pirie
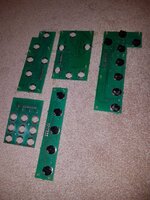
 
Last edited:
With the plastics, you should be able to straighten them out again if you put between two sheets of glass in a low temp oven for a few mins
 
Thanks, ill try and save it :)

Will need to do some riveting at some point as well, should i invest in all the stuff to be able to rivet my self? (pinrestore usa seems to be only place that sells everything you need) or just send to some one to rivet the few bits i need riveting.

From memory it will be
- The signs above the ramps (i broke lol)
- another sign on the habitrail plastic
- the flasher on the habitrail plastic
- the plastic / metal base to the earthquake institute

So not that much really.

Regards
Russell
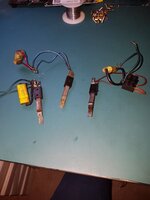
 
Thanks Paul :)

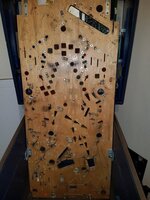
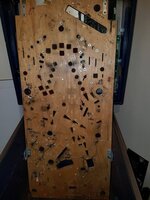
This was waiting for me when i got home :D Thanks pinball paradise :)
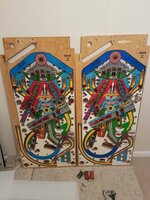
82664

Looking at them side by side, the old one was not actually that bad! just that freaking Mylar bubbling on inserts!

Regards
Russell
 
Last edited:
Back
Top Bottom