What's new
Pinball info

Register a free account today to become a member! Once signed in, you'll be able to participate on this site by adding your own topics and posts, as well as connect with other members through your own private inbox!

BoP Shop Log

Spandangler

Site Supporter
Joined
Jul 21, 2011
Messages
6,522
Location
Suffolk
Hi Peeps

This is the BoP I got from Keith as part of the 64 machine debacle!

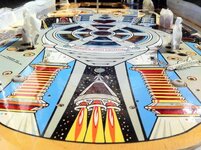
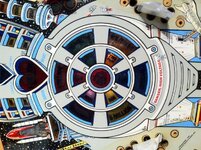
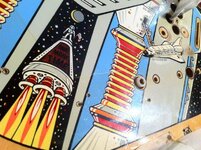
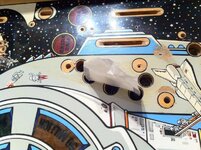
The PF is mylared so its good. The Mylar is bubbling as per normal above the inserts but not lifting anywhere. There is wear down to the wood at the ball drops which i may attempt a touch up on, but i'll probably just leave it. Im not looking to produce a show piece, just clean it so it plays nice. The other areas which aren't mylared have some serious dirt engrained but it is what it is i suppose!!

I found stripping it down fairley easy and uncomplicated compared to some ive done. I had to drill the heads off the long bolts which go through the plastics for the in/outlane dividers, as the captive nuts had come out of the wood and they were screwed in so tight I couldnt get enough purchase on the nut to unscrew them. Plus the screw heads were minced anyway!

Going to order new starposts, post sleeves, balls and a few other odds and sods.

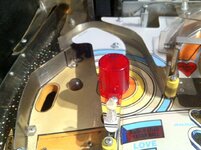
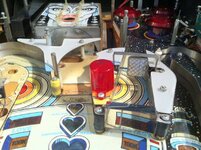
While I think, a couple of the red plastic spike posts on the mini pf are snapped, so if anyone (Darren!!) have any in there spares, i'd be much appreciated. I havent tried any suppliers yet, but im working on the premise they wont stock them.

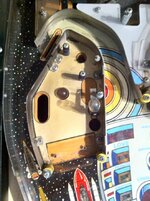
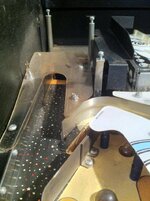
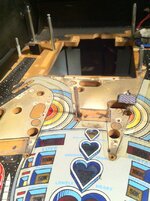
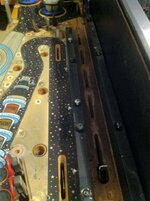
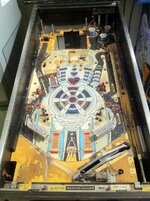
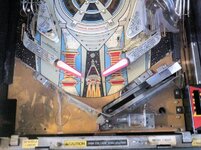
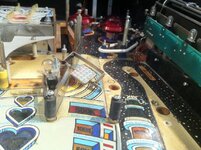
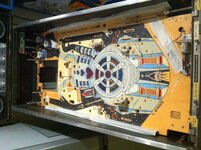
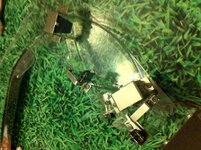
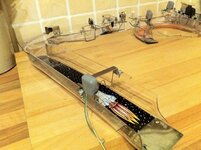
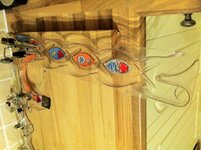
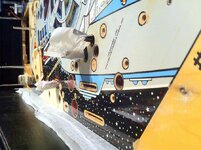
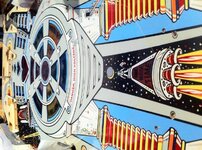
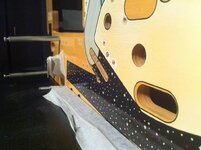
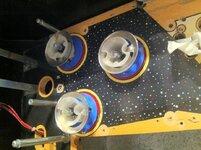
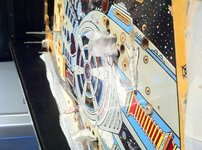
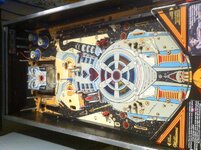
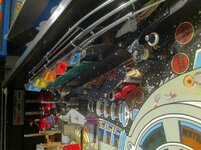
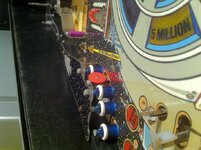
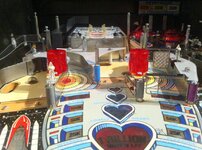
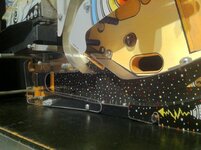
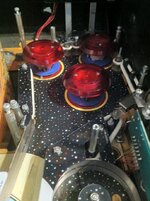
So here are a few tear down pics. Ive started cleaning the many bags of bits. I reckon it might take a couple of weeks with my current worck schedule but ive got to wait for the parts ive ordered anyway.

Then it's out with the treasure cove to hopefully shine up that mylar a bit. I'll update with reassembly pics in a few weeks.

Like I say, anyone with BoP spares, get in touch.

If anyone knows why some of the pics havent come out or why they are small, please let me know why. I give up. If youre an admin and you want to tinker with it to make it all pretty and symetrical. Go nuts

Cheers Gaz


IMG_1917.jpg


IMG_1916.jpg


IMG_1915.jpg


IMG_1914.jpg


IMG_1919.jpg


IMG_1949.jpg


IMG_1950.jpg


IMG_1954.jpg
 
Looks to be in good shape Gaz, I had a look over it when I went to Keith's and thought it looked a good un. She should come up really nice once clean :thumb:
 
That does look pretty good from the pictures, just a lot of dirt to clean off. Will you be tumbling the metal parts?
 
Hi Geoff,
I don't have a tumbler or access to one, so I'll just autosol them and buff them with a dremel! I think I might treat myself to one though. Some of the larger metal parts a very corroded and rusty so I might have to get the wet and dry out on those.
 
Here are a few more tear down pics. It's ready for treasure coving now. I had to adjust the switch gaps for the pop bumpers. One of the great features on BoP are the pops. My old one would almost walk itself out of the room they were so ferocious. This one only registered a couple of hits and the ball would dribble out of the gate!! Hopefully that's remedied now.

Ive touched up the black on the back box and inside the cab using a sponge and black wood stain. That's freshened it up a treat.

image.jpg

image.jpg

image.jpg

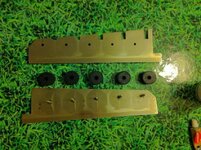
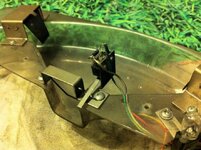
And here are some ramp pics. They were MINGING!! Spent about 3 hours stripping and cleaning them and they've come up nice.


the skill shot rollers were also filthy. I stripped that down and gave it a clean.


image.jpg

Before
image.jpg

After
image.jpg

image.jpg

image.jpg

Got some cliffy post sleeves, new flipper bats, rubber kit and LEDs on order from 1stoppinball.

Still need new balls, stiff plunger spring, blue star posts, red mini posts for the mini pf which I'll order next week.

I can't wait to get playing it. I only had it a couple of days before tear down.

Next update should be the finished article.
 
Is it just me that cant view the attachments? Gutted thats one of my fave old machines (not played a real one since i was 16 - 17)
 
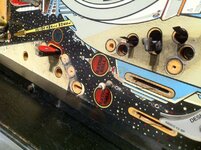
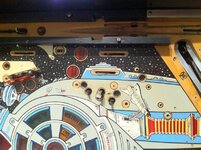
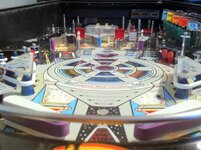
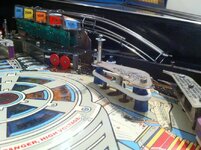
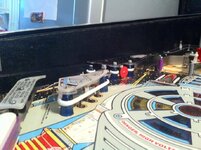
So I've spent the afternoon Treasure Coving the BoP and I'm well happy with the results. The ground in dirt is exactly that. It ain't ever gonna come out. I got a bit carried away with the magic eraser in a couple of spots and went through to the under coat so I drew stumps and left it as is.

image.jpg


image.jpg


image.jpg


image.jpg


image.jpg


image.jpg


image.jpg


image.jpg
 
The pf looks good after the TC treatment, you gonna do any touch ups on the wear or just it as is?
 
The pf looks good after the TC treatment, you gonna do any touch ups on the wear or just it as is?

I can't decide. More than likely I'll leave it but I'll see how adventurous I feel. From memory, last time I enquired about touching up the grey, it's very difficult to match the colour. If those ball drops were the only imperfections stopping it being a minter, I'd definately do it but its nowhere near a minter!!
 
If you don't do touch ups on any areas where the ball passes over (ball drops being a prime example) you might want to get hold of some Hard As Nails and give the worn bits a few coats just to protect the bare wood and help slow down future wear.
 
What's that then Chris. A ladies nail varnish??

Exactly that mate, you can get it from Boots I think ;) Acts a bit like a clearcoat and protects the wood. I've used it loads on worn scoops etc. It does turn the wood a darker colour though so might not be the best if the wear is in your eyeline.
 
Cheers mate. I'll have a look for some tomorrow. The missus reckons she's up for tackling the touch up so im gonna hit the model shop as well for some humbrol paints;-) let's see if my playfield looks like a 5 year olds painting akin to hanging on the fridge when it's finished!!
 
Looking pretty damn good! If colour matching is difficult, you could just go the whole 9 yards and mask it off and airbrush the lot.

I started a teardown on a beat up Police Force (which is similar in that it has big chunks of flat colours). It's been on hold though, waiting for Santa Claus who brought me an airbrush kit last week. Figured its one of those 'do it now, or do it never' type things :)
 
If your going to airbrush, what do you use to mask off the area? Always wondered about airbrushing but thought it would be a massive ball ache :)
 
It's easy once u get the hang of it. Once you've got it set right and don't get to close. I used to be able to do shading on faces that are about an inch round so it's not that hard
 
Thanks everyone. Officially, im only trained in crayons so the fact that I might be using a tin of paint and a brush is a huge step :) happy new year all.
 
Playfield Touch Up

Howdy!

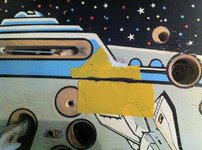
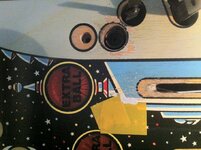
Well, I bust out the crayons and had a go!! Could it have been better?? Hell yes!! Am I pleased with how it came out? Yeah Kinda!!

As I say, you gotta go there to come back. I'm happier with how it looks now than I was with just bare wood. I found with masking off over already touched paint, the tape lifted the paint off again, so I did the prominent thin black line first and then with the other colours, I free handed it up to the line. Got a serious case of the old 'Charlie Drakes' but its ok!

The colour match isn't that great but the BoP grey is notorious to match and you can't manufacture 20 years of grime either.

So here are the pics. Please... Be gentle ;-)

Before:

image.jpg

image.jpg

image.jpg

image.jpg

After!!

image.jpg

Just doing this on my iPhone, thought I had more of the finished article but I haven't. I'll take some more tomorrow.
 
FYI createx airbush (along with tamiya acrylic model paint) paints are VERY close to a lot of colours used in pinball machines. In fact, that pale blue colour is wideley available and a very good match. Here is a link i quickly found on ebay, but i know you can get the stuff here in the uk:

http://www.ebay.co.uk/itm/4-oz-CREA...364?pt=LH_DefaultDomain_0&hash=item2c6a8cc4e4

For masking use a product called 'frisk film'. Its transparent (although you can get opaque) like mylar, but low tack and is great for airbrush work. I use a cheapo airbrush kit off ebay (cost around £60 for compressor with all the fittings) with great results in the past. The createx paints go on nice and smooth with a very flat surface once dried too. The createx doesnt need thinning unnlike the tamiya stuff which is quite a bit thicker.
 
Back
Top Bottom