What's new
Pinball info

Register a free account today to become a member! Once signed in, you'll be able to participate on this site by adding your own topics and posts, as well as connect with other members through your own private inbox!

Board Rebuild...

Paul

Staff member
Joined
Oct 5, 2012
Messages
11,593
Location
South Wales
Alias
Toibs
So - A thread probably best for the likes of @lukewells and @Nedreud ;)

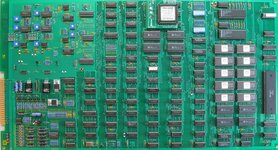
So... I have this that i need to populate...
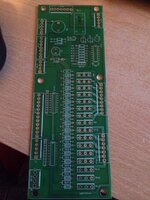
board.jpg

So - Question - I have built many boards before, so no issues there, however, any tips with regards to the easiest way to start from scratch... i.e. Resistors first, then sockets, then TIP141's, then caps etc etc....

Just wondered which way you guys would do it... (everyone seems to do it their own way!)

Cheers
 
As above, start with the lowest stuff first. You can get some semi-rigid foam that they use in pcb assembly fixtures and what you do is add a layer of components, clamp the foam on and then you can turn the board over and solder the components in without them falling out, or without you having to bend the leads to keep them in place
 
Semi rigid foam used in PCB assembly?? Sounds like a good idea, however never heard of it! :D
 
Agree with previous comments. Start with components that sit lowest and closest to the board, so usually resistors, diodes. Then maybe DIL sockets and eventually moving on to capacitors and transistors, and finally hardware, e.g., sockets, fuse holders.

Make sure before you start to clean the solder pads thoroughly. I usually wash with Fairy, rinse and dry, then use either a fibre glass pencil or 2500 grit wet'n'dry to very gently clean the pads, then wipe with alcohol. Just makes the solder flow smoothly so you need less heating time which is less likely to damage parts.

What are you building anyway?
 
Rather you than me buddy. That looks a mighty tough one to complete.
 
Yup - Jolly park driver board - you never know it might make it out of the shed sometime this year.... and then i need to start/finish refurbishing it...!!

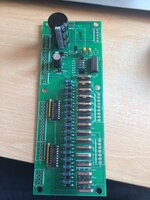
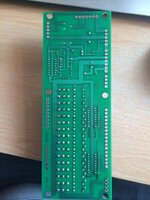
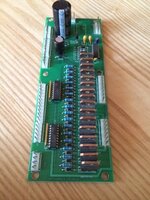
@lukewells - You would be proud..... ;)........

board1.jpg board2.jpg

Just a relay, some headers and two caps to get (missed from my order - caps because I didn't know they were there as weren't on the cct diagrams!!) and it's done :)
 
Back
Top Bottom